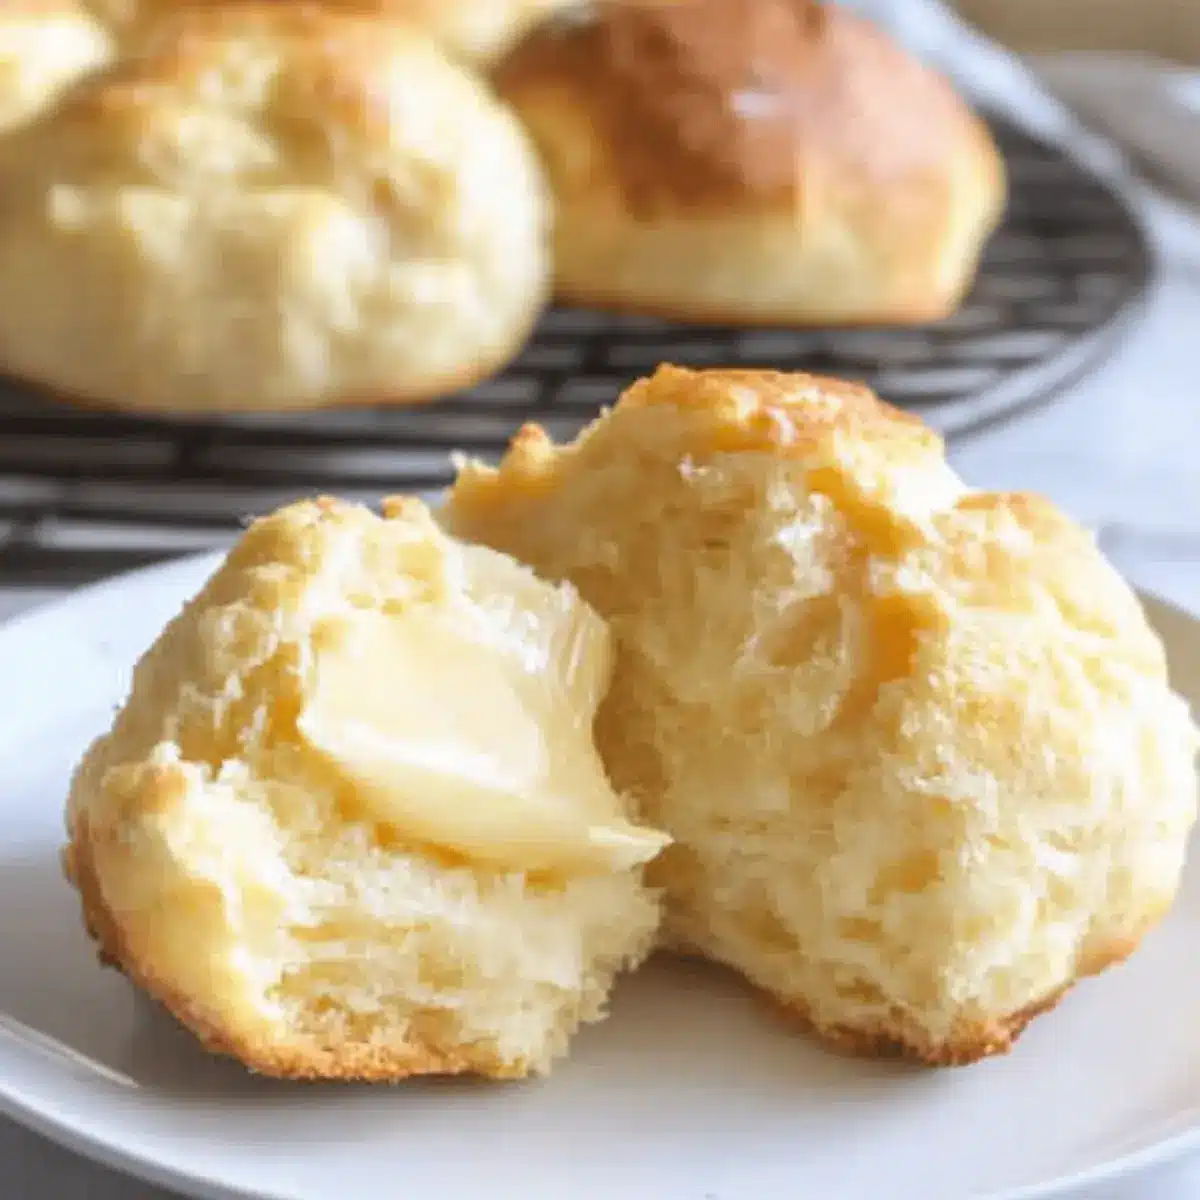
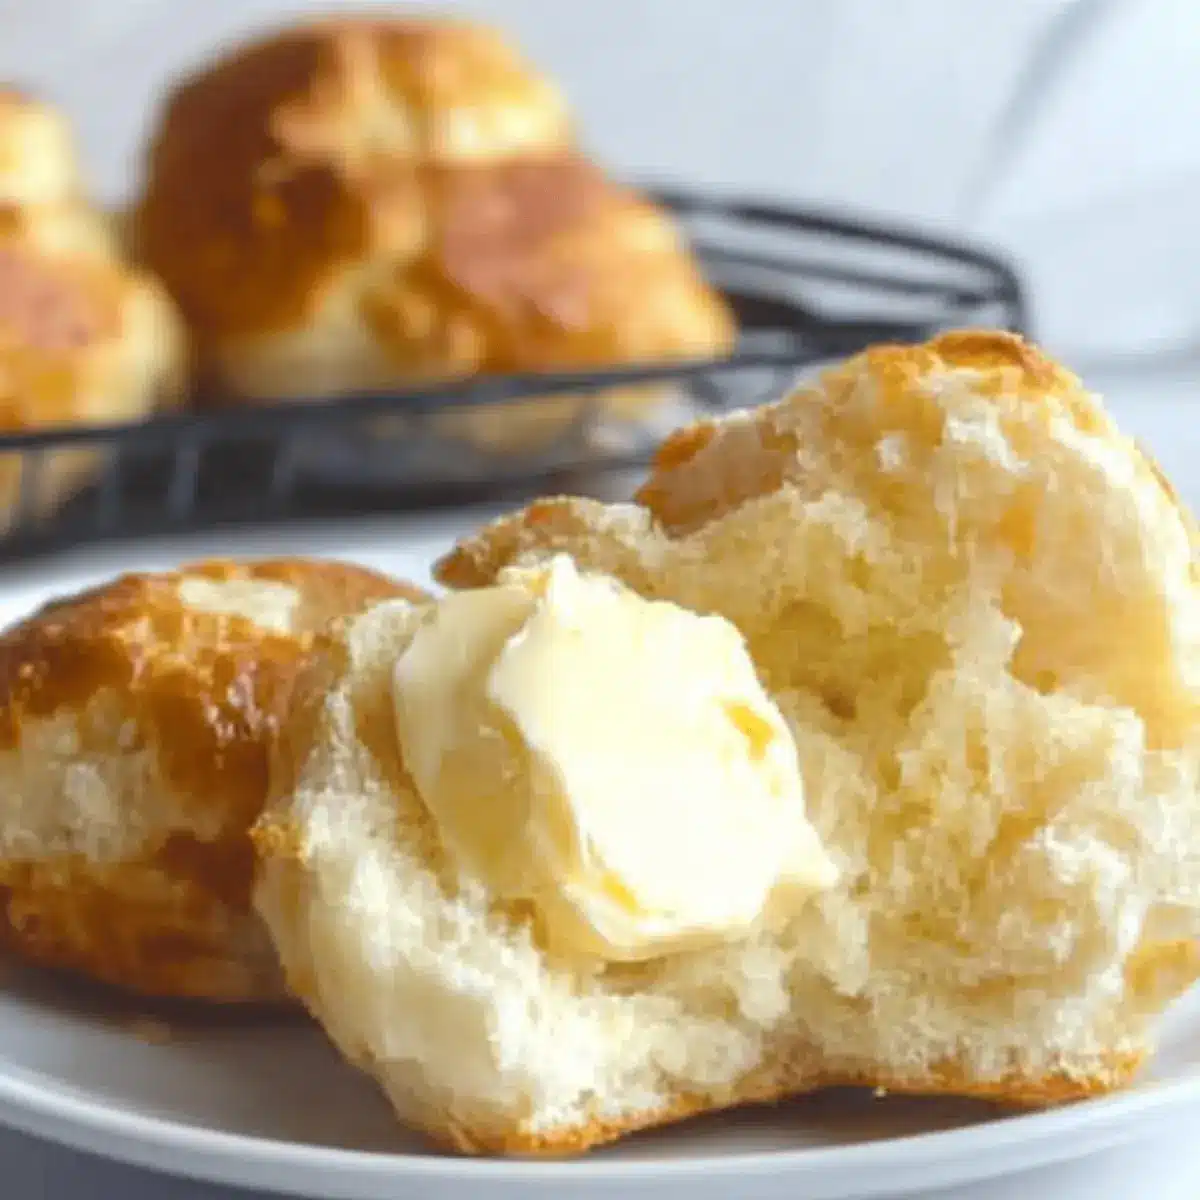
There’s something magical about the aroma of freshly baked goods wafting through the kitchen, and with my Gluten-Free Airy Potato Buns, you can create that warm atmosphere in your home without any gluten or dairy! These delightful potato buns are not only airy and light, but they’re also a wonderful crowd-pleaser. Whether you’re serving them for breakfast with a slather of dairy-free butter or pairing them alongside your favorite soup at dinner, they’re sure to impress guests and family alike. Plus, the best part? They’re incredibly easy to make and can be frozen for later, ensuring you always have a wholesome, homemade treat on hand. Are you ready to roll up your sleeves and dive into this potato bun adventure?

Why Are These Potato Buns So Irresistible?
Light and Airy: These gluten-free potato buns rise perfectly, delivering a fluffy texture that will have everyone asking for seconds.
Versatile Delight: Whether enjoyed at breakfast with a smear of dairy-free butter or as a side to a warm bowl of Baked Potato Soup, these buns are the ultimate addition to any meal.
Flavorful Twist: Made with russet potatoes, they offer a unique taste that sets them apart from traditional rolls.
Easy to Prepare: This fuss-free recipe allows you to whip up homemade goodness without extensive skills—perfect for both novice and experienced bakers!
Freeze for Convenience: Make a double batch and freeze extras for later. When the craving hits, simply reheat in the oven for a fresh-baked experience anytime.
Potato Buns Ingredients
Discover the simple ingredients that bring these fluffy, gluten-free potato buns to life!
For the Dough
• Warm Water (1/4 cup) – Activates the yeast for rising; using potato cooking water adds extra flavor.
• Active Dry Yeast (2 1/4 teaspoons) – Essential for fermentation; ensure it’s fresh for the best rise.
• Mashed Potatoes (175 grams, about 1 cup) – Provides moisture and texture; russet potatoes work best.
• Granulated Sugar (50 grams, about 1/4 cup) – Enhances sweetness and browning in your potato buns.
• Egg (1) – Binds the ingredients together while adding richness.
• Dairy-Free Sour Cream (1 cup) – Contributes moisture and tanginess, perfect for gluten-free baking.
• Vegan Butter (4 tablespoons) – Adds richness and flavor; it should be melted and slightly cooled.
• Gluten-Free Flour Blend (390 grams, about 3 cups) – Creates structure; choose a blend you know works well.
• Salt (1 teaspoon) – Elevates the overall flavor of the dough.
• Xanthan Gum (1 teaspoon) – Provides elasticity and helps the dough hold its shape, crucial in gluten-free baking.
Enjoy these delightful potato buns that everyone will adore!
Step‑by‑Step Instructions for Potato Buns
Step 1: Proof the Yeast
In a small bowl, combine the warm water with the active dry yeast and gently mix. Let this sit for about 5 minutes until a foamy layer forms on top, indicating that your yeast is active and ready to work its magic in your potato buns.
Step 2: Combine Ingredients
In a stand mixer fitted with the paddle attachment, add the mashed potatoes, granulated sugar, and the egg. Mix on low speed for 1 minute until the ingredients are combined and smooth, creating a well-blended base for your gluten-free potato buns.
Step 3: Mix Wet Ingredients
With your mixer still running, add the dairy-free sour cream, melted vegan butter, and the foamy yeast mixture to the potato mix. Beat on medium speed for 30 seconds until all the wet ingredients are fully incorporated, creating a rich and creamy mixture.
Step 4: Mix Dry Ingredients
In a separate bowl, whisk together the gluten-free flour blend, xanthan gum, and salt until well combined. This ensures an even distribution of the dry ingredients, which is crucial for the rise and texture of your potato buns.
Step 5: Combine Wet and Dry
Gradually add the dry mixture to the wet ingredients in the stand mixer. Increase the speed to medium and mix for about 3 minutes until the dough is well combined and slightly thick, resembling a thick cake batter rather than traditional dough.
Step 6: Prepare Baking Dish
While the dough is mixing, prepare your baking dish by spraying a 9″ x 13″ pan with cooking spray. This will prevent the potato buns from sticking and make for easy removal once they’re baked.
Step 7: Form the Buns
With the dough ready, scoop portions into your greased baking dish. Shape them gently into rolls using your hands or a measuring cup, ensuring they’re evenly spaced to allow for expansion during the rise.
Step 8: First Rise
Cover the rolls with a clean kitchen towel or plastic wrap, then place them in a warm environment. Allow them to rise for 50-65 minutes until they have visibly puffed up, reaching about 50% bigger in size, which ensures light and airy potato buns.
Step 9: Preheat Oven
Near the end of the rise, preheat your oven to 375°F (190°C). This step is crucial for achieving that perfect baking temperature, which will give your potato buns a lovely golden crust.
Step 10: Bake
Once the oven is preheated and the buns have risen, place the baking dish in the oven. Bake for 25-30 minutes, or until the internal temperature reaches 205-210°F, ensuring they are beautifully cooked through with a light, fluffy texture.
Step 11: Cool and Serve
After baking, let the potato buns cool in the pan for 5 minutes. Carefully remove them from the dish and serve them warm, perhaps with a spread of dairy-free butter for a delightful finishing touch.

Potato Buns: Customization Options
Feel free to let your creativity shine as you make these delightful gluten-free potato buns uniquely yours!
-
Add Herbs: Incorporate fresh or dried herbs such as rosemary or garlic powder for an aromatic twist that adds incredible flavor.
-
Spice It Up: Mix in a pinch of cayenne pepper or red pepper flakes if you enjoy a little kick in your bread to surprise your taste buds.
-
Seed Topping: Before baking, sprinkle chia, sesame, or poppy seeds on top for a crunchy texture and a nutty flavor boost.
-
Different Flour Blends: Feel free to experiment with various gluten-free flour blends to discover unique textures and tastes that suit your preferences.
-
Sweet Buns: For a sweeter variation, add a hint of cinnamon or nutmeg to the dough—perfect for serving as a brunch item!
-
Savory Cheddar: If you’re not dairy-free, folding in some shredded cheese before baking will yield irresistibly cheesy buns alongside that potato flavor.
-
Egg-Free Option: For a vegan-friendly alternative, substitute the egg with a flaxseed meal mixed with water or a commercial egg replacer.
-
Mini Rolls: Shape smaller portions of the dough for bite-sized dinner rolls that can be perfect for serving at parties or family gatherings.
These variations will definitely elevate your potato buns, making them a delightful addition to any meal. For more ideas, try pairing these buns with delicious dishes like Rib Ragu Potatoes or your favorite soups!
Expert Tips for Potato Buns
- Room Temperature Ingredients: Ensure all ingredients are at room temperature for a better rise and more cohesive batter.
- Dough Consistency: Don’t worry if the dough resembles thick cake batter; this is normal for gluten-free potato buns!
- Fresh Yeast Matters: Always check the expiration date on your active dry yeast to ensure optimal fermentation and fluffy buns.
- Perfectly Baked: Aim for an internal temperature between 205-210°F to guarantee a fluffy texture that isn’t gummy.
- Storage Solutions: For best results, freeze any leftover buns and reheat in the oven for that fresh-baked taste!
How to Store and Freeze Potato Buns
Room Temperature: Keep the potato buns at room temperature for up to 3 days in an airtight container to maintain their softness and freshness.
Fridge: If storing in the fridge, place the buns in a sealed container and use them within 5 days. This will help prolong their shelf life while keeping them tasty.
Freezer: For longer storage, freeze the potato buns in a single layer on a baking sheet, then transfer to a freezer-safe bag for up to 3 months. This method prevents sticking.
Reheating: To reheat, microwave the buns for about 30 seconds, then wrap in foil and warm in the oven at 350°F (175°C) for 10-15 minutes for a delightful, fresh-baked experience.
Make Ahead Options
These Gluten-Free Airy Potato Buns are perfect for meal prep enthusiasts! You can make the dough up to 24 hours in advance and refrigerate it, allowing the flavors to deepen while keeping the texture just as delightful. To prep ahead, follow the initial steps of the recipe but stop before the first rise; cover the dough tightly with plastic wrap and place it in the fridge. When you’re ready to bake, simply let the dough rise in a warm environment until it puffs up, preheat your oven, and bake as directed. This way, you’ll have fresh, homemade potato buns ready with minimal effort on busy weeknights!
What to Serve with Gluten-Free Airy Potato Buns?
There’s nothing quite like enjoying a meal that feels complete, especially when the aroma of freshly baked buns fills the kitchen, beckoning everyone to the table.
- Creamy Soup: A bowl of velvety tomato basil or roasted red pepper soup pairs beautifully, soaking into the fluffy buns for a comforting experience.
- Crispy Salad: A fresh, crunchy salad with mixed greens, cherry tomatoes, and a light vinaigrette balances the buns’ soft texture, creating a delightful contrast.
- Savory Stew: Serve alongside a hearty vegetarian stew, bursting with flavors and textures, where the buns can act as sponges for the tasty broth.
- Vegetable Skewers: Grilled vegetable skewers add a smoky flavor and toothsome bite, making it a colorful and vibrant plate to enjoy with the potato buns.
- Dairy-Free Butter: Spread a generous layer of rich, creamy dairy-free butter on each bun to elevate its taste and create a satisfying indulgence.
- Berry Compote: For a sweet twist, a dollop of homemade berry compote offers a hint of tartness that beautifully complements the warm potato buns.
- Crisp Sparkling Water: A refreshing glass of chilled sparkling water with a slice of lemon cleanses the palate and enhances the meal experience without overpowering flavors.
- Delightful Pickles: Serving these buns with a side of tangy dill pickles provides an intriguing contrast to the soft, rich texture, bringing brightness to your plate.
- Seasonal Fruit Salad: A light, fruity salad bursting with seasonal flavors rounds out the meal, providing a refreshing and wholesome end to your dining experience.

Potato Buns (Gluten & Dairy Free) Recipe FAQs
How do I choose ripe potatoes for this recipe?
Absolutely! For the best potato buns, opt for russet potatoes as they have the perfect moisture content and texture. Look for potatoes that are firm to the touch, without any dark spots or blemishes, as these can indicate overripeness or decay.
How should I store leftover potato buns?
Very! Keep your potato buns at room temperature for up to 3 days in an airtight container to enjoy their softness. If you want to extend their freshness, you can refrigerate them in a sealed container for up to 5 days.
Can I freeze the potato buns? How?
Absolutely! To freeze, place the cooled potato buns in a single layer on a baking sheet and let them freeze for about 2 hours. Once they’re solid, transfer them to a freezer-safe bag and store for up to 3 months. To reheat, microwave for 30 seconds, then wrap them in foil and warm in the oven at 350°F (175°C) for about 10-15 minutes.
Why are my potato buns dense?
If your buns turn out dense, it could be that the yeast wasn’t activated properly. Always make sure the yeast is fresh and check that you’ve allowed it to foam for 5 minutes before mixing it in. Additionally, mixing too long can create a gummy texture, so mixing until smooth—rather than overmixing—is key!
Are these potato buns suitable for my gluten-free diet?
Absolutely! These potato buns are gluten-free and dairy-free, perfect for those with dietary restrictions. Just ensure that all your ingredients, especially the gluten-free flour blend, are certified gluten-free to avoid any cross-contamination.

Fluffy Potato Buns You'll Love: Gluten and Dairy-Free Delight
Ingredients
Equipment
Method
- In a small bowl, combine the warm water with the active dry yeast and gently mix. Let sit for about 5 minutes until foamy.
- In a stand mixer, add the mashed potatoes, granulated sugar, and the egg. Mix on low for 1 minute until smooth.
- Add the dairy-free sour cream, melted vegan butter, and the foamy yeast mixture. Beat on medium for 30 seconds.
- In a separate bowl, whisk together the gluten-free flour blend, xanthan gum, and salt until well combined.
- Gradually add the dry mixture to the wet ingredients. Mix for about 3 minutes until slightly thick.
- Prepare your baking dish by spraying a 9" x 13" pan with cooking spray.
- Scoop portions into the greased dish and shape into rolls, ensuring they're evenly spaced.
- Cover the rolls and place in a warm environment. Let rise for 50-65 minutes until puffed up.
- Preheat your oven to 375°F (190°C).
- Bake for 25-30 minutes, or until the internal temperature reaches 205-210°F.
- Let cool in the pan for 5 minutes, then remove and serve warm.

Leave a Reply