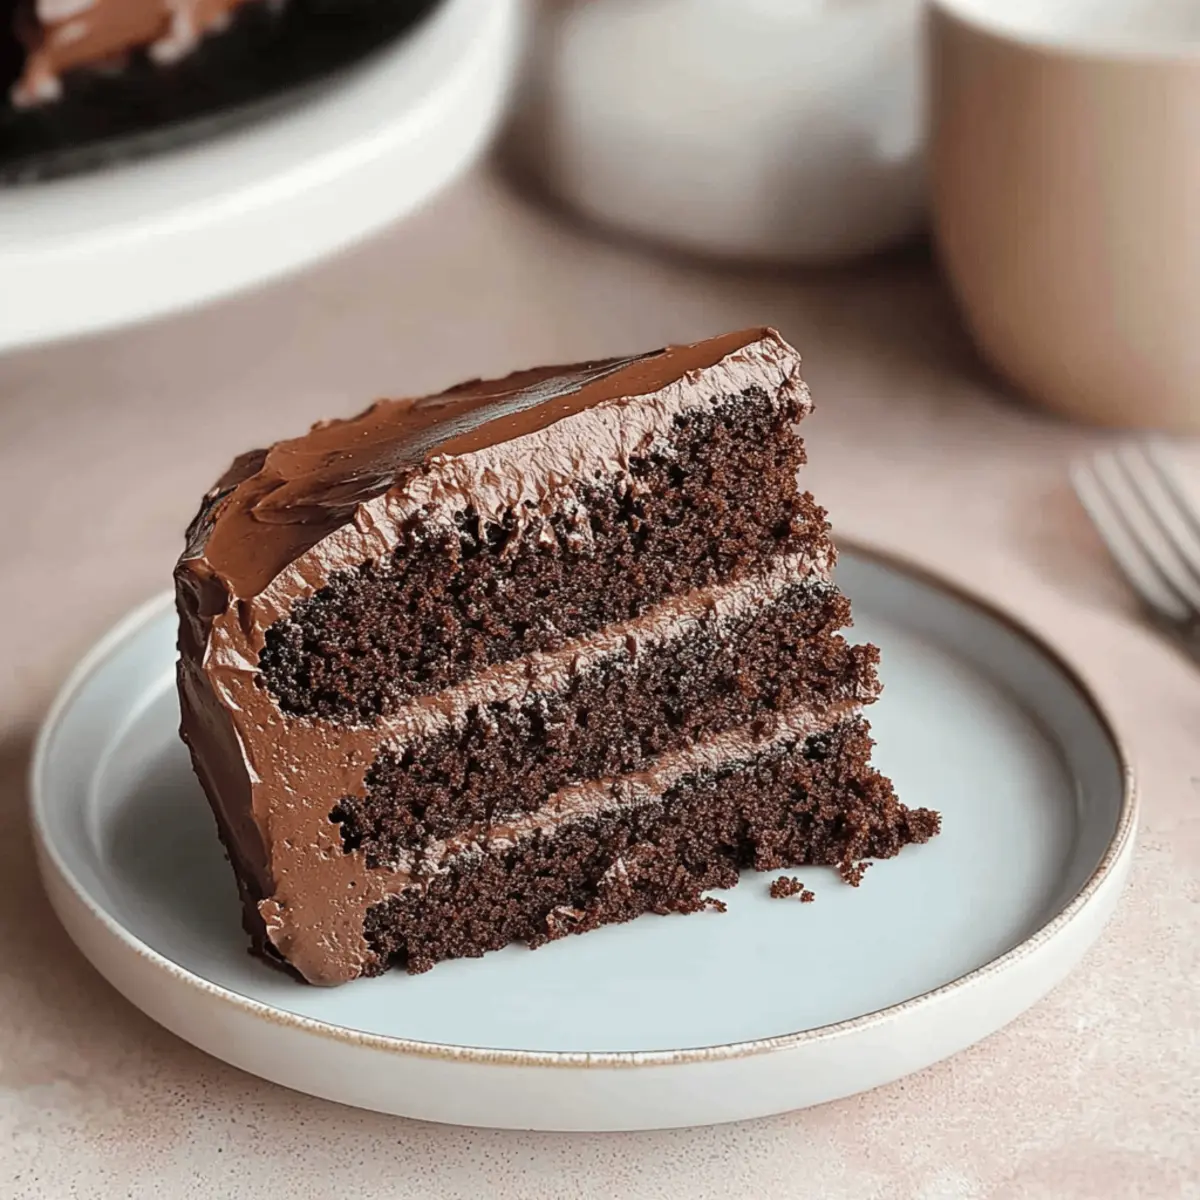
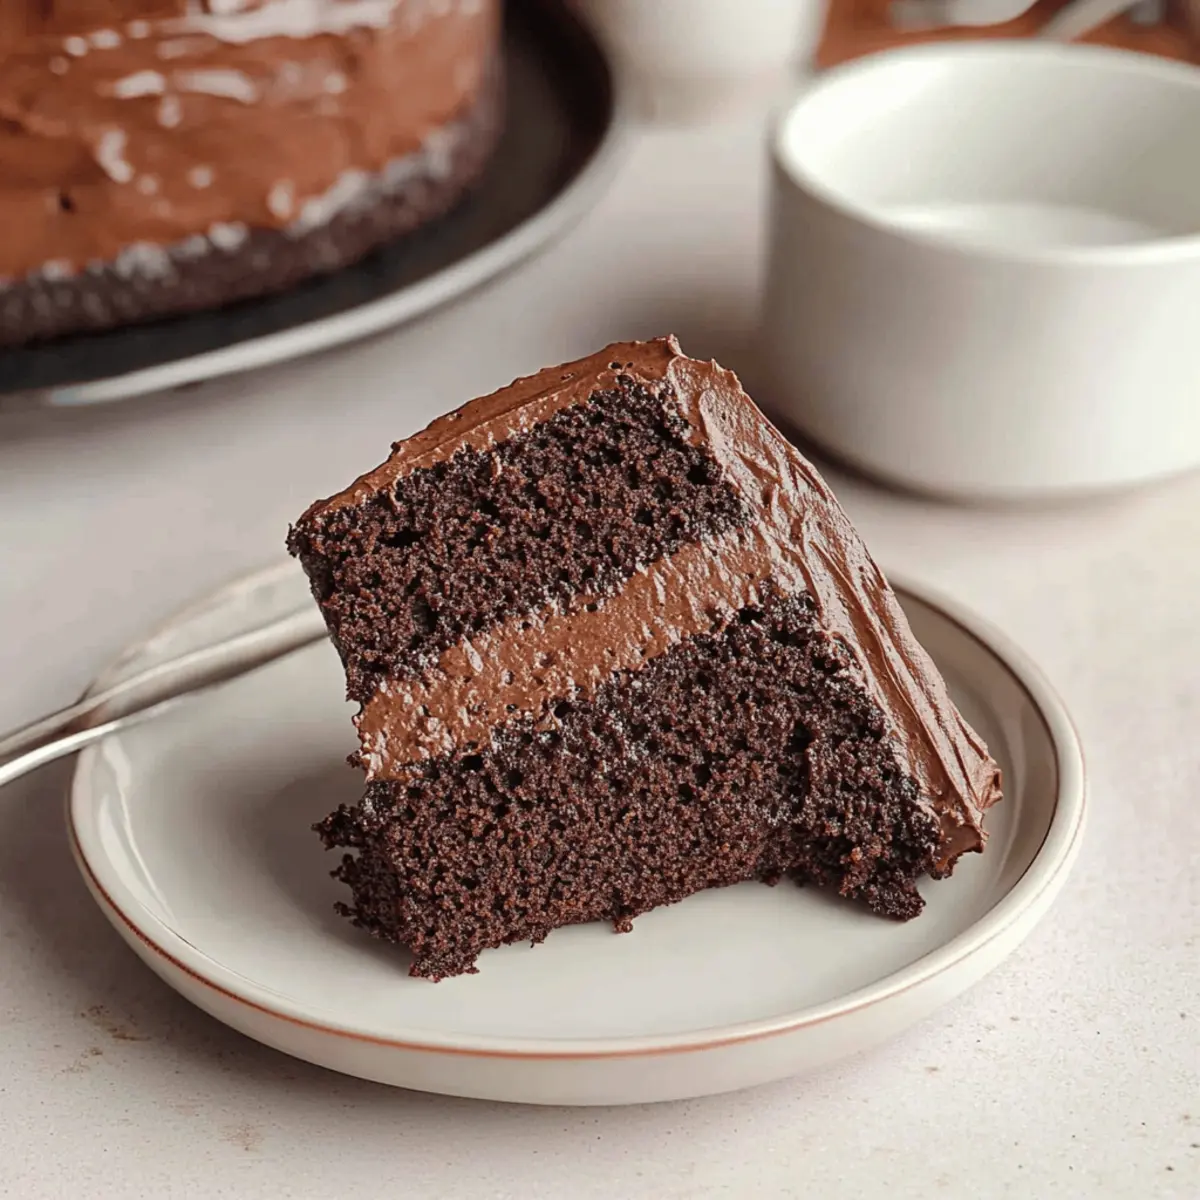
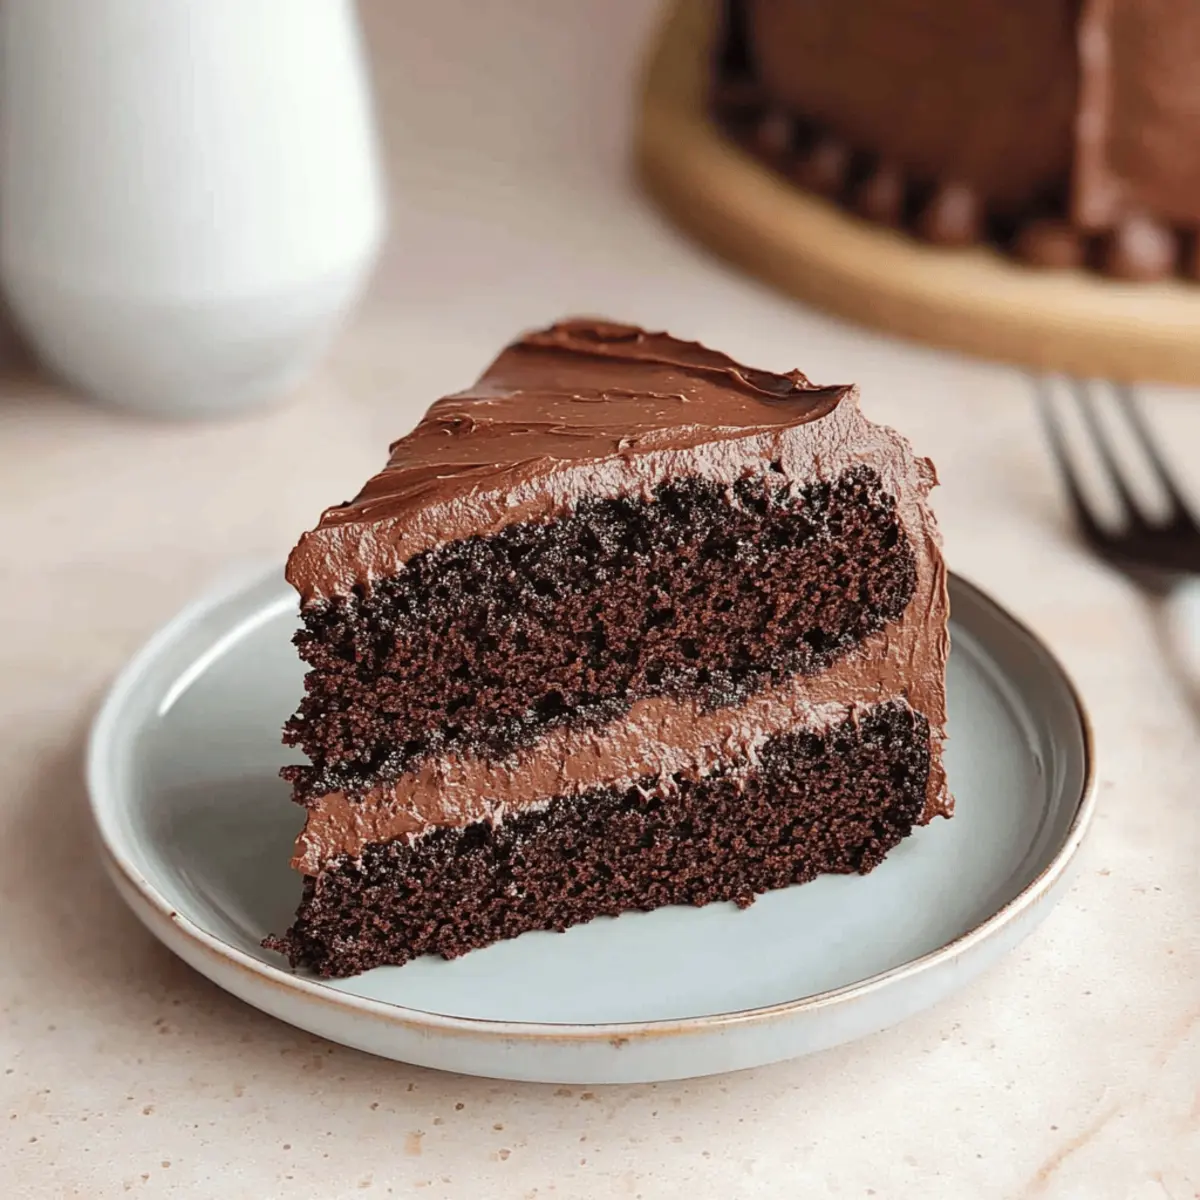
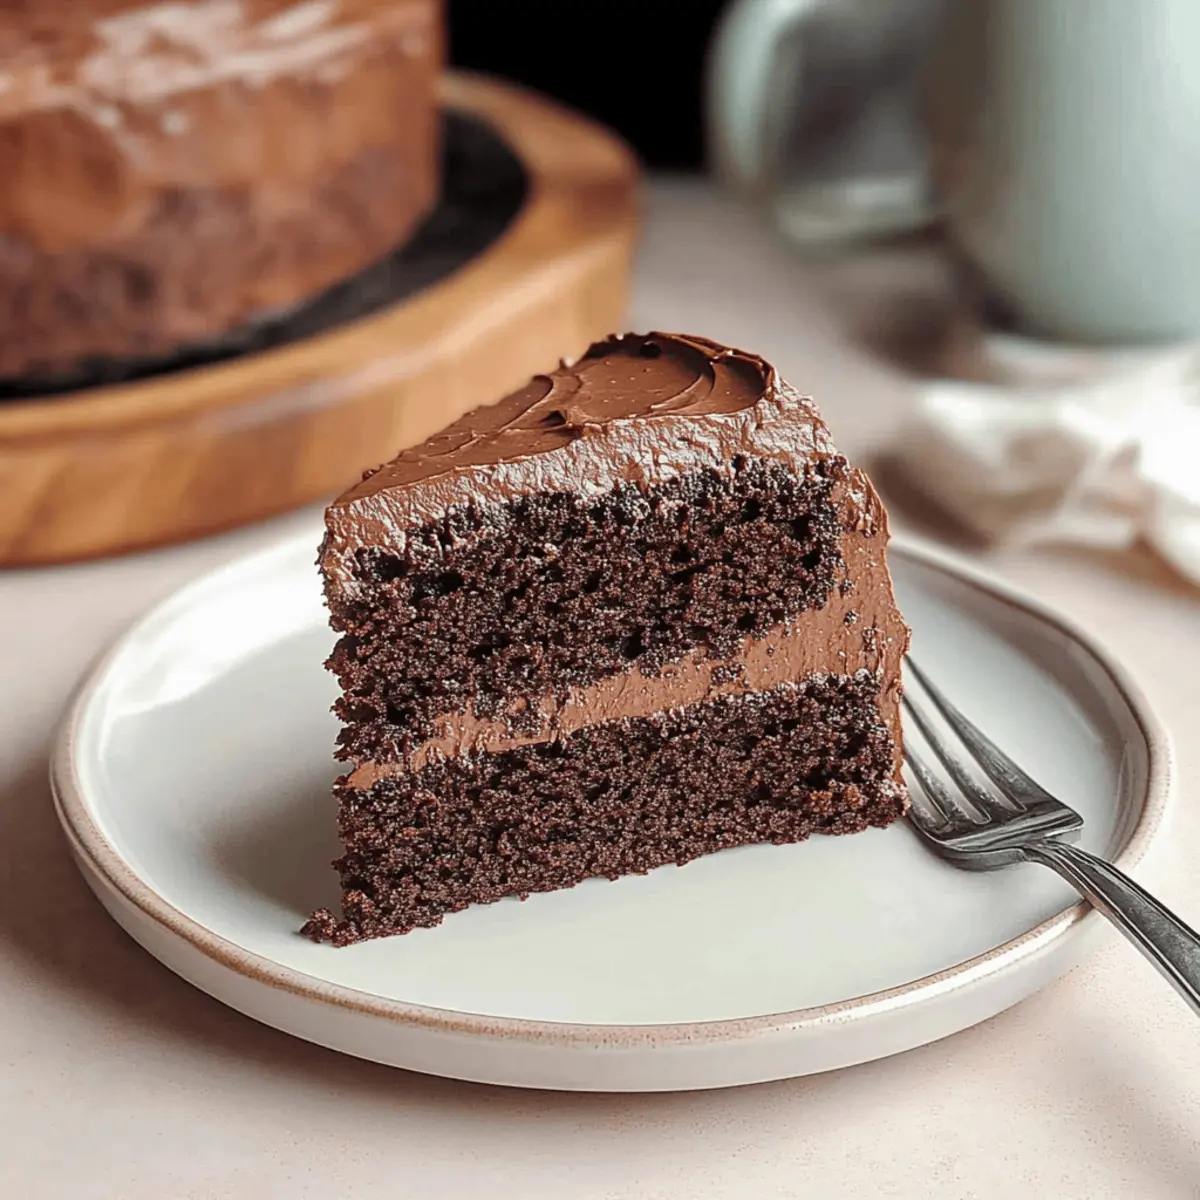
As I stood in my kitchen, the aroma of melting chocolate enveloped me like a warm embrace, instantly evoking cherished memories of joyful celebrations. That’s when I decided to recreate Matilda’s Chocolate Cake, a masterpiece that’s not only a stunning birthday treat but also a heartwarming nod to childhood favorites. This recipe comes together in just 20 minutes, utilizing simple pantry staples while still delivering an incredibly moist cake layered with a luxuriously fudgy sour cream frosting. If you’re searching for a crowd-pleaser that combines delightful nostalgia with effortless preparation, look no further. Can you guess how this delectable cake captures the essence of every sweet tooth’s dream? Let’s dive into the magic of baking!

Why Is Matilda’s Chocolate Cake a Must-Try?
Unforgettable Flavor: This cake bursts with decadent chocolate and rich sour cream frosting, creating a mouthwatering experience that will leave everyone craving more.
Speedy Preparation: With just 20 minutes of active time, you can whip up this fabulous cake, making it perfect for spontaneous celebrations or last-minute dessert cravings.
Versatile Delight: Not only is this cake ideal for birthdays, but it’s also a fantastic choice for holidays or potlucks, ensuring you’ll impress your guests time and again. Pair it with vanilla ice cream or a dollop of whipped cream for that extra treat moment!
Nostalgic Appeal: Inspired by the beloved film ‘Matilda’, this chocolate cake brings a cozy feeling of childhood joy, making it a delightful centerpiece for gatherings.
Simple Ingredients: Utilizing basic pantry staples means you can create something spectacular without a trip to the store. For an easy weekend bake, check out my Chocolate Zucchini Bread or the ever-popular Chocolate Poke Cake for more chocolate indulgence!
Matilda’s Chocolate Cake Ingredients
For the Cake
• Cocoa Powder – Provides a rich chocolate flavor; using Dutch-processed creates a smoother taste.
• Granulated Sugar – Sweetens the cake while keeping it moist.
• Vanilla Extract – Enhances the chocolate flavor; for a twist, try almond extract instead.
• Kosher Salt – Balances sweetness and intensifies flavors; use half the amount if you have fine salt.
• Eggs – Binds the ingredients together and adds moisture; ensure they are at room temperature for optimal mixing.
• All-Purpose Flour – Gives structure to the cake; substitute with gluten-free flour for a gluten-free option.
• Baking Soda & Baking Powder – Leavening agents that help create a light, fluffy texture; always check freshness for the best rise.
• Buttermilk – Adds moisture and depth; can be swapped with sour cream or yogurt, or make your own by mixing milk with lemon juice.
• Vegetable Oil – Adds moisture without altering the flavor; can also use canola or melted coconut oil.
• Very Hot Water – Hydrates cocoa to form a thinner batter, ensuring a moist cake.
For the Frosting
• Butter – Provides creaminess; opt for European-style butter for a richer flavor.
• Confectioners’ Sugar – Sweetens and thickens the frosting; sift to avoid lumps.
• Sour Cream – Adds richness to the frosting; Greek yogurt can work as a substitute if needed.
• Dark Chocolate – Deepens the frosting’s flavor; melt carefully to prevent burning and ensure a smooth mixture.
With these quality ingredients, you’re all set to create Matilda’s Chocolate Cake, a delightful dessert that promises to be a hit at any celebration!
Step‑by‑Step Instructions for Matilda’s Chocolate Cake
Step 1: Preheat the Oven
Begin by preheating your oven to 350°F (175°C). While the oven heats up, prepare two 8-inch round cake pans by lining the bottoms with parchment paper and greasing the sides. This ensures your cake layers slide out easily after baking, leaving behind a perfectly shaped Matilda’s Chocolate Cake.
Step 2: Whisk the Dry Ingredients
In a large mixing bowl, whisk together the all-purpose flour, cocoa powder, granulated sugar, baking powder, baking soda, and kosher salt until well combined, around 1-2 minutes. The mixture should be uniform and free of lumps. This dry blend is the foundation for your flavorful cake, so take your time to mix thoroughly.
Step 3: Combine the Wet Ingredients
In a separate large jug, combine the buttermilk, vegetable oil, eggs, and vanilla extract. Whisk this mixture until it becomes smooth and creamy, ensuring that all the ingredients are well incorporated. This step adds moisture and richness to Matilda’s Chocolate Cake, uplifting its overall flavor.
Step 4: Mix Wet and Dry Ingredients
Pour the wet ingredients into the bowl with the dry mixture. Stir gently with a spatula until just combined, being careful not to overmix. The batter should be slightly lumpy but not dry. After that, slowly pour in the very hot water while stirring continuously, creating a smooth, thin batter that promises a moist cake.
Step 5: Bake the Cake Layers
Divide the batter evenly between the prepared cake pans. Place them in the oven and bake for 35-40 minutes. Check for doneness by inserting a toothpick into the center of the cakes; it should come out clean or with a few moist crumbs. Once baked, remove the pans from the oven and let them cool for 10 minutes.
Step 6: Cool the Cake Layers
After cooling in the pans for 10 minutes, carefully run a butter knife along the edges and invert the cakes onto a wire rack. Peel off the parchment paper and allow the cake layers to cool completely. This step is crucial as frosting a warm cake can result in a melty mess rather than the delightful Matilda’s Chocolate Cake you desire.
Step 7: Prepare the Frosting
In a large mixing bowl, beat softened butter with confectioners’ sugar using a hand mixer until fluffy, about 2-3 minutes. Gradually mix in the cocoa powder, sour cream, melted dark chocolate, and a pinch of salt, beating until smooth. This luscious frosting is the perfect complement to Matilda’s Chocolate Cake, enriching each bite.
Step 8: Frost the Cake
Once the cake layers have cooled completely, place one layer on a serving plate. Generously spread frosting over the top before carefully layering the second cake on top. Use the remaining frosting to cover the top and sides of the cake, creating a beautifully decadent finish that showcases your homemade Matilda’s Chocolate Cake beautifully.

Expert Tips for Matilda’s Chocolate Cake
-
Room Temperature Ingredients: Ensure all ingredients are at room temperature for an even mix, resulting in a perfectly tender Matilda’s Chocolate Cake.
-
Use a Scale: For best results, measure your dry ingredients with a kitchen scale instead of cups. This ensures accuracy and consistency in texture.
-
Don’t Overmix: When combining wet and dry ingredients, mix until just incorporated. Overmixing can lead to a dense cake, while a light touch keeps it fluffy.
-
Check for Freshness: Always check the expiration dates on baking soda and baking powder. Fresh leavening agents help the cake rise beautifully.
-
Cooling Time: Let your cake layers cool completely before frosting. This prevents the frosting from melting and maintains a beautiful presentation.
Make Ahead Options
Matilda’s Chocolate Cake is a fantastic option for meal prep, allowing you to save time on busy occasions! You can prepare the cake layers up to 24 hours in advance. Simply bake, cool, and wrap each layer tightly in plastic wrap to preserve moisture, then refrigerate. The frosting can also be made up to 3 days ahead; store it in an airtight container in the fridge. When you’re ready to serve, remove the cake layers and frosting from the refrigerator and let them sit at room temperature for about 30 minutes. Frost and assemble your cake as usual, and you’ll enjoy a deliciously moist treat that’s just as fabulous as if it were made fresh!
Matilda’s Chocolate Cake Variations
Feel free to get creative and personalize your Matilda’s Chocolate Cake to suit your tastes and dietary needs!
-
Cupcake Transformation: Bake the batter in cupcake liners for adorable mini cakes, reducing baking time to 20-25 minutes. Perfect for parties or lunchboxes!
-
Gluten-Free Option: Swap the all-purpose flour for a gluten-free blend, ensuring everyone can enjoy this chocolatey delight without worry.
-
Nutty Brownie Flavor: Fold in chopped walnuts or pecans into the batter for a delightful crunch. This adds an earthy richness that pairs beautifully with chocolate.
-
Fruit-Infused Twist: Incorporate fresh raspberries or cherries into the batter before baking, creating a fruity contrast to the rich chocolate.
-
Different Frosting: Swap the sour cream frosting for a tangy cream cheese frosting. This variation adds a delightful zing that complements the cake’s sweetness.
-
Mocha Boost: Add a teaspoon of instant coffee granules to the batter to enhance the chocolate richness. Coffee and chocolate are a match made in heaven!
-
Chocolate Chip Surprise: Mix in dark chocolate or semi-sweet chocolate chips into the batter for extra fudgy bites. Every slice will be a delightful surprise!
-
Spicy Heat: For those who love a kick, add a pinch of cayenne pepper to the frosting for a surprising heat. It’s a unique twist that’s sure to impress adventurous eaters!
For another delightful treat, consider trying a slice of Snickerdoodle Bundt Cake after your delicious Matilda’s Chocolate Cake. Happy baking!
How to Store and Freeze Matilda’s Chocolate Cake
Fridge: Keep Matilda’s Chocolate Cake wrapped tightly in plastic wrap or stored in an airtight container for up to 5 days. This helps retain moisture and flavor.
Freezer: You can freeze the cake for up to 2 months. Wrap each layer separately in plastic wrap and then in aluminum foil to prevent freezer burn.
Reheating: To enjoy the cake after freezing, simply allow it to defrost in the fridge overnight before serving. Enjoy it cold or bring it to room temperature for the best flavor.
Portioning Tip: Consider slicing the cake into individual portions before freezing, making it easier to enjoy a slice whenever the chocolate craving hits!
What to Serve with Matilda’s Chocolate Cake?
Create the perfect celebration spread that delights the senses and complements the indulgence of your cake.
-
Vanilla Ice Cream: A classic pairing, the creaminess balances the rich chocolate, creating a blissful contrast with each bite.
-
Fresh Berries: Strawberries or raspberries add a burst of freshness and tartness, beautifully cutting through the cake’s sweetness.
-
Whipped Cream: Light and airy, it enhances the cake’s texture while adding a touch of elegance to each serving.
-
Chocolate Ganache: For the ultimate chocolate lover, drizzle rich chocolate ganache over each slice for a luxurious finish.
-
Hazelnut Spread: Spread a thin layer between slices for a delectable nutty twist that elevates the chocolate experience.
-
Espresso or Coffee: Serving with a warm cup of coffee or espresso not only complements the cake but also enhances its deep chocolate notes.
-
Almond Biscotti: Crunchy biscotti provide a delightful texture contrast, perfect for dipping while you indulge in your slice.
-
Chocolate-Covered Strawberries: A sweet, romantic touch that brings an extra layer of indulgence to your dessert table.
-
Mint Tea: Refreshing and fragrant, mint tea cleanses the palate, making it a delightful accompaniment to the rich flavors of the cake.

Matilda’s Chocolate Cake Recipe FAQs
What type of cocoa powder should I use for Matilda’s Chocolate Cake?
I recommend using Dutch-processed cocoa powder for a smoother taste in Matilda’s Chocolate Cake. Regular unsweetened cocoa powder works too, but Dutch-processed gives it an indulgent richness that enhances the overall flavor.
How should I store Matilda’s Chocolate Cake?
Keep your delicious Matilda’s Chocolate Cake wrapped tightly in plastic wrap or stored in an airtight container in the fridge for up to 5 days. This helps maintain moisture and flavor, ensuring every slice stays delectable!
Can I freeze Matilda’s Chocolate Cake?
Absolutely! You can freeze the cake for up to 2 months. Make sure to wrap each layer separately in plastic wrap and then in aluminum foil to prevent freezer burn. When ready to enjoy, defrost the cake in the fridge overnight.
How can I tell when my cake is done baking?
Check doneness by inserting a toothpick into the center of the cake. If it comes out clean or with a few moist crumbs, it’s ready! Remember, every oven is different, so start checking around the 35-minute mark.
Are there any dietary alternatives I should consider?
If you have dietary restrictions, you can easily make Matilda’s Chocolate Cake gluten-free by substituting all-purpose flour with a gluten-free blend. For those with dairy allergies, substitute buttermilk with plant-based milk mixed with a little vinegar for acidity and sour cream with dairy-free yogurt.
What should I do if my cake layers dome while baking?
To prevent domed cake layers, make sure to use the correct oven temperature and avoid overmixing the batter. If the cakes do dome, simply slice the tops off to create a flat surface for frosting. Don’t worry, they’ll still taste fantastic!

Matilda's Chocolate Cake: A Deliciously Moist Celebration Delight
Ingredients
Equipment
Method
- Preheat your oven to 350°F (175°C). Prepare two 8-inch round cake pans by lining with parchment paper and greasing the sides.
- In a large mixing bowl, whisk together the flour, cocoa powder, sugar, baking powder, baking soda, and kosher salt until well combined.
- In a separate jug, combine the buttermilk, vegetable oil, eggs, and vanilla extract. Whisk until smooth and creamy.
- Pour the wet ingredients into the dry mixture. Stir gently with a spatula until just combined. Slowly pour in the very hot water while stirring continuously.
- Divide the batter evenly between the prepared cake pans. Bake for 35-40 minutes. Check for doneness by inserting a toothpick into the center.
- Cool the cakes in the pans for 10 minutes, then carefully invert onto a wire rack to cool completely.
- In a bowl, beat softened butter with confectioners' sugar until fluffy. Gradually mix in cocoa powder, sour cream, melted dark chocolate, and a pinch of salt.
- Once the cakes are cooled, place one layer on a serving plate. Spread frosting over the top and layer the second cake before frosting the top and sides.

Leave a Reply