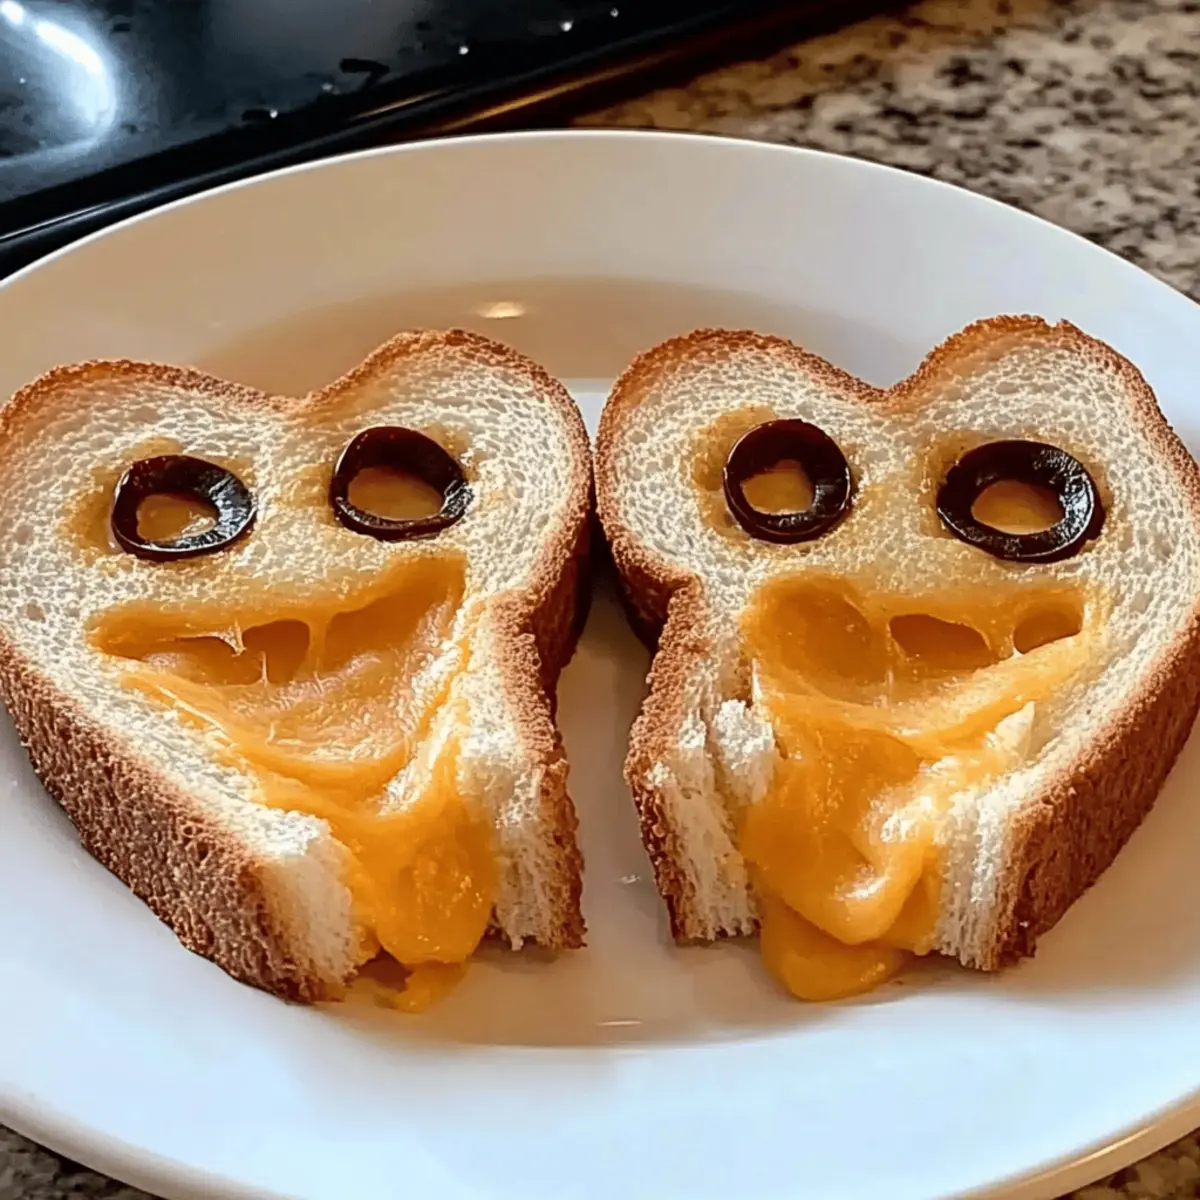
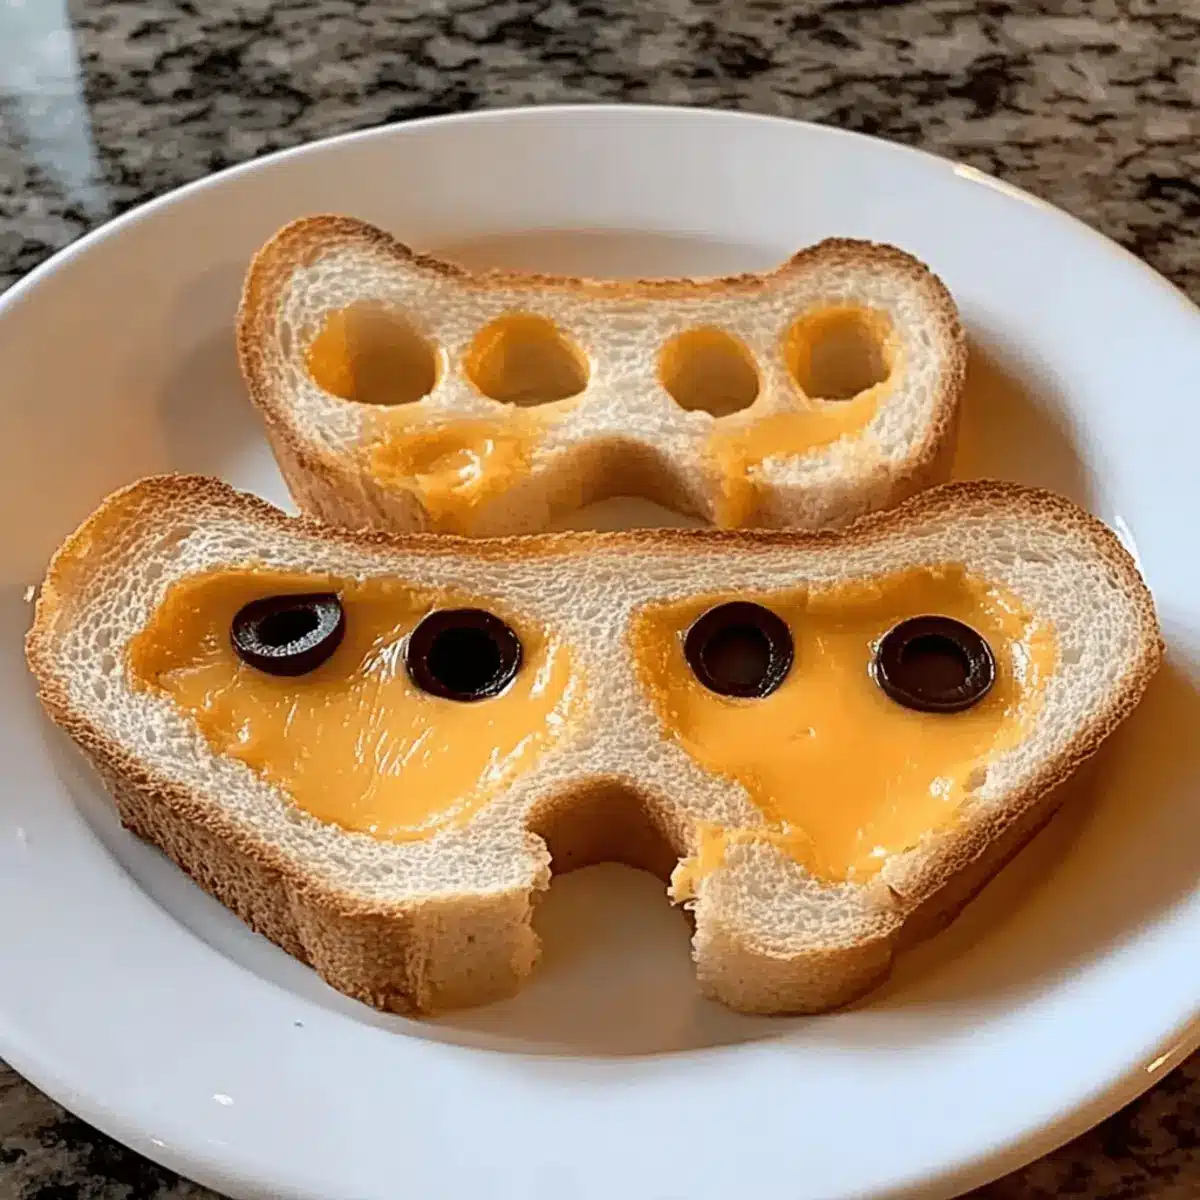
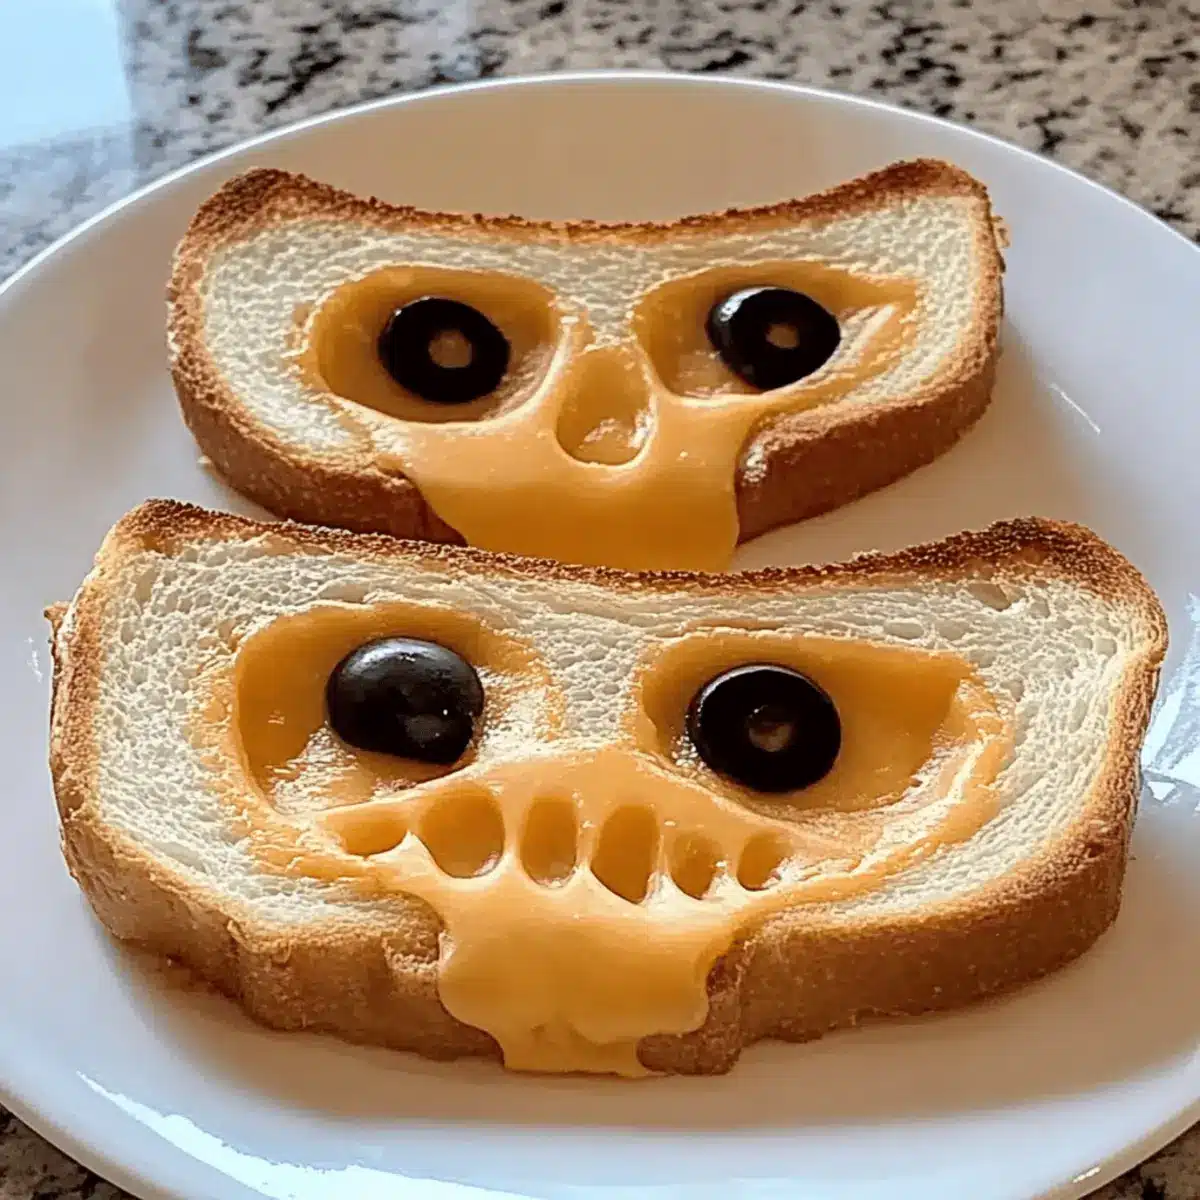
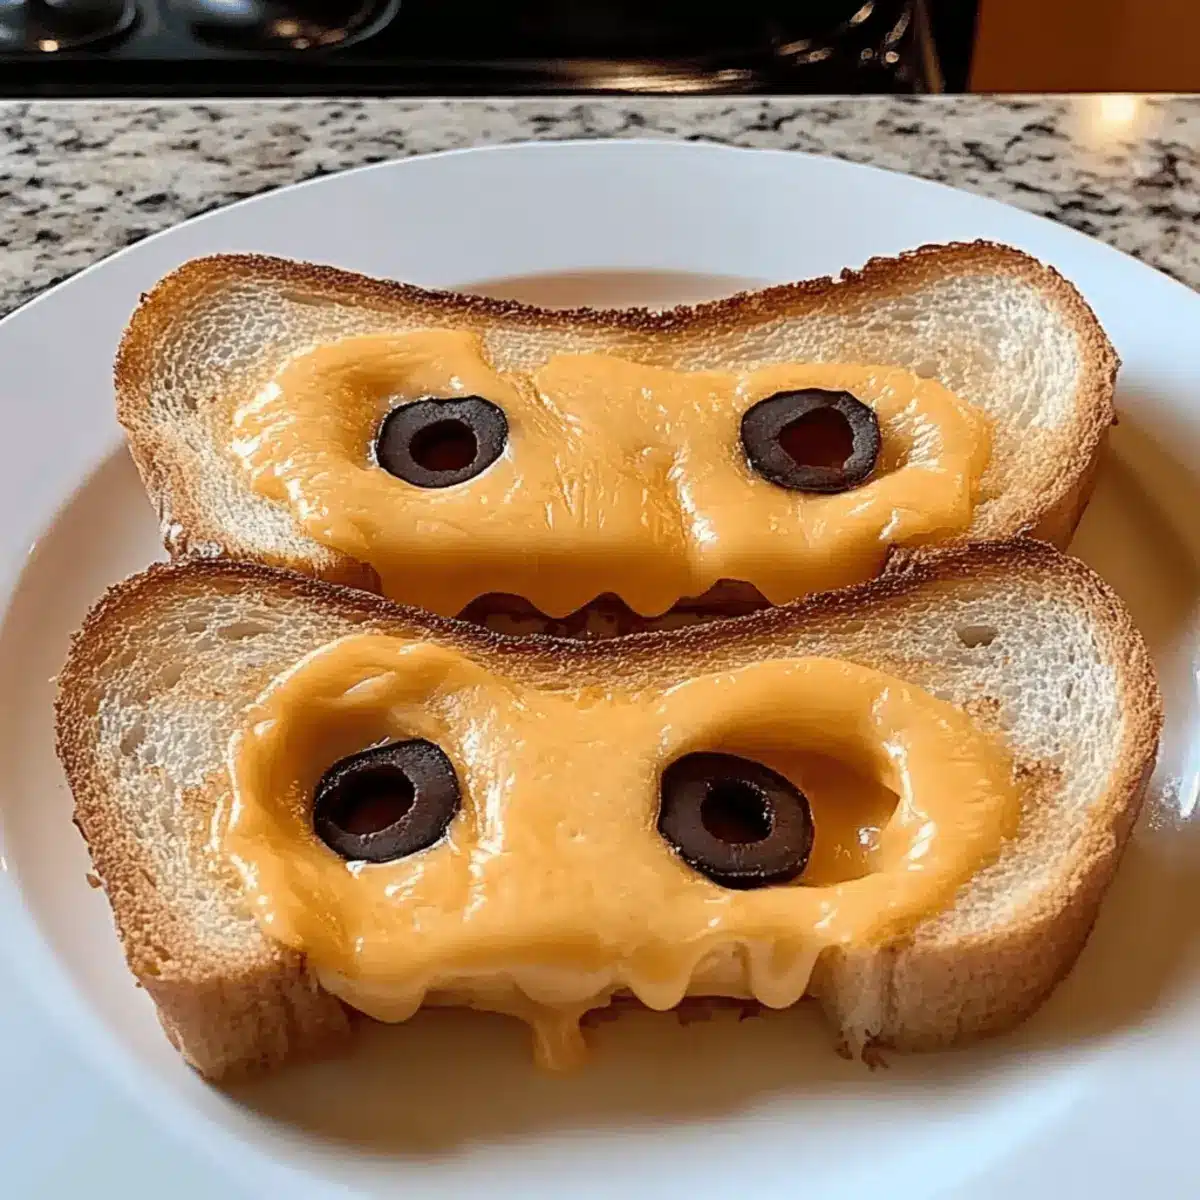
As autumn leaves begin to dance through the crisp air, the thrill of Halloween creeps closer, evoking memories of fun and creativity in the kitchen. Enter the Spooktacular Halloween Grilled Cheese, a playful twist on a traditional favorite that brings both comfort and a dose of whimsy. Not only is this sandwich quick to whip up, taking just 20 minutes, but its vibrant shapes and festive decorations make it a true crowd-pleaser for kids and adults alike. Picture golden, crusty bread enveloping gooey, melted cheese, all while you unleash your artistic side with charming ghostly and batty designs. Who knew elevating a simple grilled cheese could be this fun and delicious? Ready to get your spooky creativity flowing? Let’s dive in!

Why Is This Halloween Grilled Cheese Special?
Quick and Easy: You’ll whip this up in just 20 minutes, making it perfect for busy fall evenings.
Creative Expression: Unleash your inner artist by transforming your grilled cheese into fun shapes, captivating both kids and adults alike!
Irresistible Gooeyness: With layers of melted cheddar and mozzarella, every bite offers a comforting explosion of flavor that’s hard to resist.
Customizable Delight: Mix and match cheeses and decorations—try pepper jack for a spicy twist or swap out olives for colorful veggies.
Festive Appeal: It’s not just about taste; this sandwich adds a spooky charm to your Halloween celebrations, making your meal memorable.
Pair this treat with a bold Cheese Raspberry Mousse for an unforgettable Halloween feast!
Halloween Grilled Cheese Ingredients
For the Sandwich
• Sourdough Bread – The perfect base for your Halloween grilled cheese; can be substituted with whole grain or gluten-free options.
• Shredded Cheddar Cheese – Provides a rich, sharp flavor that’s wonderfully comforting; try sharp, mild, or smoked for variety.
• Shredded Mozzarella Cheese – Brings delightful creaminess and gooeyness; feel free to replace it with provolone or gouda for different textures.
• Butter – Essential for grilling, it enhances flavor and browning; olive oil or dairy-free butter works wonderfully too.
For Decoration
• Black Olives – Great for creating spooky eyes on your sandwich; capers or cherry tomatoes can be fun substitutes.
• Green Peppers – Perfect for ghost or pumpkin shapes; cucumbers or other veggies can also add a creative touch.
Get ready to bring your Halloween grilled cheese to life with these imaginative ingredients!
Step‑by‑Step Instructions for Halloween Grilled Cheese
Step 1: Prep the Skillet
Begin by preheating a non-stick skillet over medium heat for about 2 minutes. This ensures your Halloween grilled cheese will cook evenly and develop that irresistible golden crust. Having the skillet warmed up is key to achieving that perfect crispy exterior while keeping the cheesy interior gooey and delightful.
Step 2: Butter the Bread
While your skillet warms up, generously spread butter on one side of each slice of sourdough bread. Make sure to cover every corner with an even layer for maximum flavor and browning. If you prefer, you can also use olive oil or dairy-free butter as alternatives to cater to your dietary needs, but the classic butter truly enhances the taste.
Step 3: Assemble the Sandwich
Place one slice of the bread, butter-side down, in the hot skillet. Layer on a generous portion of shredded cheddar and mozzarella cheese, and then top it with another slice of bread, butter-side up. This assembly creates the ultimate cheesy goodness that defines your Halloween grilled cheese, ready to be grilled!
Step 4: Grill
Cook the sandwich in the skillet for about 3-4 minutes or until the bottom slice is a beautiful golden brown. Carefully flip the sandwich using a spatula and grill the other side until it reaches the same golden perfection and the cheese melts deliciously. Keep an eye on it to avoid burning, adjusting the heat as needed.
Step 5: Shape the Sandwich
Once both sides are perfectly grilled, remove your Halloween grilled cheese from the skillet. Use cookie cutters to cut the sandwich into whimsical shapes like ghosts or bats, adding a fun twist that makes it visually appealing. This playful step will not only excite kids but also bring a smile to adults’ faces.
Step 6: Decorate
Now it’s time to unleash your creativity! Use black olive slices to create eyes on your spooky shapes, and cut green peppers into fun designs like little ghosts or pumpkins for an added festive touch. This decoration step allows you to make each sandwich as unique as you wish, transforming them into adorable Halloween treats.
Step 7: Serve
Transfer your beautifully crafted Halloween grilled cheese to a plate and serve immediately while it’s still warm and gooey. The charming shapes combined with the irresistible melted cheese make for a delightful treat that’s perfect for any Halloween gathering. Enjoy the smiles that your spooky creations evoke!

Make Ahead Options
Preparing the Spooktacular Halloween Grilled Cheese in advance is a fantastic way to save time on those busy fall evenings! You can assemble the sandwiches (without cooking) up to 24 hours ahead of time by layering the cheeses between the buttered bread slices. To ensure optimal quality, keep the assembled sandwiches tightly wrapped in plastic wrap and store them in the refrigerator. When you’re ready to serve, simply heat your skillet and grill the sandwiches for about 3-4 minutes on each side until golden brown and the cheese melts beautifully. This way, you’ll enjoy all the gooeyness and festive charm of your Halloween grilled cheese with minimal effort!
Halloween Grilled Cheese Variations
Get ready to unleash your creativity and make this Halloween Grilled Cheese even more exciting with delightful swaps and twists!
-
Spicy Twist: Use pepper jack cheese for a fiery kick that will thrill those who enjoy a little heat in their comfort food.
-
Smoky Flavor: Replace cheddar with gouda for a deliciously smoky taste that adds depth to your spooky sandwich.
-
Plant-Based Option: Swap regular butter for dairy-free butter or olive oil, ensuring everyone can enjoy this festive treat regardless of dietary preferences.
-
Cute Veggie Eyes: Trade black olives for sliced cherry tomatoes to create vibrant, fruity “eyes” on your ghostly creations—this adds a pop of color!
-
Whimsical Shapes: Instead of using just green peppers, try cucumbers or carrots to create fun and crunchy decorations that kids will adore.
-
Whole Grain Goodness: Choose whole grain or gluten-free bread as an alternative to sourdough for a healthier twist that everyone can enjoy.
-
Colorful Cheese: For a fun surprise, add food coloring to your cheese to create an eye-catching mix that adds to the festive spirit. Everyone loves a colorful meal!
-
Hearty Side: Pair your Halloween grilled cheese with a warm bowl of tomato soup, perhaps tinted with a splash of food coloring for an extra seasonal touch, making it a spook-tacular complete meal.
Your Halloween Grilled Cheese is a canvas waiting for your flair! Don’t forget to explore options like a Churro Cheesecake Wow for a delightful dessert after this fun meal.
Expert Tips for Halloween Grilled Cheese
• Cheese Combos: Experiment with different cheeses like pepper jack for heat or gouda for a smoky flavor. It’s a fun way to discover new favorites.
• Even Heating: Maintain consistent heat while grilling to prevent burning. Adjust the temperature as needed to ensure both sides cook evenly.
• Crispy Perfection: For an extra crispy crust, press down lightly on the sandwich with a spatula while grilling—it helps achieve that golden finish.
• Colorful Aesthetics: Add food coloring to your cheese or bread to intensify the Halloween vibe. The visual appeal will make your Halloween grilled cheese even more exciting!
• Creative Shapes: Use various cookie cutters for fun designs beyond ghosts and bats. Think pumpkins or spooky monsters, adding to the festive fun!
• Quick Serve: Serve immediately while warm to enjoy the gooeyness at its best. The warm, melted cheese is key to a satisfying Halloween meal!
How to Store and Freeze Halloween Grilled Cheese
Fridge: Wrap leftover Halloween grilled cheese in foil or place in an airtight container to maintain freshness for up to 3 days. This keeps the sandwich from drying out while stored.
Freezer: For longer storage, freeze ungrilled sandwiches wrapped tightly in plastic wrap and foil. They can be stored for up to 2 months—perfect for a future quick meal.
Reheating: Thaw frozen sandwiches overnight in the fridge, then reheat in a skillet on low heat for 5-7 minutes. This ensures the cheese melts beautifully without burning the bread.
Serve Warm: Enjoy your stored Halloween grilled cheese warm for the best experience, as the flavors and gooey texture shine through when heated!
What to Serve with Spooktacular Halloween Grilled Cheese
Embrace the festive spirit with these ideal pairings that elevate your Halloween dining experience.
-
Tomato Soup: A classic companion, this comforting soup is perfect for dipping your grilled cheese, enhancing its cheesy goodness. You can even dye it orange for a Halloween twist!
-
Pumpkin Spiced Apple Cider: Warm cider infused with pumpkin spice adds a cozy touch to your meal, capturing the essence of autumn in each sip. Enjoy its comforting warmth alongside your grilled creation.
-
Roasted Veggie Platter: Crisp, colorful veggies not only add freshness but also create a beautiful contrast to the richness of the grilled cheese. Carrots, broccoli, and bell peppers bring seasonal vibrancy to your plate.
-
Crispy Sweet Potato Fries: These offer a satisfying crunch and sweetness that pairs wonderfully with gooey cheese. Dip them in your favorite sauce for an extra burst of flavor.
-
Green Salad with Apples: A light mix of greens with thinly sliced apples brings a refreshing balance to the richness of your Halloween grilled cheese. Toss with a tangy vinaigrette for a bright finish.
-
Dark Chocolate Ghosts: For a delightful treat, serve ghost-shaped dark chocolate—both spooky and sweet—to satisfy that Halloween sweet tooth. These make for a fun end to your meal!
-
Spooky Mocktails: Create colorful, fizzy drinks with fruit juices and sparkling water, garnished with gummy worms or spooky fruit shapes. These playful beverages add festive flair to the table.

Halloween Grilled Cheese Recipe FAQs
What type of bread is best for Halloween grilled cheese?
Sourdough bread is an excellent choice due to its sturdy texture and lovely crust. However, you can substitute it with whole grain or gluten-free options if you prefer. Just make sure the bread can hold the fillings without falling apart!
How should I store leftover Halloween grilled cheese?
Wrap your leftover Halloween grilled cheese in foil or place it in an airtight container to keep it fresh for up to 3 days. This method helps prevent the bread from becoming soggy while maintaining its deliciousness for a delightful reheated snack.
Can I freeze Halloween grilled cheese?
Absolutely! For freezing, wrap the ungrilled sandwiches tightly in plastic wrap and then foil. They can be stored in the freezer for up to 2 months. When you’re ready to enjoy, just thaw them overnight in the fridge and reheat in a skillet on low heat for 5-7 minutes.
What’s the best way to prevent my grilled cheese from burning?
To ensure even grilling, keep your skillet at medium heat and adjust it if needed. Cooking each side for about 3-4 minutes allows for the perfect golden brown crust while melting the cheese inside. Press down gently with a spatula for an extra crispy finish!
Are there any dietary considerations for Halloween grilled cheese?
If you’re catering to food allergies, you can use lactose-free cheese alternatives, gluten-free bread, or even dairy-free butter for grilling. Make sure to check ingredient labels to keep things safe for everyone. This way, everyone can enjoy the spooktacular treat without worry!
What cheese combinations can I use for a unique Halloween grilled cheese?
Mixing cheeses can add a delightful twist! Try adding pepper jack for a bit of spice, or incorporate gouda for its smoky flavor. You can even get creative with different seasonal cheeses available, sparking fun surprises in every bite!

Halloween Grilled Cheese That Will Haunt Your Taste Buds
Ingredients
Equipment
Method
- Begin by preheating a non-stick skillet over medium heat for about 2 minutes.
- Generously spread butter on one side of each slice of sourdough bread.
- Place one slice of the bread, butter-side down, in the skillet, layer with cheese, and top with another slice of bread, butter-side up.
- Cook the sandwich for about 3-4 minutes, flipping until both sides are golden brown.
- Remove the sandwich and cut into fun shapes using cookie cutters.
- Use black olive slices for eyes and cut green peppers into fun designs to decorate.
- Serve immediately while warm and gooey.

Leave a Reply