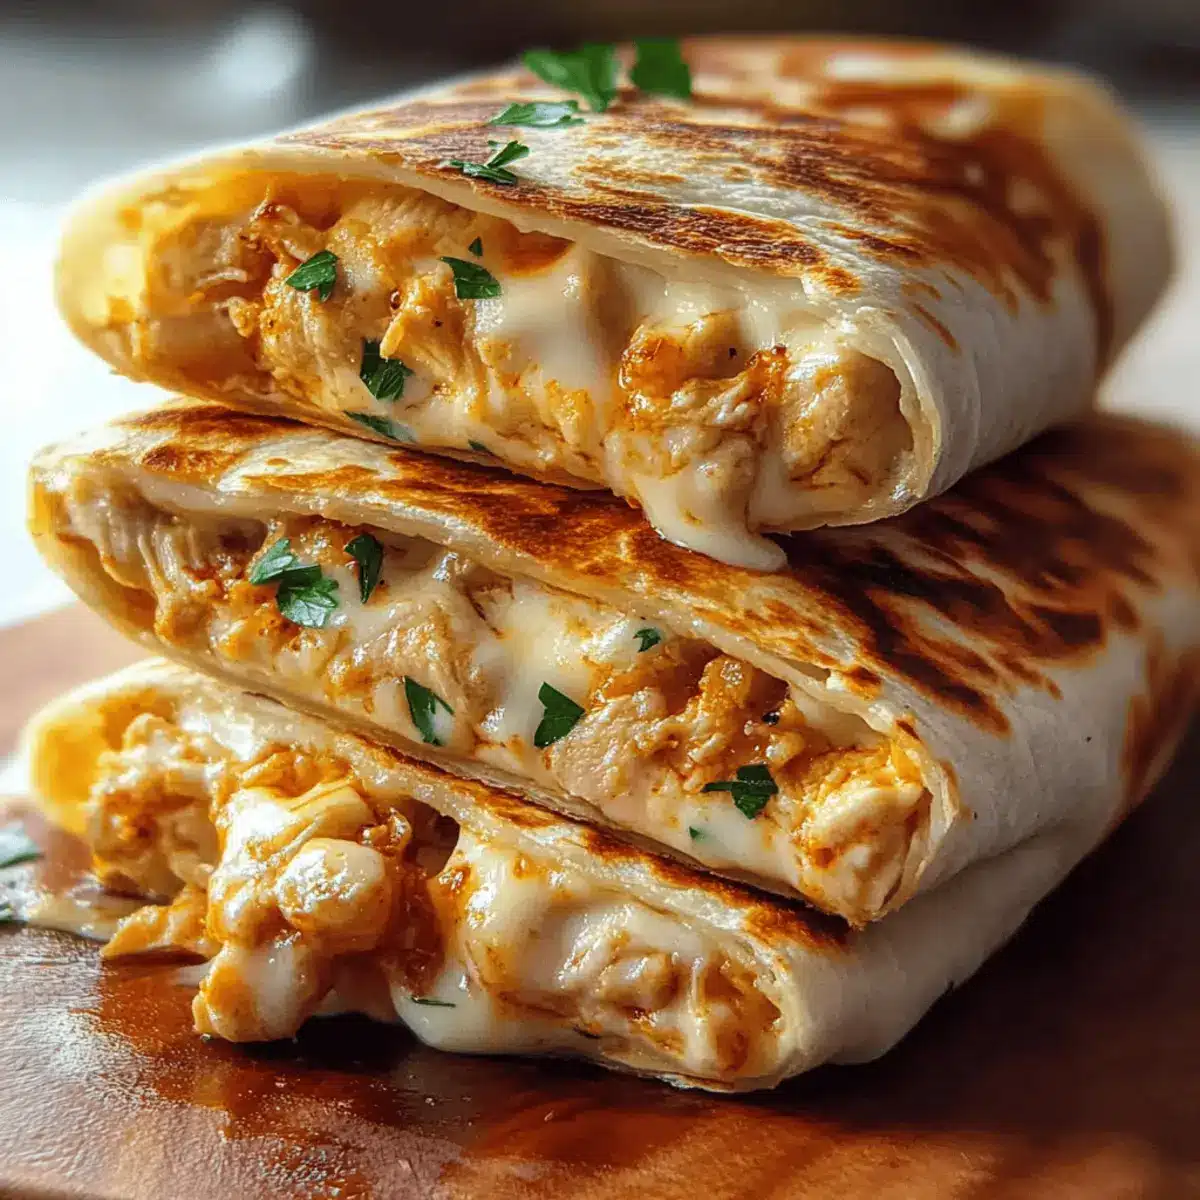
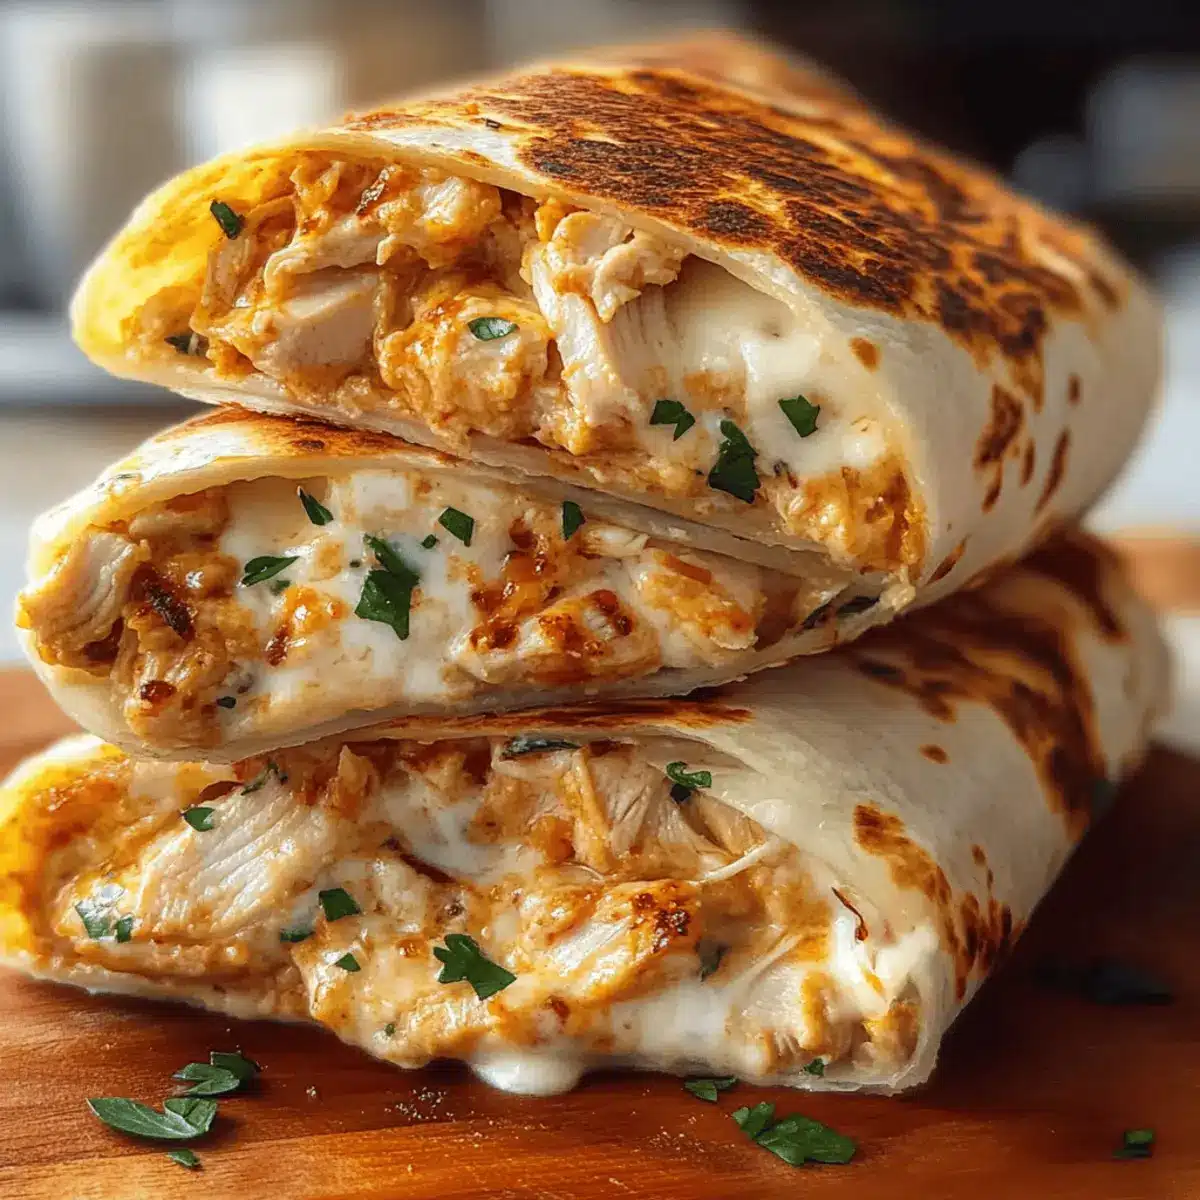
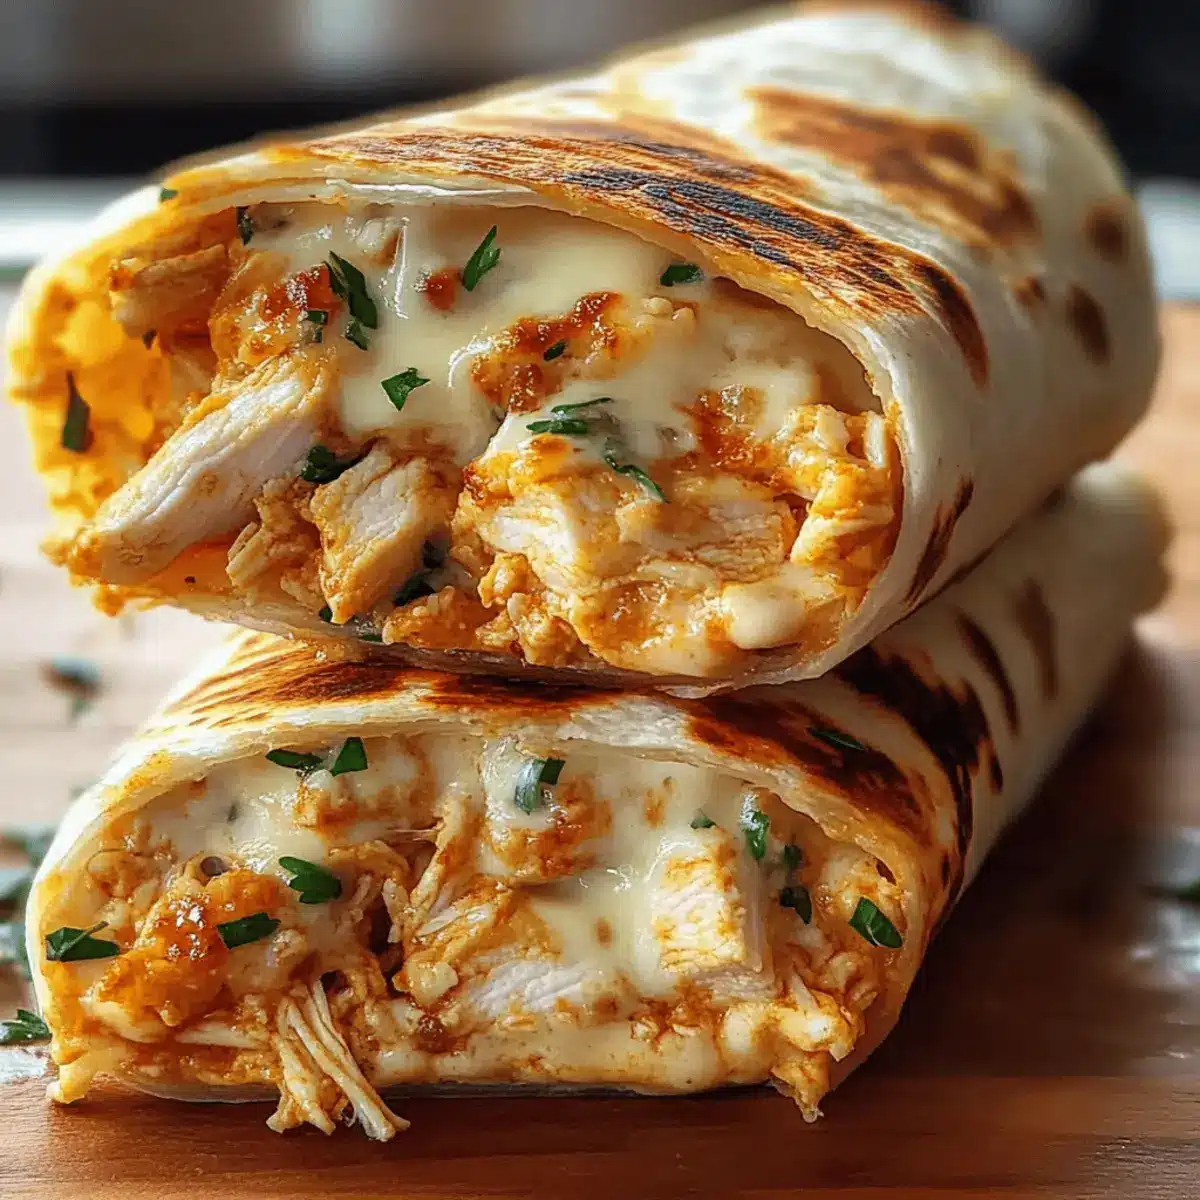
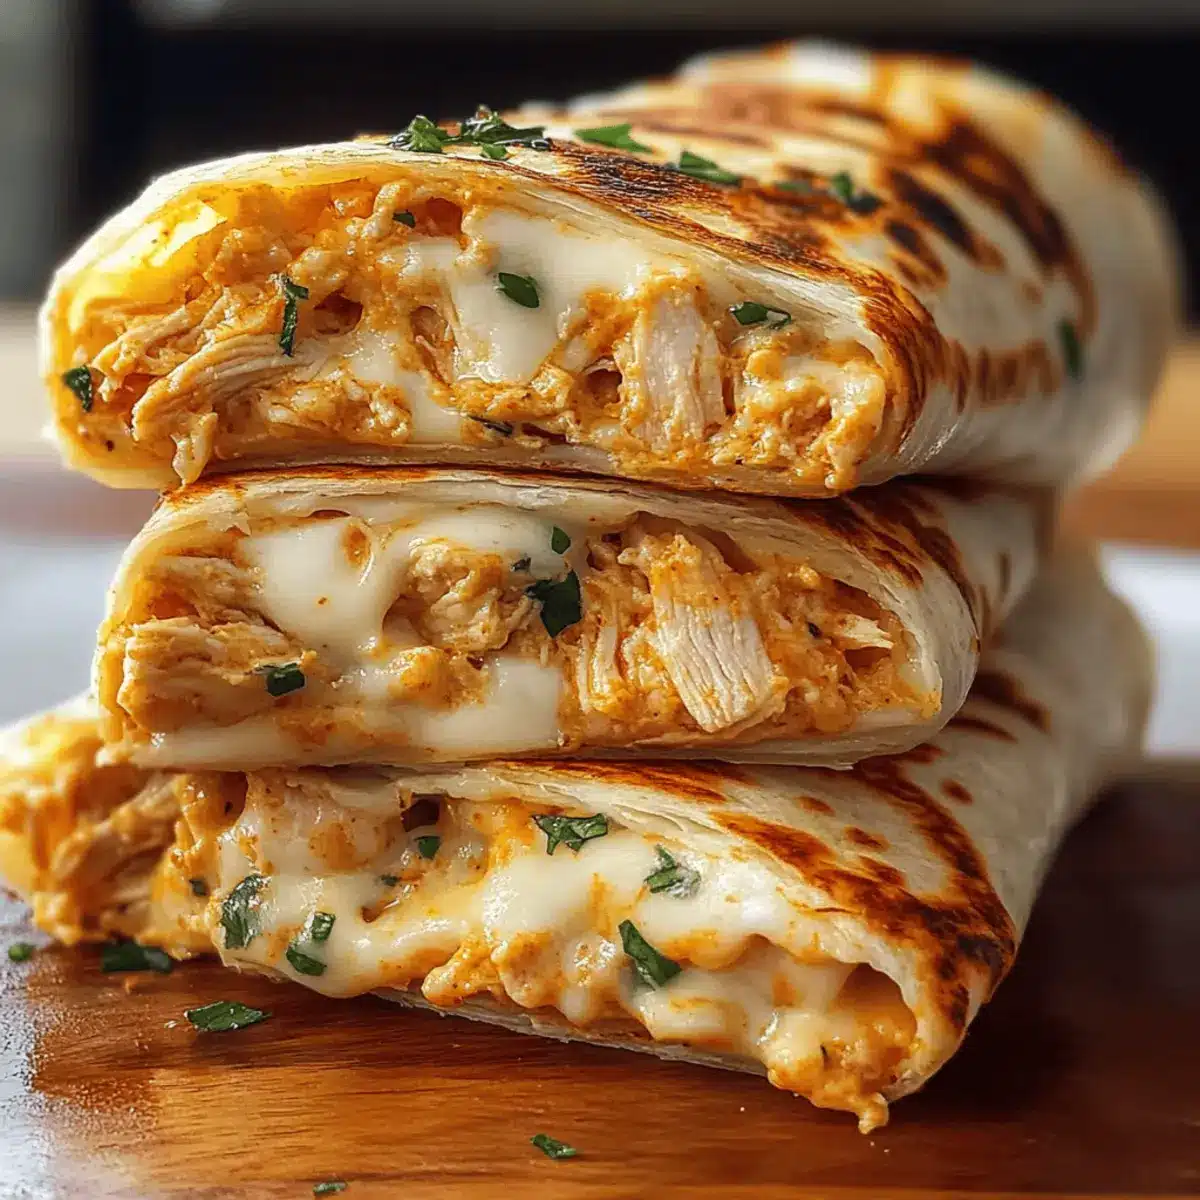
There’s nothing quite like the aroma of sautéed garlic filling your kitchen and teasing your taste buds. Today, I’m thrilled to share my recipe for Ooey-Gooey Cheesy Garlic Chicken Wraps—a dish that turns a simple weeknight dinner into a comforting hug of flavors. Not only are these wraps quick to prepare, making them perfect for those busy evenings, but they’re also incredibly customizable, allowing each of you to adapt them to your family’s preferences or dietary needs. Whether you stick with my classic cheesy garlic chicken combo or mix it up with your favorite ingredients, these wraps promise a satisfying meal that everyone will love. Ready to discover how to make this delicious comfort food? Let’s dive in!

Why Are These Wraps a Must-Try?
Simplicity at Its Best: The preparation is effortless, making it ideal for busy weekdays.
Customizable: Feel free to swap in your favorite proteins, like shredded beef or rotisserie chicken, and get creative with cheese types.
Flavorful Punch: The rich combination of garlic and cheese transforms an ordinary meal into something extraordinary.
Perfectly Crispy: Toasting the wraps provides a golden, crunchy exterior that contrasts beautifully with the gooey inside.
Family-Friendly: Everyone, from picky eaters to adventurous foodies, will find something to love. Serve with a fresh salad or a bowl of tomato soup for a complete meal, and check out my tips in Southern Cheesy Chicken for more tasty ideas!
Cheesy Garlic Chicken Wraps Ingredients
For the Wraps
- Tortillas – Base for the wraps; consider using gluten-free tortillas for a fantastic alternative.
- Chicken Breast – Main protein source; season lightly with salt and pepper before cooking for the best flavor.
For the Flavor Base
- Olive Oil – Essential for sautéing garlic; gives a lovely richness to the wraps.
- Minced Garlic – Adds bold flavor; sauté till golden for a delightful aroma.
For the Cheese
- Shredded Cheese (e.g., Monterey Jack, Pepper Jack) – Creates that gooey texture we crave; mix and match for unique flavors.
- Butter – Perfect for toasting the wraps, ensuring a deliciously crispy exterior.
Enjoy creating your own Cheesy Garlic Chicken Wraps!
Step‑by‑Step Instructions for Cheesy Garlic Chicken Wraps
Step 1: Cook the Chicken
Start by seasoning your chicken breast lightly with salt and pepper. You can either bake it at 375°F for about 25-30 minutes or grill it until the internal temperature reaches 165°F. Once cooked, let it rest for a few minutes before dicing it into small, bite-sized pieces to ensure the flavors meld beautifully in your Cheesy Garlic Chicken Wraps.
Step 2: Sauté the Garlic
In a medium skillet, warm up a tablespoon of olive oil over medium heat. Once it’s shimmering, add minced garlic and sauté for about 30 seconds until it turns golden and fragrant—don’t let it burn! This step is crucial for infusing the wraps with that delicious garlicky flavor that complements the chicken perfectly.
Step 3: Combine Chicken with Garlic
Add the diced chicken to the skillet with the sautéed garlic. Stir everything together for about 1-2 minutes, allowing the chicken to soak up the garlicky goodness. You’ll want to see a lovely cohesion of flavors, giving your Cheesy Garlic Chicken wrap filling that robust aroma and taste that everyone will love.
Step 4: Melt the Cheese
Remove the skillet from the heat and immediately add in your shredded cheese. Stir quickly until the cheese melts and coats the chicken evenly, creating a gooey and delicious mixture. The melted cheese is what makes these Cheesy Garlic Chicken Wraps irresistibly good, so ensure every bit of chicken is covered.
Step 5: Assemble the Wraps
Lay a soft tortilla flat on a clean surface and spoon a generous amount of the cheesy garlic chicken mixture in the center. Carefully fold in the sides and roll it up tightly to enclose the filling. The goal is to create a secure wrap that will keep all the delectable ingredients tucked inside during cooking.
Step 6: Toast the Wraps
In the same skillet, melt a tablespoon of butter over medium heat. Place the wraps seam-side down and gently press them to ensure a crispy exterior. Toast each side for about 2-3 minutes, or until they are perfectly golden brown and slightly crispy—this adds a delightful crunch that contrasts with the gooiness inside.
Step 7: Let Cool and Serve
Once toasted, remove the wraps from the skillet and let them cool for 1-2 minutes on a cutting board. This resting time helps the cheese set slightly, making them easier to slice. Serve warm, either whole or sliced into pinwheels, for that inviting presentation everyone will adore with their Cheesy Garlic Chicken Wraps.

Storage Tips for Cheesy Garlic Chicken Wraps
Fridge: Store any leftover wraps in an airtight container in the refrigerator for up to 3 days to maintain freshness and flavor.
Freezer: Wrap individual Cheesy Garlic Chicken Wraps in aluminum foil or plastic wrap and place them in a freezer bag. They can last up to 3 months.
Reheating: For the best texture, reheat frozen wraps in a toaster oven or conventional oven at 350°F for about 15-20 minutes until heated through and crispy. Avoid microwaving, as it can make the wraps soggy.
Room Temperature: If you’re packing wraps for lunch, keep them at room temperature for no more than 2 hours to ensure food safety.
Make Ahead Options
These Cheesy Garlic Chicken Wraps are perfect for meal prep enthusiasts! You can prepare the chicken and garlic mixture up to 3 days in advance, storing it in an airtight container in the refrigerator. To maintain quality, make sure the chicken is cooled completely before sealing; this prevents moisture buildup. Additionally, you can pre-assemble the wraps (without toasting) and let them chill for up to 24 hours before cooking them. When ready to enjoy, simply toast the wraps right from the fridge, adding an extra minute or two to the cooking time for that crispy perfection. This way, you can savor delicious Cheesy Garlic Chicken Wraps with minimal effort on busy nights!
Cheesy Garlic Chicken Wraps Variations
Feel free to get creative with these delicious wraps—each twist brings a new taste sensation!
-
Vegetarian: Substitute chicken with sautéed bell peppers, zucchini, and mushrooms for a satisfying meat-free option.
Add a sprinkle of your favorite seasonings to elevate the veggie flavor. -
Spicy Kick: Mix in diced jalapeños or a splash of hot sauce with the chicken for a thrilling heat that ignites your taste buds.
This twist is perfect for those who crave an extra layer of excitement! -
Different Proteins: Try shredded beef or pulled pork instead of chicken for a unique flavor profile.
Don’t be afraid to experiment—the results could surprise you! -
Cheese Lovers: Swap out the Monterey Jack for creamy havarti or sharp gouda, or even add crumbled feta for a tangy bite.
The cheese variation can transform the wraps into a whole new experience every time. -
Herbal Infusion: Add fresh herbs like cilantro or basil to the chicken mixture for a refreshing twist.
Their bright flavors will really pop and make for a fragrant delight! -
Mega Greens: Include fresh spinach or cooked kale for an added nutritional boost and unforgettable color.
The contrast of textures will leave everyone reaching for more. -
Garlic Butter Brush: Brush the tortillas with garlic-infused olive oil before toasting for an extra punch of garlic.
It’s a simple addition that turns up the comfort factor in every bite! -
Creamy Delight: Add a dollop of cream cheese or a spread of your favorite ranch dressing to the tortilla before filling.
This rich layer adds another dimension that’ll keep you coming back for seconds.
Don’t forget to also check out my tips on how to elevate your meal with delicious sides like Ranch Chicken Crock or try the tender flavors in Cashew Chicken Savory.
Expert Tips for Cheesy Garlic Chicken Wraps
Use Rotisserie Chicken: Save time by using pre-cooked rotisserie chicken; just shred and mix it with the garlic for a quick meal.
Don’t Overcook the Garlic: Sauté the minced garlic until just golden; burnt garlic can turn bitter and ruin the flavor of your wraps.
Mix Cheese Varieties: For a richer taste, try combining cheeses like Monterey Jack and sharp cheddar; each adds its distinct flavor to your Cheesy Garlic Chicken Wraps.
Let the Chicken Rest: Allowing cooked chicken to rest before dicing helps retain juices, keeping your wraps moist and flavorful.
Reheat Wisely: To maintain that crispy texture, reheat leftover wraps in an oven or toaster oven, avoiding the microwave, which can make them soggy.
What to Serve with Cheesy Garlic Chicken Wraps
Pairing your cheesy garlic chicken wraps with the right sides turns a delightful dish into a full-fledged meal that sings with flavor. Let’s explore a few mouthwatering options!
-
Fresh Green Salad: Crisp greens balance the richness of the wraps, adding freshness and a light crunch that elevates each bite.
-
Seasoned Potato Wedges: Golden and crispy, these hearty wedges are perfect for dipping into any leftover garlic sauce or simply enjoying on the side.
-
Tomato Soup: A warm bowl of rich tomato soup creates a comforting contrast, perfect for dipping and complementing the cheesy goodness of the wraps.
-
Roasted Veggies: Seasonal roasted vegetables bring out natural sweetness and add nutritional value, creating a colorful and wholesome plate.
-
Fruit Salsa: A sweet and tangy fruit salsa brightens the meal with its vibrant flavors, offering a refreshing counterpoint to the savory chicken and cheese.
-
Garlic Breadsticks: For the garlic lovers, pairing these wraps with soft, cheesy breadsticks ensures an indulgent dining experience that everyone will adore.
Enhancing your dinner with these delicious accompaniments will surely make your cheesy garlic chicken wraps the star of the table!

Cheesy Garlic Chicken Wraps Recipe FAQs
What type of tortillas should I use for the wraps?
You can use regular flour tortillas, but for a gluten-free option, I’d recommend trying gluten-free tortillas available in most grocery stores. They work just as well and still provide that soft, pleasing texture. Just ensure you check the packaging for any specific heating instructions!
How should I store leftover Cheesy Garlic Chicken Wraps?
Store leftover wraps in an airtight container in the refrigerator for up to 3 days. If you want to keep them fresh longer, consider freezing them wrapped in aluminum foil or plastic wrap and placed in a freezer bag. They can last up to 3 months this way!
Can I freeze these wraps, and if so, how?
Absolutely! To freeze your Cheesy Garlic Chicken Wraps, first let them cool completely. Then, wrap each individual wrap tightly in aluminum foil or plastic wrap, ensuring no air gets inside. Next, place them inside a freezer bag labeled with the date. They can stay in the freezer for up to 3 months. When ready to eat, simply reheat in the oven at 350°F for 15-20 minutes until warmed through and crispy.
What common issues should I be aware of while making these wraps?
One common troubleshooting tip is to ensure you don’t overcook the garlic while sautéing; if it burns, it can leave a bitter taste in your wraps. Also, when rolling them up, make sure to tuck in the sides firmly to prevent the filling from spilling out during toasting. Lastly, if you find the cheese isn’t melting as well as you’d like, you can always return the skillet to low heat and cover it briefly until it melts perfectly.
Are there any dietary considerations with Cheesy Garlic Chicken Wraps?
Yes! If you have dietary restrictions, you can easily customize these wraps. For a gluten-free version, stick with gluten-free tortillas, and if you need dairy-free, opt for lactose-free cheese options or leave out the cheese altogether. Always be sure to check any additional ingredients for potential allergens. It’s the beauty of these wraps that you can adapt them to suit various dietary needs!
What are some delicious filling variations you recommend?
The options are endless! You can swap out chicken for shredded beef or cooked ground turkey for a different protein. For added nutrition, toss in some sautéed spinach, mushrooms, or colorful bell peppers. Mixing cheeses like gouda or feta can add a delightful twist. The more the merrier! Feel free to experiment with whatever ingredients your family loves.

Melt-in-Your-Mouth Cheesy Garlic Chicken Wraps to Savor
Ingredients
Equipment
Method
- Start by seasoning your chicken breast lightly with salt and pepper. Bake at 375°F for 25-30 minutes or grill until the internal temperature reaches 165°F. Rest before dicing.
- In a medium skillet, warm up a tablespoon of olive oil over medium heat. Add minced garlic and sauté for about 30 seconds until it turns golden.
- Add the diced chicken to the skillet with the sautéed garlic. Stir for 1-2 minutes to combine flavors.
- Remove the skillet from the heat and add in your shredded cheese. Stir until melted.
- Lay a tortilla flat and spoon the cheesy garlic chicken mixture in the center. Fold in the sides and roll tightly.
- Melt a tablespoon of butter in the skillet. Toast the wraps seam-side down for 2-3 minutes on each side until golden brown.
- Remove from skillet and let cool for 1-2 minutes before serving.

Leave a Reply