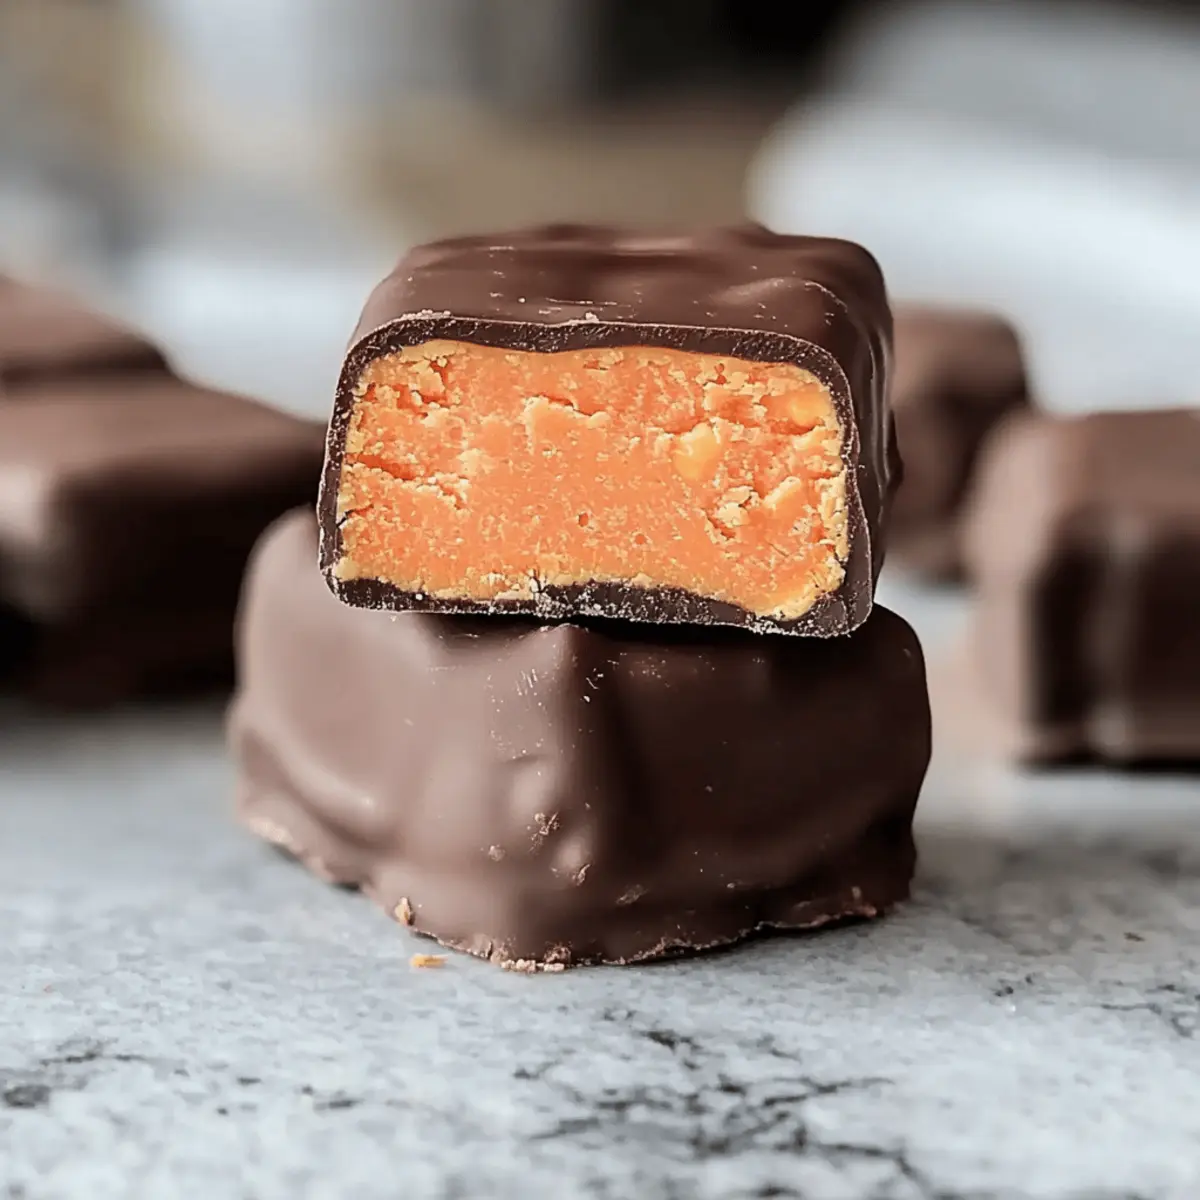
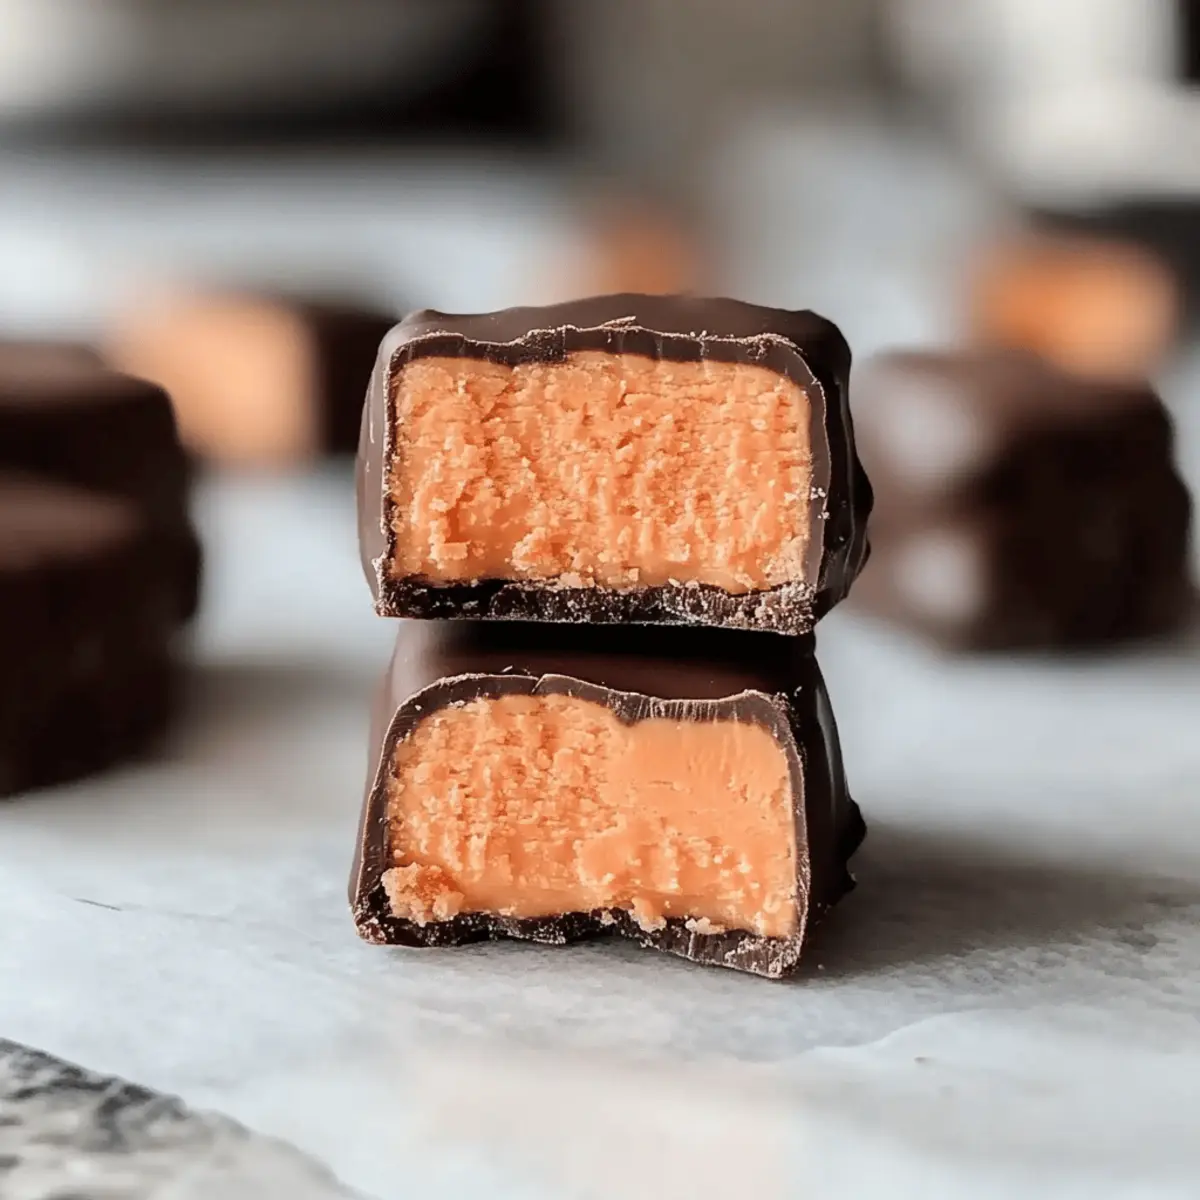
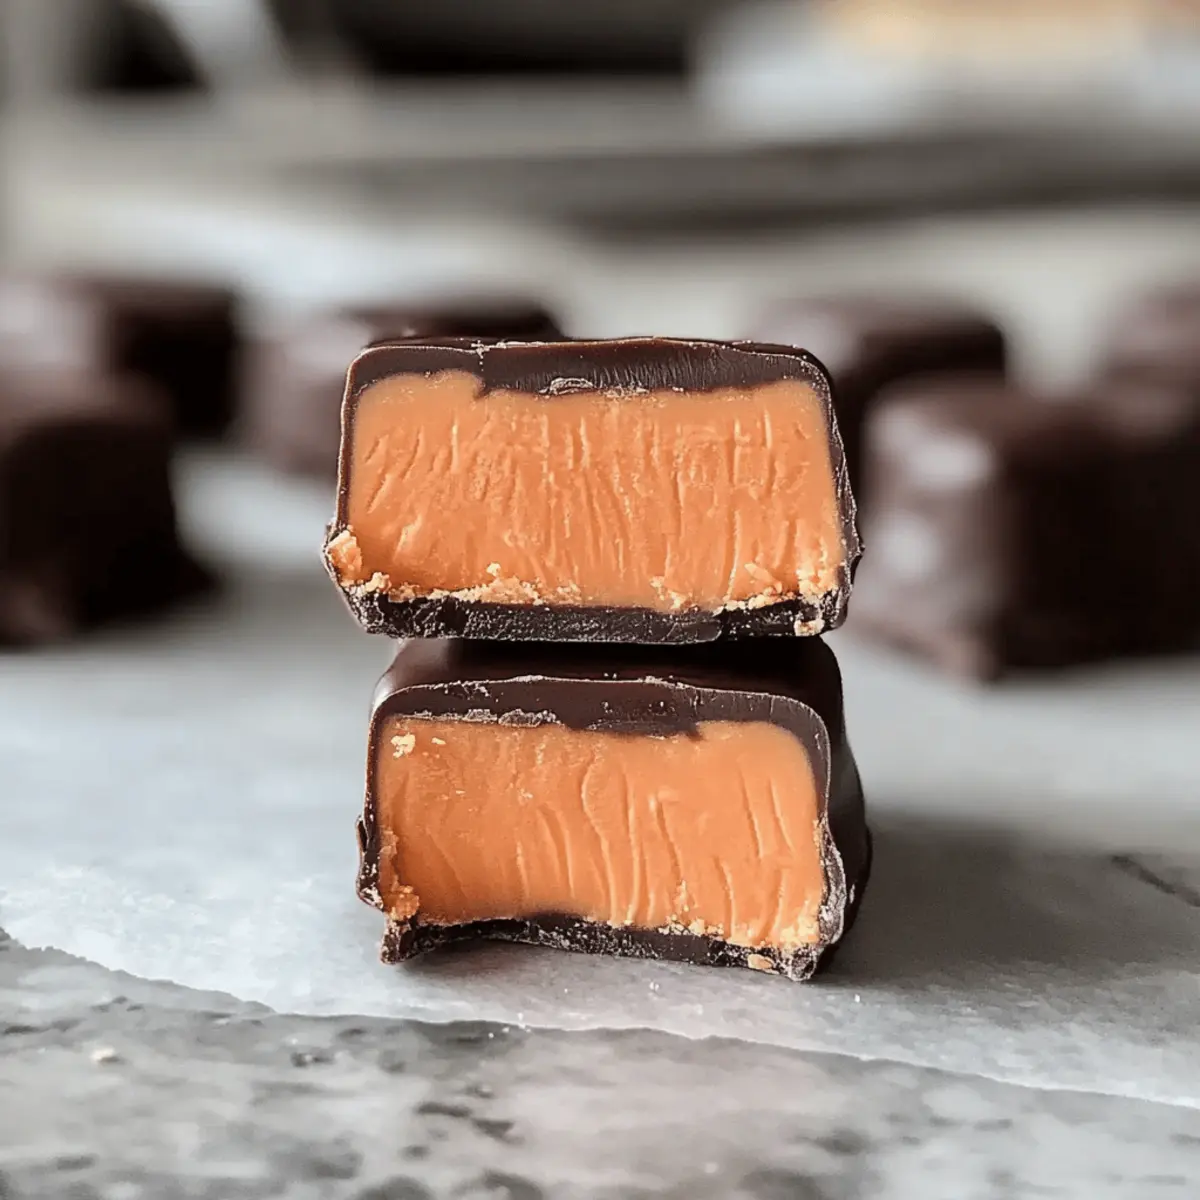
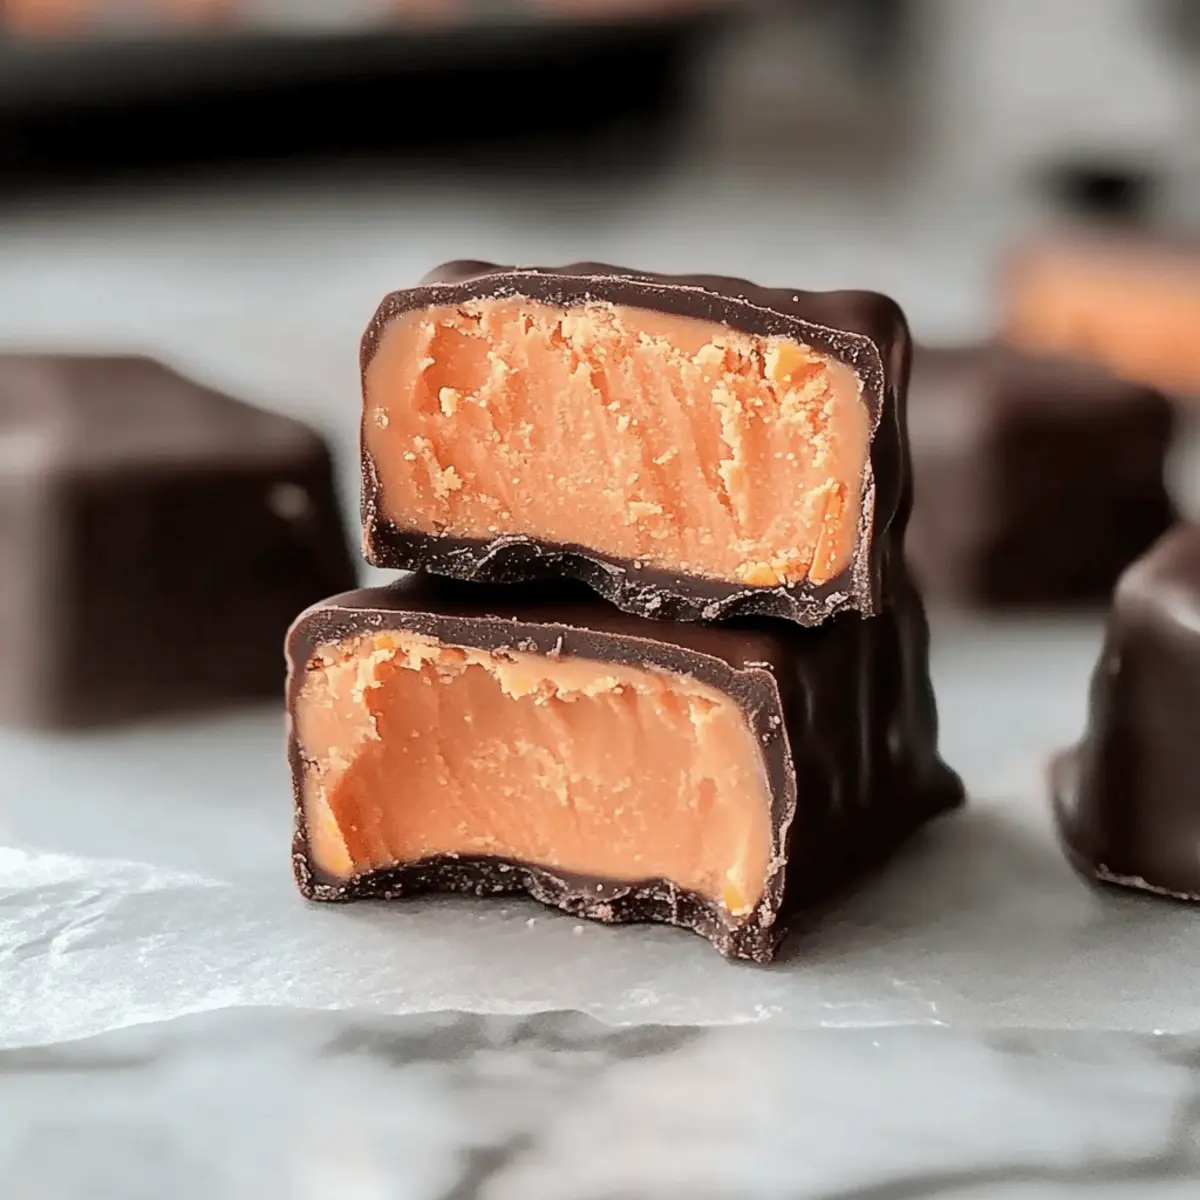
As the cozy hints of fall approach, I can’t help but recall the joy of crafting homemade treats that bring everyone together. Enter my 3-Ingredient Candy Corn Butterfingers—an easy, no-bake ode to the classic candy bar, but with a sweet twist that captures the essence of Halloween. What I love most is how simple it is to whip these up, making them a perfect project for any home chef eager to create something special without a fuss. The combination of creamy peanut butter and chewy candy corn, all wrapped in glossy chocolate, is a hit for both kids and adults alike! Plus, they’re ideal for sharing at festive gatherings or savoring during cozy movie nights. Curious about how to make these delightful treats yourself? Let’s dive into the fun!

Why Make Candy Corn Butterfingers?
Simplicity at its Core: With just three easy ingredients, you can craft a fun treat that’s both nostalgic and delicious.
Perfect for Halloween: These Candy Corn Butterfingers encapsulate the essence of fall festivities, making them a hit at any gathering.
No Baking Required: Spend less time in the kitchen and more time enjoying with friends and family—no oven needed!
Crowd-Pleaser: The delightful mix of chewy candy corn and creamy peanut butter creates a flavor combination that kids and adults will adore.
Quick Prep and Chill: These treats come together in no time and can be made ahead, perfect for those busy autumn days!
For an extra sweet twist, consider serving them alongside a bowl of homemade Marshmallow Caramel Corn or using them as a topping for your favorite ice cream. Enjoy the season with a treat that’s bound to bring smiles!
Candy Corn Butterfingers Ingredients
For the Candy Filling
• Candy Corn – A sweet, chewy base that melts down easily; fresh candy corn ensures the perfect texture.
• Smooth Peanut Butter – Delivers the rich, nutty flavor essential for the filling; avoid natural styles to prevent improper setting.
For the Chocolate Coating
• Milk Chocolate – Create a glossy finish with milk chocolate; opt for almond bark or candy melts for a smooth melt, avoiding regular chocolate chips.
Step‑by‑Step Instructions for Candy Corn Butterfingers
Step 1: Prepare the Pan
Begin by lining an 8×8 or 9×9 baking pan with parchment paper or aluminum foil, allowing some overhang for easy removal later. Lightly spray the lining with cooking spray to ensure your candy mixture releases smoothly. This step is crucial for creating beautiful Candy Corn Butterfingers that won’t stick.
Step 2: Melt Candy Corn
Place your candy corn in a large, microwave-safe bowl and microwave on high for 20 seconds. Stir well and continue microwaving in additional 20-second intervals, stirring each time until the candy corn is fully melted and smooth, which should take about 2 minutes. Ensure there are no lumps for the best texture in your Candy Corn Butterfingers.
Step 3: Combine Ingredients
Once melted, add smooth peanut butter to the candy corn. Microwave the mixture for another 20 to 30 seconds, stirring thoroughly until blended. The result should be a creamy, well-mixed filling. Don’t rush this step, as the smooth combination is essential for the delicious taste of your Candy Corn Butterfingers.
Step 4: Press Mixture
Carefully transfer the warm candy and peanut butter mixture into your prepared baking pan. Use a spatula or your hands to press it evenly into the pan, smoothing the surface to create a uniform thickness. Allow this layer to cool until it is no longer hot to the touch, ensuring your bars set up perfectly.
Step 5: Cut Bars
Once the mixture has cooled, use a sharp knife to cut it into 1×2 inch rectangles, forming your Candy Corn Butterfingers. For easier cutting, consider briefly chilling the mixture in the refrigerator beforehand. This will make clean lines and ensure a neat appearance for each bar.
Step 6: Freeze Bars
Next, place the cut bars in the freezer for about 1 hour. This will help firm them up, making them easier to handle and coat with chocolate later. Chilling is key to achieving that delightful texture you love in Candy Corn Butterfingers—both soft and satisfying.
Step 7: Prepare Coating
As the bars chill, prepare your chocolate coating. In a microwave-safe bowl, add your milk chocolate, then microwave in 20-second intervals, stirring after each, until the chocolate is completely melted and smooth. This step is important for achieving a glossy finish on your Candy Corn Butterfingers.
Step 8: Dip Bars
Carefully dip each chilled bar into the melted chocolate, ensuring it is coated evenly on all sides. Let excess chocolate drip off before placing the coated bars on parchment paper or a cooling rack. This is the moment your Candy Corn Butterfingers transform into their final, tempting form!
Step 9: Set Chocolate
Finally, place the coated bars in the refrigerator and chill until the chocolate is fully set, which usually takes around 30 minutes. Once the chocolate has hardened, you’ll have irresistibly delicious Candy Corn Butterfingers ready to enjoy or share at your next festive gathering.

Expert Tips for Candy Corn Butterfingers
-
Choose Quality Ingredients: Use the freshest candy corn and smooth, non-natural peanut butter to ensure your Candy Corn Butterfingers have the best flavor and texture.
-
Melt Properly: Microwave the candy corn in short intervals, stirring each time, to avoid overheating and ensure a perfectly smooth mixture without lumps.
-
Don’t Skip the Chill: Chilling the cut bars before dipping in chocolate is crucial. It helps prevent any filling leakage and keeps the chocolate coating intact.
-
Smooth Coating: For a shiny finish, make sure your chocolate is completely melted and avoid any chunky chocolate pieces for a flawless look on your Candy Corn Butterfingers.
-
Store Correctly: Keep your homemade treats in an airtight container at room temperature for up to 2 weeks, or refrigerate to maintain freshness for longer.
Storage Tips for Candy Corn Butterfingers
-
Room Temperature: Store your Candy Corn Butterfingers in an airtight container at room temperature for up to 2 weeks. This keeps them soft and delicious!
-
Refrigerator: If you want to extend freshness, place them in the fridge, where they’ll stay good for up to a month. They taste even better after a day or two as the flavors meld.
-
Freezer: For longer storage, freeze the bars wrapped tightly in plastic wrap and then in a freezer bag. They’ll last up to 3 months; just thaw at room temperature before enjoying.
-
Reheating: If you prefer a warm treat, pop them in the microwave for just a few seconds—be careful to avoid melting the chocolate coating!
Make Ahead Options
These 3-Ingredient Candy Corn Butterfingers are perfect for meal prep, allowing you to enjoy sweet treats without the last-minute rush! You can prepare the candy filling up to 24 hours in advance; simply make it according to the recipe, press it into the pan, and refrigerate. If you plan to dip them in chocolate, wait to coat them until just before serving for the best quality. You can also freeze the uncoated bars for up to 3 months; when you’re ready to enjoy, simply melt the chocolate and dip the chilled bars. This way, you’ll have delightful Candy Corn Butterfingers on hand, ready to impress at any gathering!
What to Serve with 3-Ingredient Candy Corn Butterfingers
As you prepare these delightful treats, consider pairing them to elevate your Halloween festivities into a full meal experience.
-
Creamy Hot Chocolate: This rich, decadent drink enhances the sweetness of the Candy Corn Butterfingers, making for a cozy indulgence on chilly nights.
-
Apple Cider: Warm apple cider complements the flavors of fall, blending perfectly with the nostalgia these treats bring.
-
Vanilla Ice Cream: Serve a scoop alongside for a delightful contrast of temperatures—creamy, cold ice cream with sweet and chewy candy bars creates a dreamy dessert experience.
-
Caramel Dipping Sauce: Drizzle or serve alongside a warm caramel sauce for added sweetness and a fun interactive dessert option!
-
Popcorn Mix: Create a festive popcorn mix with candy corn, pretzels, and nuts for a crunchy counterpart that balances the soft texture of the Butterfingers.
-
Pumpkin Spice Cookies: The warm spices in pumpkin cookies harmonize beautifully with the peanut butter and candy layers, making them a perfect fall pairing.
-
Milk: A classic choice that not only complements the sweetness but also adds a nostalgic element reminiscent of childhood treats.
-
Chocolate Covered Strawberries: The fresh, juicy strawberries contrast the rich candy bars, adding freshness to your festive spread.
Enjoy the perfect blend of flavors as you share these delightful moments with family and friends!
Candy Corn Butterfingers Variations
Feel free to get creative and customize your Candy Corn Butterfingers for a twist that excites your taste buds!
-
Nut-Free: Use sunbutter instead of peanut butter for a delicious alternative that remains allergy-friendly.
The result is just as creamy and nutty, while accommodating those with nut allergies. -
Vegan: Substitute traditional milk chocolate with dairy-free chocolate or dark chocolate for a fully plant-based treat.
You’ll enjoy the rich flavor while keeping it suitable for vegan diets—everyone can join in on the fun! -
Spicy Kick: Add a dash of cayenne pepper to the peanut butter mixture for a surprising, spicy burst.
The heat contrasts beautifully with the sweetness, making these bars a unique party favorite. -
Crunchy Texture: Incorporate crushed pretzels or rice cereal into the candy corn mixture for an extra crunch.
This variation not only adds texture but also introduces a delightful salty contrast to the sweet candy. -
Chocolate Drizzle: After dipping in chocolate, drizzle with white chocolate for a fancy and eye-catching design.
It not only looks stunning but adds an extra layer of sweetness to your Candy Corn Butterfingers. -
Flavor Variation: Swap the peanut butter for chocolate hazelnut spread for a nutty-chocolate taste.
It creates an indulgent flavor profile that’s bound to make chocolate lovers swoon! -
Swirled Filling: Create a marbled effect by swirling almond butter and peanut butter together before pressing them into the pan.
This not only enhances the visual appeal but also adds layers of complexity to each bite.
For an extra festive vibe, consider pairing your treats with a batch of Pumpkin Cornbread with Cinnamon Honey Butter or serve them alongside a fun bowl of Mexican Corn Salad. Tailoring your Candy Corn Butterfingers to match your flavor preferences will make your fall gatherings even more memorable!

3-Ingredient Candy Corn Butterfingers Recipe FAQs
What type of candy corn should I use?
Absolutely! For the best results, use a standard, fresh brand of candy corn. Check for any dark spots or signs of aging, as fresh candy corn melts more smoothly and provides the perfect sweet base for your Butterfingers.
How should I store my Candy Corn Butterfingers?
You can store your Candy Corn Butterfingers in an airtight container at room temperature for up to 2 weeks. For longer freshness, keep them in the refrigerator for up to a month. They actually taste even better after a day or two, as the flavors get a chance to meld together beautifully!
Can I freeze Candy Corn Butterfingers?
Definitely! To freeze, wrap each bar tightly in plastic wrap and place them in a freezer bag. They can be stored in the freezer for up to 3 months. When you’re ready to enjoy them, simply thaw at room temperature. If you like, you can gently microwave them for a few seconds for a slightly warm treat—just be mindful not to melt the chocolate coating!
What should I do if my mixture isn’t setting?
If your mixture isn’t setting properly, it may be due to using natural peanut butter or not melting the candy corn thoroughly. To fix this, try returning it to the microwave for a quick 10-15 seconds and give it another good stir—this should help achieve a smoother consistency. Then, let it cool again before pressing it into the pan for the best results!
Are Candy Corn Butterfingers safe for those with nut allergies?
Unfortunately, these delightful treats contain peanut butter, which can pose a risk for those with nut allergies. If you’re looking for an alternative, consider trying an allergy-friendly nut butter substitute if it meets dietary restrictions, or make a nut-free version using sunflower seed butter instead for a similar creamy texture.
Can I use other types of chocolate for coating?
Very much so! You can experiment with dark chocolate or even white chocolate for a different taste profile—each will bring its unique flavor to the Candy Corn Butterfingers. Just be sure to adjust the melting times, as different chocolates might require varying intervals.

Homemade Candy Corn Butterfingers: A Fun Halloween Treat
Ingredients
Equipment
Method
- Prepare the baking pan by lining it with parchment paper or aluminum foil, spraying with cooking spray.
- Melt the candy corn in a microwave-safe bowl in 20-second intervals, stirring until smooth (about 2 minutes).
- Combine melted candy corn with smooth peanut butter, microwaving again if needed until well blended.
- Press the mixture evenly into the prepared baking pan and let it cool.
- Cut into 1x2 inch rectangles after cooling.
- Freeze the cut bars for about 1 hour to firm up.
- Prepare the chocolate coating by melting it in 20-second intervals until smooth.
- Dip each chilled bar into the melted chocolate, letting excess drip off.
- Chill the coated bars in the refrigerator until the chocolate is set, around 30 minutes.

Leave a Reply