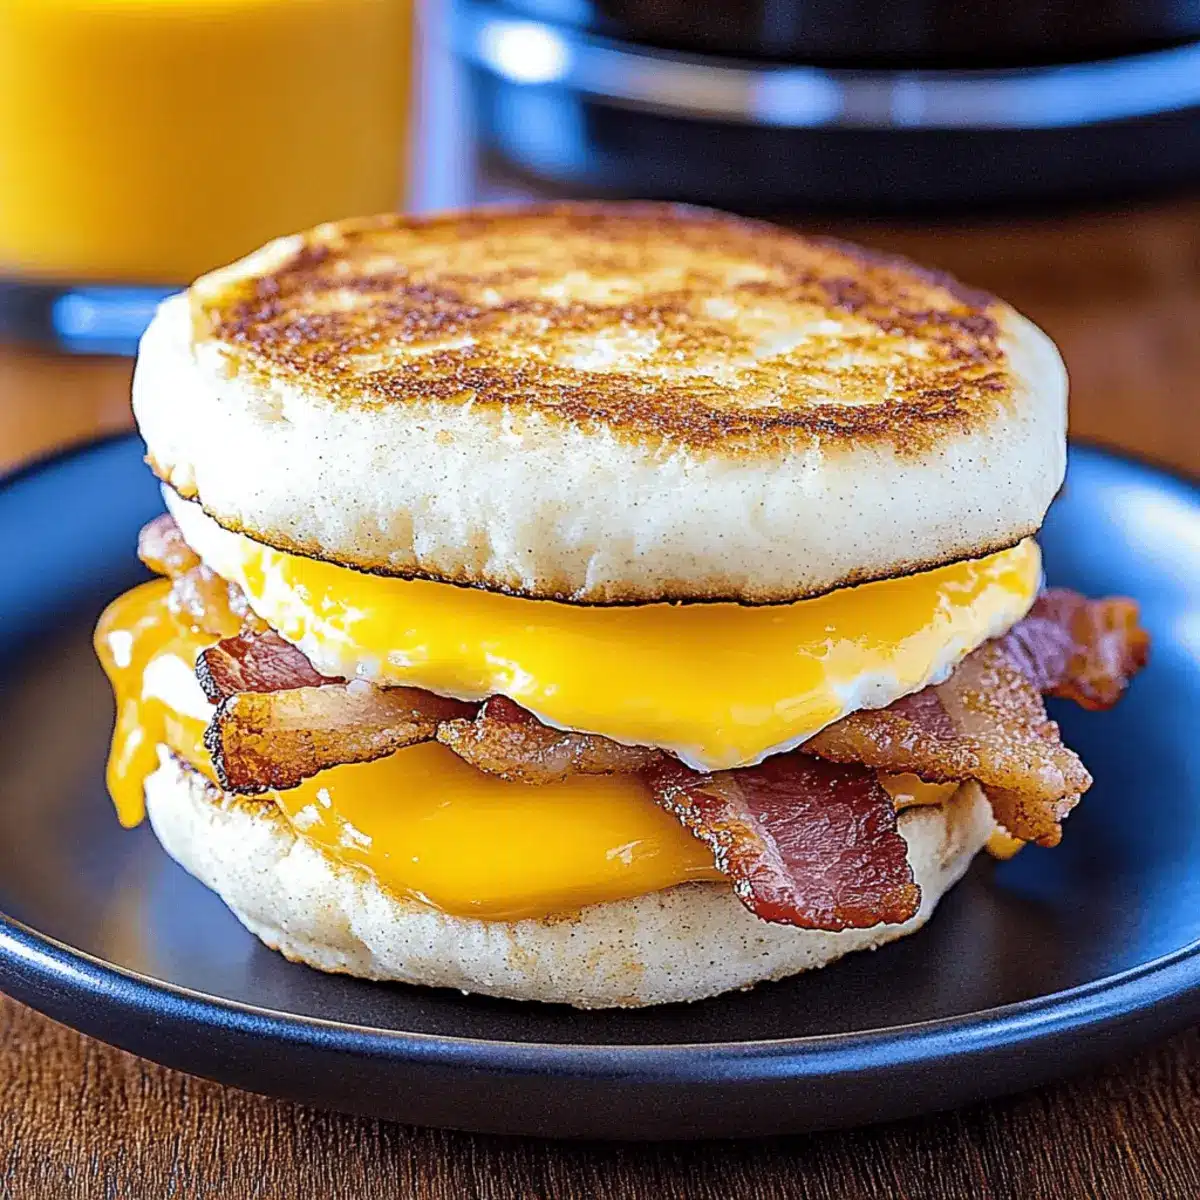
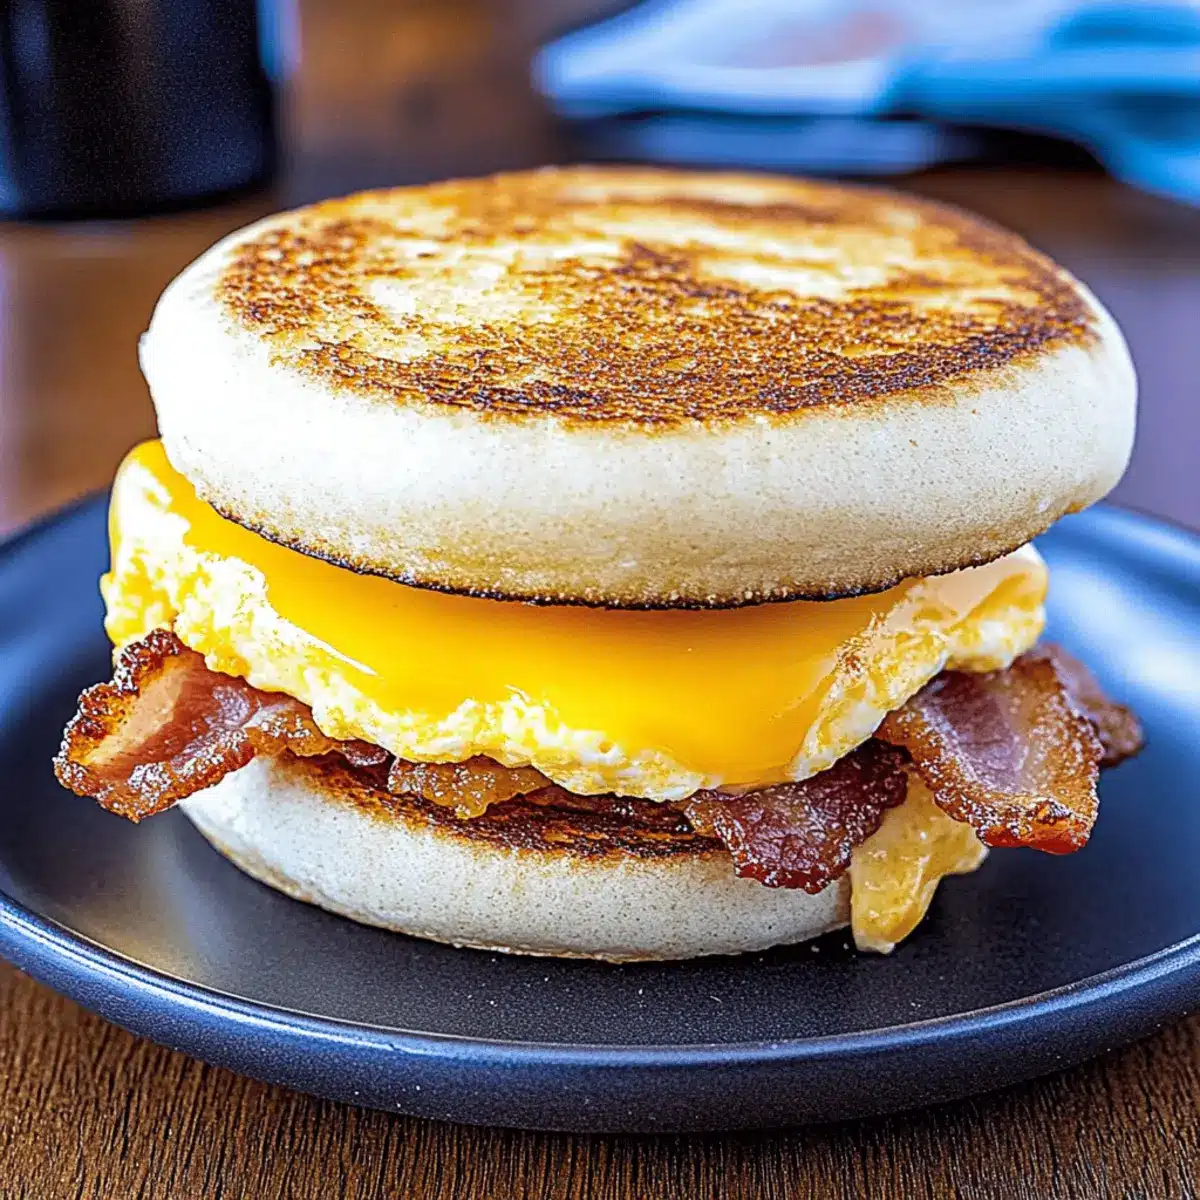
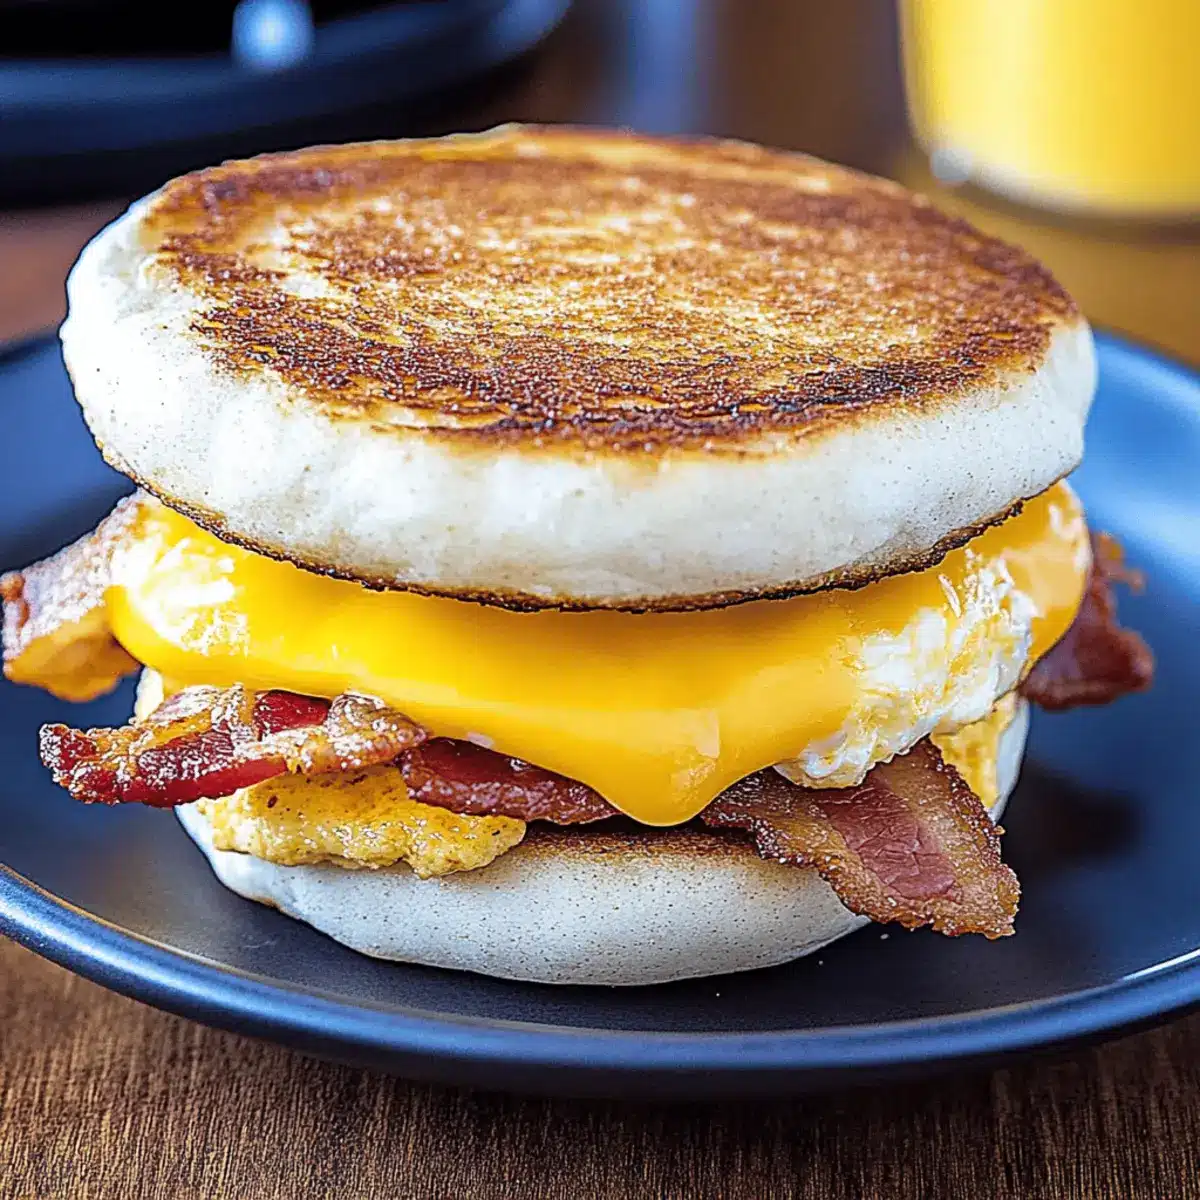
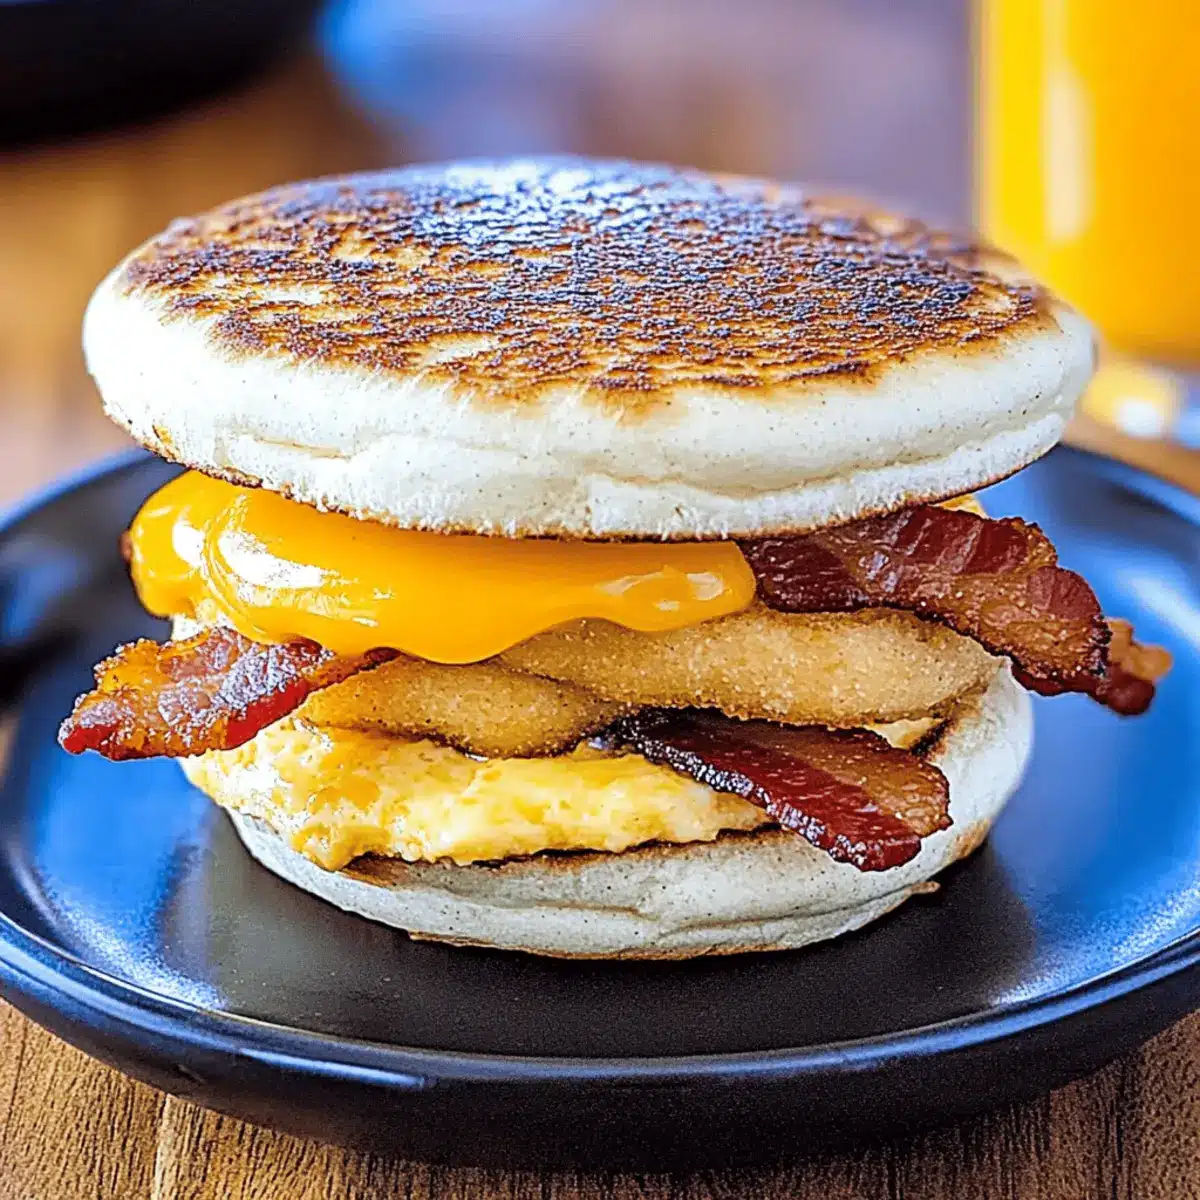
As I rushed through another hectic morning, I discovered the beauty of a soul-soothing breakfast—my flavorful Gluten-Free Breakfast Sandwiches. These gems, featuring crispy bacon, fluffy baked eggs, and melty cheddar cheese, are artfully layered between soft, homemade gluten-free English muffins. They whip up in just 30 minutes, making them a fantastic choice for those busy mornings or leisurely brunches when you crave something hearty and satisfying. Not only are they a healthy upgrade ready to cater to each family member’s tastes with endless variations, but they also bring a delightful crunch that tempts even the most dedicated fast-food lover. What kind of twist will you add to your breakfast creation today?

Why Choose Gluten-Free Breakfast Sandwiches?
Start your day with a wholesome twist on a breakfast classic! Customizable options let you tailor these sandwiches to everyone’s taste, from bacon lovers to veggie enthusiasts. Quick to prepare, they fit perfectly into your busy morning routine—ready in just 30 minutes! Mouthwatering flavors shine through with each bite, ensuring these sandwiches will rival your favorite brunch spots. And for those looking for variety, consider swapping in ingredients from a delicious Blueberry Buttermilk Pancake dish for a unique breakfast experience. Enjoy the crispiness of the English muffins as you dig into a comforting, hearty meal that satisfies both cravings and dietary needs.
Breakfast Sandwiches Ingredients
-
For the Eggs
• Eggs – The star of the show, providing protein and structure; substitute with an egg alternative if vegan.
• Salt and Pepper – Enhance the flavor to taste, making your breakfast sandwiches even more delicious. -
For the Muffins
• Gluten-Free English Muffins – These act as the sturdy base of your sandwiches; ensure they are gluten-free for the best results.
• Nonstick Cooking Spray – Prevents sticking during baking and makes cleanup a breeze. -
For the Protein
• Bacon or Ham – Adds a savory crunch and rich flavor; consider using turkey bacon for a lighter alternative.
• Sausage Patties – A great substitute if you’re looking for a heartier protein option that packs a flavorful punch. -
For the Cheese
• Cheddar Cheese – Melts beautifully and adds creaminess; feel free to swap with dairy-free cheese for a lactose-free version.
With these Breakfast Sandwiches ingredients, you’re well on your way to crafting a delightful and customizable morning meal that everyone will love!
Step‑by‑Step Instructions for Gluten-Free Breakfast Sandwiches
Step 1: Preheat and Prepare
Start by preheating your oven to 350°F (175°C). While the oven heats, grab a muffin pan or ramekins and generously spray them with nonstick cooking spray to prevent sticking. This will ensure a smooth release of your baked eggs later, paving the way for a delicious Gluten-Free Breakfast Sandwich.
Step 2: Bake the Eggs
Crack one egg into each sprayed muffin well, then season them with a pinch of salt and pepper to enhance their flavor. Place the muffin pan in the preheated oven and bake for about 14-18 minutes. Keep an eye on them until the egg whites are fully set, and the yolks reach your desired doneness—perfect for layering in your breakfast sandwich.
Step 3: Toast the English Muffins
While your eggs are baking, slice the gluten-free English muffins in half. Arrange the muffin halves cut-side up on a baking sheet and broil them in the oven for 2-3 minutes or until they are golden brown and crispy. This step adds wonderful texture to your Gluten-Free Breakfast Sandwich, creating a satisfying crunch.
Step 4: Assemble the Sandwiches
Once the eggs are done baking and the muffins are toasted, it’s time to assemble your sandwiches. Start by placing a baked egg on each muffin bottom. Then, add crispy bacon or ham for a savory crunch, followed by a slice of creamy cheddar cheese. This layering will ensure that each bite is bursting with flavor.
Step 5: Melt the Cheese
To bring everything together, return your assembled breakfast sandwiches to the broiler for about 1 minute. Watch closely as the cheese melts and bubbles, creating a deliciously gooey topping that completes your Gluten-Free Breakfast Sandwiches. Remove them carefully once they reach that bubbly perfection.
Step 6: Serve and Savor
Top each sandwich with the corresponding muffin top, and serve warm for a satisfying breakfast experience. Feel free to customize with additional toppings such as fresh veggies or herbs if you’d like. Enjoy your homemade Gluten-Free Breakfast Sandwiches, packed with flavor and ready to fuel your day!

Breakfast Sandwiches: Variations & Substitutions
Feel free to get creative with these Breakfast Sandwiches and make them your own by customizing flavors and textures to suit your taste!
- Turkey Bacon: Swap traditional bacon for turkey bacon for a leaner choice that’s just as satisfying.
- Veggie Delight: Add fresh spinach, tomatoes, or sliced avocado for an extra burst of nutrition and flavor.
- Cheese Swap: Experiment with cheeses like Swiss or pepper jack for a flavor kick; it’s all about personal preference!
- Sausage Patties: Substitute bacon or ham with savory sausage patties for a hearty alternative that packs a meaty punch.
- Dairy-Free: Use dairy-free cheese to keep it lactose-free, ensuring everyone can enjoy a warm and gooey sandwich.
- Spicy Kick: Add sliced jalapeños or a drizzle of hot sauce for those who crave a bit of heat with their morning meal.
- Breakfast Veggie: Stir in some sautéed bell peppers or mushrooms to create a colorful and savory breakfast sandwich experience.
- Herb Infusion: Sprinkle fresh herbs like chives or parsley on your eggs for a pop of flavor that elevates your creation.
For other delicious breakfast ideas, check out these delightful Breakfast Pop Tarts or consider serving these sandwiches alongside crispy hash browns for a complete morning feast!
How to Store and Freeze Breakfast Sandwiches
Fridge: Store your assembled breakfast sandwiches in an airtight container for up to 3 days. This keeps them fresh and ready for quick breakfasts on busy mornings.
Freezer: For longer storage, wrap individual sandwiches tightly in parchment paper and place them in a freezer-safe bag. They’ll stay good for up to 3 months.
Thawing: To reheat, simply thaw sandwiches in the fridge overnight. For a crispy finish, bake at 350°F (175°C) for about 15 minutes until heated through.
Reheating: If you’re in a hurry, microwave the sandwich for 1-2 minutes on high, but be aware that the texture may not be as crispy as when baked. Enjoy your delicious Breakfast Sandwiches!
What to Serve with Gluten-Free Breakfast Sandwiches
Start your morning with a delicious spread that brings different textures and flavors to your table, making your meal even more satisfying!
- Fresh Fruit Salad: Bright, juicy fruits add a refreshing contrast to savory sandwiches, uplifting your breakfast experience.
- Crispy Hash Browns: Golden, crunchy potatoes provide that comforting crispy element, complementing the soft textures of the sandwiches.
- Light Green Salad: A crisp salad with a tangy vinaigrette adds a refreshing palette cleanser, balancing the richness of your breakfast.
- Avocado Slices: Creamy avocado brings a luscious, rich element that enhances the flavors of the sandwich while adding healthy fats.
- Roasted Tomatoes: Sweet, roasted tomatoes contribute a burst of flavor and juiciness, elevating your morning meal beautifully.
- Homemade Chocolate Chip Muffins: Indulge in a sweet treat alongside your savory breakfast, offering a delightful contrast and satisfying cravings.
- Sparkling Water with Citrus: This bubbly drink adds a refreshing touch, cleansing your palate and enhancing the overall breakfast experience.
- Herbal Tea: A warm cup of herbal tea facilitates a relaxing morning vibe, perfectly complementing your hearty breakfast sandwiches.
With these delightful pairings, you can create a balanced and satisfying breakfast that everyone in the family will love!
Make Ahead Options
These Gluten-Free Breakfast Sandwiches are perfect for meal prep enthusiasts! You can bake the eggs and assemble the sandwiches up to 24 hours in advance. To do this, bake your eggs as instructed, then let them cool before placing them in an airtight container in the refrigerator. Layer your muffins, bacon or ham, and cheese, and store them separately to maintain their quality. When you’re ready to enjoy your breakfast sandwiches, simply reheat them in the oven at 350°F (175°C) for about 10-15 minutes until warmed through and the cheese is melty. This way, you’ll have satisfying, homemade Gluten-Free Breakfast Sandwiches ready to go, saving precious time during your busy mornings!
Helpful Tricks for Breakfast Sandwiches
-
Perfectly Baked Eggs: Ensure even cooking by cracking eggs into a pre-sprayed muffin pan, allowing the whites to set while keeping the yolks slightly runny or cooked through, based on preference.
-
Crispy Muffin Base: Broil English muffins cut-side up for that satisfying crunch; keep a close watch to prevent burning, as they can brown quickly.
-
Layer with Love: Build your breakfast sandwiches with care. Start with the egg, then add your protein, and finish with cheese to maximize flavor in every delightful bite.
-
Fresh Ingredients Matter: Use the freshest gluten-free English muffins and high-quality meats for the best texture and taste in your breakfast sandwiches.
-
Keep It Warm: To keep assembled sandwiches warm while the cheese melts, cover them loosely with foil after broiling, so they retain warmth without becoming soggy.

Gluten-Free Breakfast Sandwiches Recipe FAQs
How do I choose the right gluten-free English muffins?
When selecting gluten-free English muffins, look for options made with wholesome ingredients and minimal additives. Check for brands that are certified gluten-free to prevent cross-contamination. I often choose ones that have a slightly crisp exterior and a soft inside for the best sandwich experience.
How should I store leftover breakfast sandwiches?
To store leftovers, keep them in an airtight container in the fridge for up to 3 days. This way, you can quickly grab them for breakfast on busy mornings without compromising on flavor or freshness.
Can I freeze my breakfast sandwiches?
Absolutely! To freeze, wrap each assembled sandwich tightly in parchment paper, then place them in a freezer-safe bag—this prevents freezer burn. They can be stored for up to 3 months. When you’re ready to enjoy, take one out and thaw it in the fridge overnight, then reheat at 350°F (175°C) for about 15 minutes for a freshly baked taste.
What if my eggs aren’t cooked properly?
If your eggs aren’t cooked to your liking, don’t worry! Bake them a little longer in the muffin pan. I recommend checking the whites first; they should be set completely. For a gooey yolk, aim for 14 minutes, but if you prefer them fully cooked, go for closer to 18 minutes. Adjust the baking time based on your preferences!
Are there any allergy considerations for this recipe?
Yes! For those with dairy allergies, substitute the cheddar cheese with a dairy-free alternative. Additionally, if you’re cooking for anyone with egg allergies, you can use a vegan egg replacement, which usually works well in baking. Always ensure all ingredients are labeled gluten-free if there are concerns about cross-contamination.
What kind of proteins can I use?
You can switch out traditional proteins for various options based on your dietary preferences. Some great alternatives include turkey bacon for a leaner choice, sausage patties for hearty flavor, or even plant-based meats if you want a vegetarian or vegan option. The more the merrier when it comes to customizing your sandwich!

Delicious Breakfast Sandwiches: Your New Morning Favorite
Ingredients
Equipment
Method
- Preheat your oven to 350°F (175°C) and spray a muffin pan with nonstick cooking spray.
- Crack one egg into each sprayed muffin well and season with salt and pepper. Bake for 14-18 minutes.
- Slice gluten-free English muffins in half and broil cut-side up for 2-3 minutes until golden brown.
- Assemble your sandwiches by placing a baked egg, bacon or ham, and cheddar cheese on each muffin bottom.
- Broil assembled sandwiches for about 1 minute until cheese is melted.
- Top with the muffin top and serve warm.

Leave a Reply