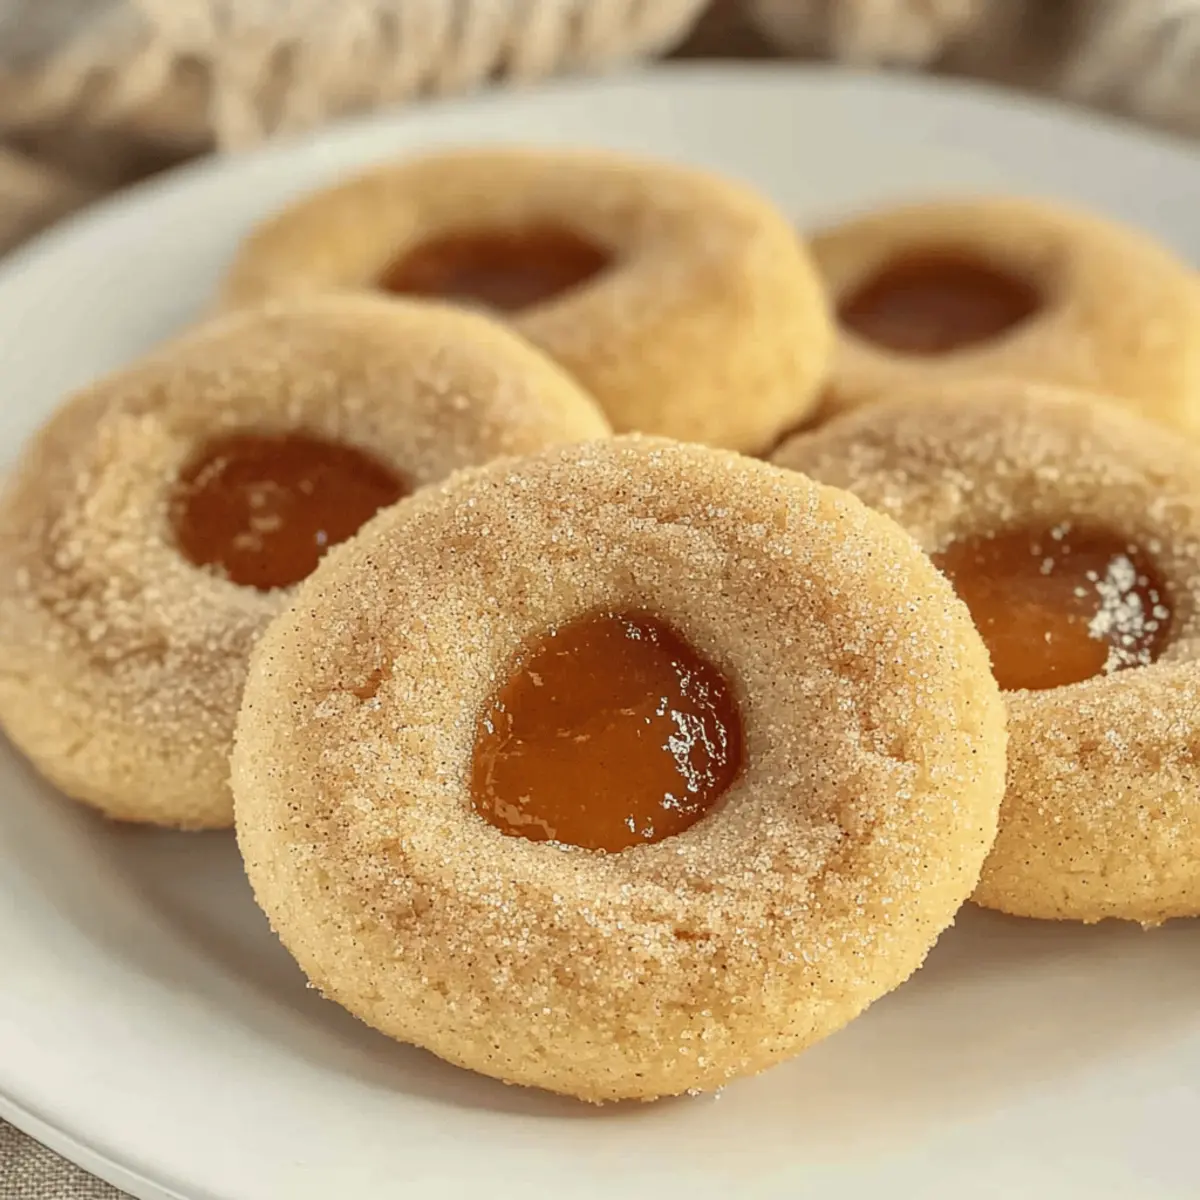
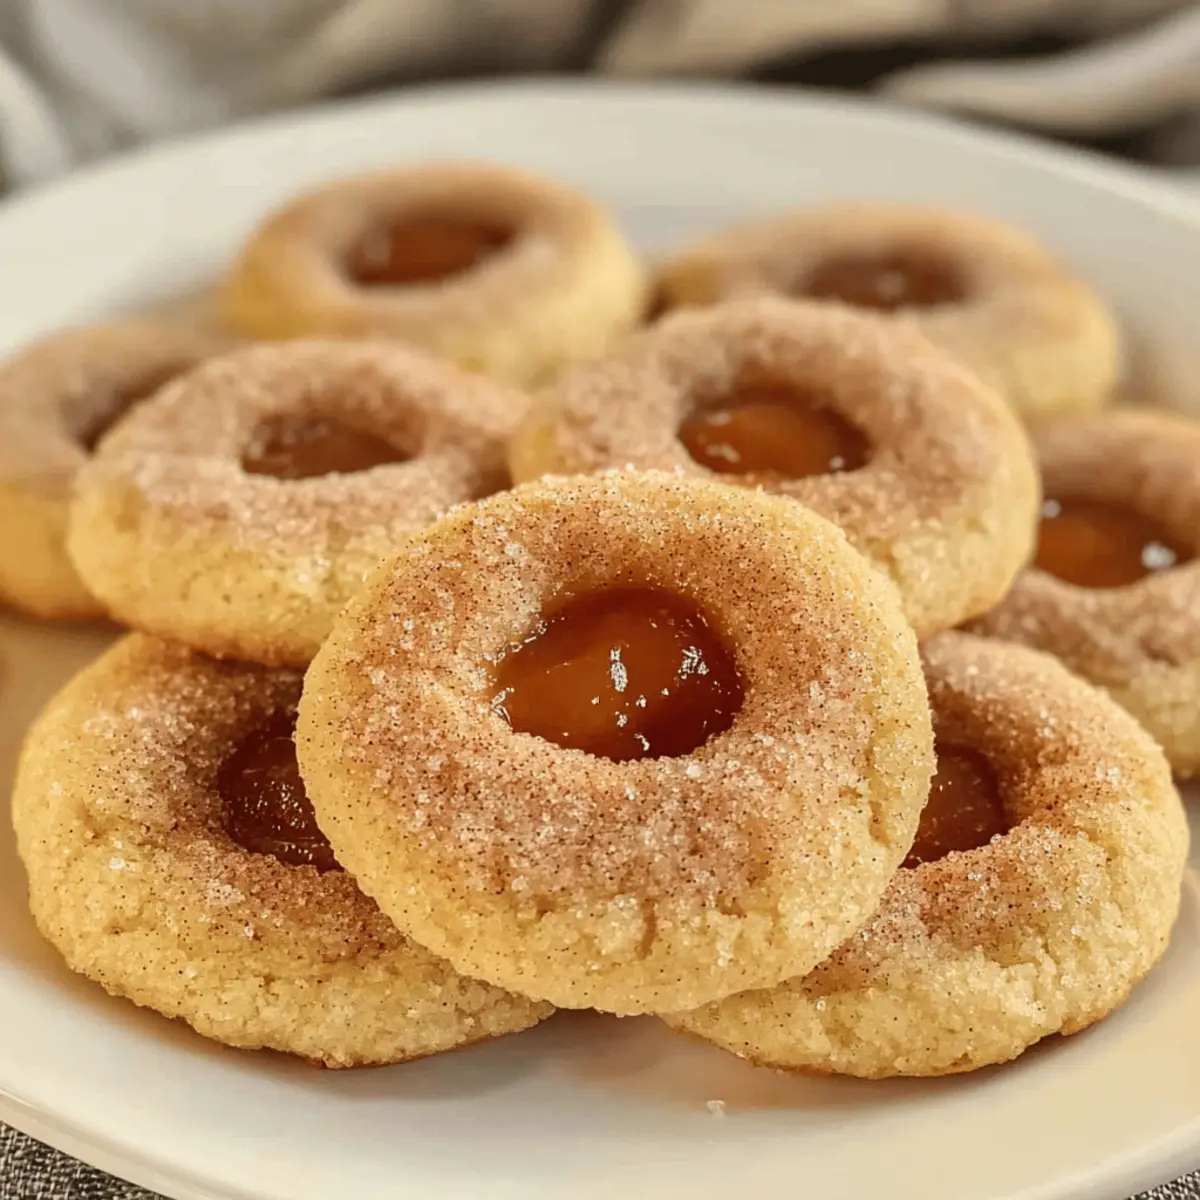
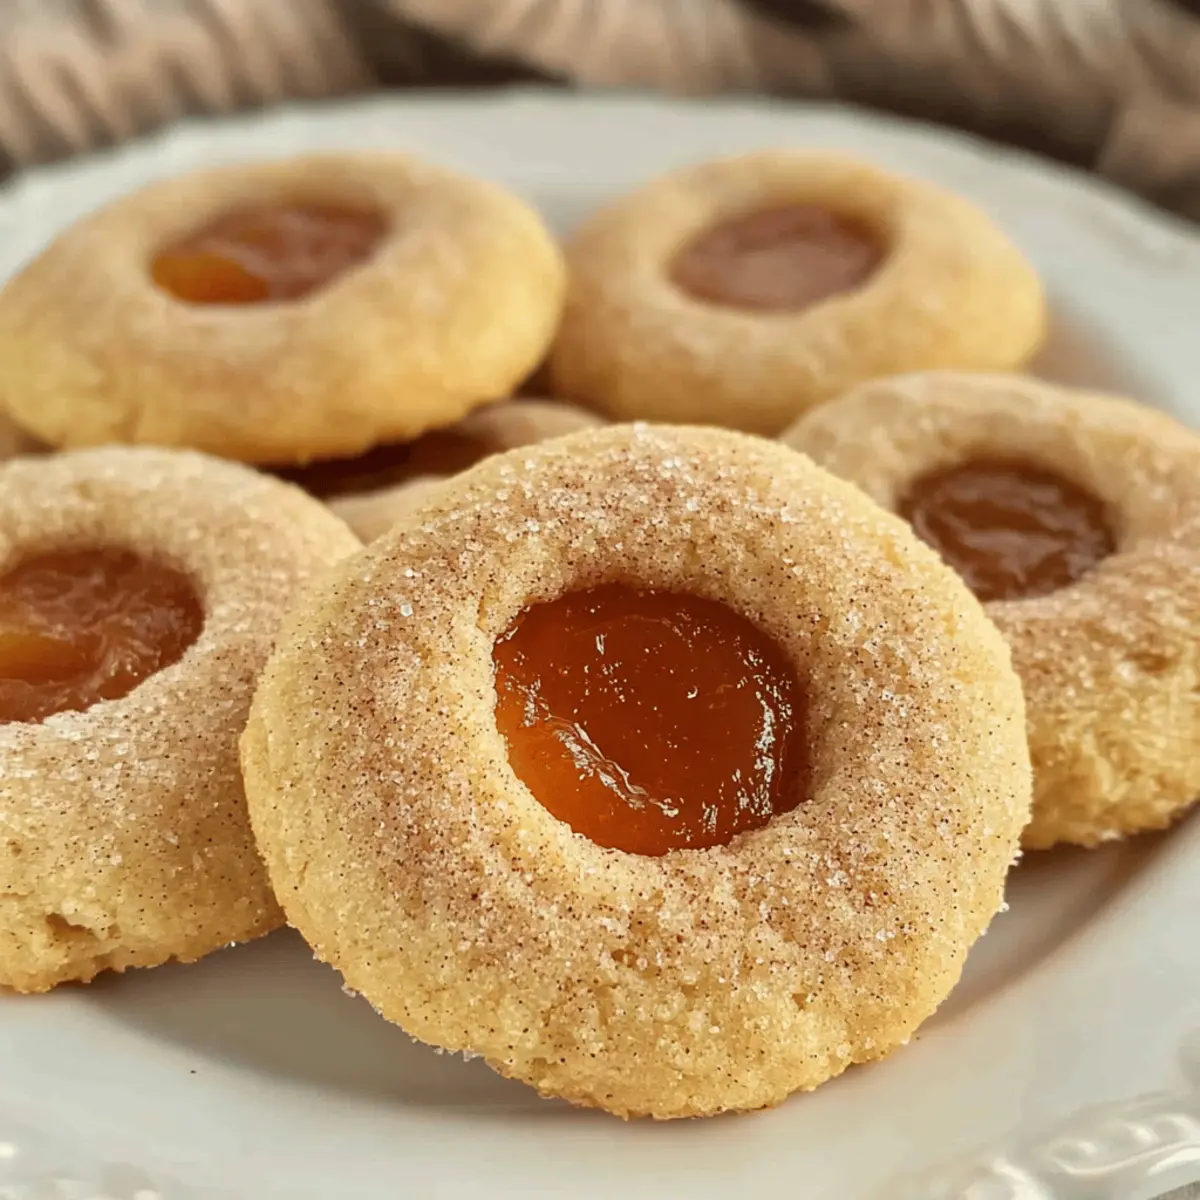
As the leaves start to turn and a crispness fills the air, the warm scent of baking becomes hard to resist. Enter the delightful world of Apple Butter Thumbprint Cookies, a sweet homage to fall flavors that I just can’t get enough of! These charming treats are not only simple to whip up—thanks to their one-bowl preparation—but they also bring the nostalgic taste of autumn right to your kitchen. Picture buttery cookies rolled in cinnamon sugar, cradling a luscious dollop of apple butter, creating the perfect cozy bite. Whether you’re entertaining guests or enjoying a quiet afternoon, these cookies are guaranteed to bring comfort and smiles. Ready to learn how to make these delightful fall favorites? Let’s dive in!

Why are Apple Butter Thumbprint Cookies special?
Nostalgic Comfort: These cookies evoke warm memories of family gatherings and autumn celebrations that everyone will adore.
Effortless Preparation: A simple one-bowl method means less mess and more fun.
Versatile Flavor: Swap the apple butter for your favorite jam or fruit butter to create variations for every season!
Perfect for Sharing: Their charming appearance and delicious taste make them ideal for gatherings, ensuring they’ll be a hit among friends and family.
Enjoy Anytime: Great as an afternoon snack with a warm drink or as a festive treat during holidays, these cookies fit every cozy moment.
So how about pairing these with a delightful Apple Salad Refreshing to complement these baked goodies? The combination offers a delightful balance of flavors that will leave everyone raving!
Apple Butter Thumbprint Cookies Ingredients
For the Cookies
- Unsalted Butter – Provides richness and moisture; feel free to use salted butter but reduce added salt by ½ tsp.
- Granulated Sugar – Adds sweetness to the cookies; brown sugar works wonderfully for a softer texture.
- Egg Yolks – Contributes richness and binds the ingredients; whole eggs are not a suitable substitute.
- Vanilla Extract – Enhances the overall flavor; consider almond extract for a unique twist.
- All-Purpose Flour – Gives structure to the dough; substitute with gluten-free flour if desired.
- Salt – Balances the flavors; you can omit it if using salted butter.
- Cinnamon – Infuses warmth into the rolling sugar; swap for nutmeg or pumpkin spice for a seasonal change.
- Apple Butter – The star of the show, providing moisture and sweetness; homemade is great, but store-bought works too!
Step‑by‑Step Instructions for Apple Butter Thumbprint Cookies
Step 1: Preheat Oven
Begin by preheating your oven to 350°F (175°C). While the oven warms up, prepare your baking sheets by lining them with parchment paper to prevent sticking. This proactive step ensures a smooth baking process for your Apple Butter Thumbprint Cookies, so you’re ready to roll the dough once it’s mixed!
Step 2: Cream Ingredients
In a large mixing bowl, combine your unsalted butter and granulated sugar. Use an electric mixer to beat them together until the mixture is light and fluffy—around 2-3 minutes should do the trick. Next, add in the egg yolks and vanilla extract, mixing until everything is creamy and well incorporated, setting the stage for tasty cookies.
Step 3: Combine Dry Ingredients
In a medium bowl, whisk together the all-purpose flour and salt to ensure even distribution. Gradually add the dry mixture to the creamed ingredients, mixing on low speed until just combined. You want to see the dough forming without overmixing, giving your Apple Butter Thumbprint Cookies a tender texture that melts in your mouth.
Step 4: Chill Dough
Cover the cookie dough with plastic wrap or a clean kitchen towel and refrigerate for about 30 minutes. Chilling the dough is essential to prevent any spreading during baking, resulting in perfectly shaped cookies. While you wait, take a moment to savor the delicious aroma filling your kitchen!
Step 5: Prepare Cinnamon Sugar
While the dough chills, prepare your cinnamon sugar mixture. In a shallow bowl, combine granulated sugar and ground cinnamon, mixing until fully blended. This fragrant mixture is what will give your cookies that delightful outer crunch, adding warmth and sweetness to every bite of your Apple Butter Thumbprint Cookies.
Step 6: Shape Cookies
Once the dough has chilled, scoop out small portions—about a tablespoon each—and roll them into balls using your hands. Then, generously coat each ball in the cinnamon sugar mixture, ensuring they are fully covered. Place the coated dough balls on your prepared baking sheets, spacing them about two inches apart for even baking.
Step 7: Make Wells
With your thumb or the handle of a teaspoon, gently press down into the center of each dough ball to create a well. This little indent will hold the luscious apple butter filling that makes these cookies special. Be careful not to press too hard, as you want the shape to remain intact.
Step 8: Fill with Apple Butter
Carefully spoon apple butter into each well, filling them generously but not overflowing. The apple butter is the star of the show, contributing both sweetness and that wonderful fall flavor. Ensure every cookie has a lovely dollop to savor with each bite, showcasing the heart of these Apple Butter Thumbprint Cookies.
Step 9: Bake
Slide the baking sheets into your preheated oven and bake for 12-14 minutes or until the edges are golden brown. Keep an eye on them; the cookies should be set but remain soft in the center. Your kitchen will start to fill with an irresistible aroma, hinting that a treat is on its way!
Step 10: Cool
Once done, remove the baking sheets from the oven and allow the cookies to cool on the sheets for about 5 minutes. Then, transfer them to a wire rack to cool completely. This step is crucial as it prevents burns from the hot apple butter filling, allowing you to enjoy your Apple Butter Thumbprint Cookies at their best!

Apple Butter Thumbprint Cookies Variations
Feel free to add your creative touch to these delightful cookies for a personalized twist!
-
Fruit Butter Swap: Try using pear or peach butter in place of apple butter for a refreshing change in flavor.
Enjoy the unique taste that each fruit brings, making your cookies truly your own! -
Gluten-Free Option: Substitute all-purpose flour with gluten-free flour for a delicious alternative that everyone can enjoy.
Your gluten-sensitive friends will thank you for this thoughtful variation! -
Nutty Addition: Incorporate chopped walnuts or pecans into the dough to add a satisfying crunch.
The nutty flavor pairs beautifully with the sweetness of the apple butter, making every bite irresistible. -
Chocolate Lovers: Fold in some chocolate chips for a rich, decadent treat that contrasts wonderfully with the apple butter.
Each cookie becomes a delightful surprise, blending sweetness and depth. -
Spiced Up: Swap cinnamon in the sugar coating for chai spice or pumpkin pie spice for a flavorful twist.
This simple change brings a whole new warmth to your autumn-inspired cookies! -
Egg-Free Version: Use a flax egg (1 tablespoon ground flaxseed + 2.5 tablespoons water) to create a vegan version of these cookies.
You won’t sacrifice flavor or texture, and it’s a fantastic way to cater to dietary needs. -
Chai Infusion: Infuse the butter with chai spices while melting it for a warm, aromatic base that elevates these cookies.
This method adds a cozy, comforting fragrance that reminds you of fall evenings.
For an extra special seasonal treat, consider pairing your cookies with a comforting mug of warm apple cider or a cozy Cinnamon Roll Cookies recipe to create the ultimate fall experience!
Make Ahead Options
These Apple Butter Thumbprint Cookies are perfect for busy home cooks looking to save time! You can prepare the cookie dough up to 24 hours in advance by mixing and chilling it in the refrigerator. Just roll the dough into balls and coat them in cinnamon sugar right before baking. Additionally, you can fill the wells with apple butter ahead of time and refrigerate the assembled cookies for up to 3 days. When ready to bake, simply preheat your oven and pop them in for freshly baked cookies that are just as delicious as if made from scratch that day! This prep-ahead approach ensures you have a delightful fall treat ready whenever the craving strikes.
Expert Tips for Apple Butter Thumbprint Cookies
-
Chill the Dough: Make sure to chill the dough for at least 30 minutes. This step helps prevent spreading, ensuring your cookies maintain their charming thumbprint shape.
-
Don’t Overbake: Keep an eye on your cookies while they bake. They should be set yet soft in the center; overbaking can lead to a dry texture.
-
Cool Before Eating: Wait for the cookies to cool completely on a wire rack. This keeps you from getting burned by the hot apple butter filling.
-
Experiment with Variations: Try different fruit butters or jams in the center for unique flavors. This flexibility keeps your Apple Butter Thumbprint Cookies exciting!
-
Use Fresh Ingredients: Always use fresh baking ingredients like baking powder and spices to elevate the taste and aroma of your cookies.
What to Serve with Apple Butter Thumbprint Cookies
Indulging in Apple Butter Thumbprint Cookies opens the door to a world of delicious pairings that enhance the warm autumn experience.
-
Spiced Apple Cider: A warm cup of spiced apple cider pairs perfectly, bringing out the flavors of cinnamon and apple, creating a cozy atmosphere.
-
Caramel Apple Latte: This creamy, sweet drink makes for a luxurious pairing that elevates your cookie experience with silky caramel undertones.
-
Cinnamon Sugar Donuts: Complement those buttery cookies with soft, fluffy donuts rolled in cinnamon sugar for a delightful texture contrast.
-
Pumpkin Pie:Nothing says fall like a slice of pumpkin pie; its creamy sweetness balances the cookies’ crisp bite beautifully.
-
Chai Tea: The milky warmth of chai tea brings spices to the forefront, harmonizing wonderfully with the cozy vibes of your cookie spread.
-
Apple Salad: Fresh, zingy apple salad provides a refreshing crunch that cuts through the sweetness, enhancing the overall meal experience.
-
Cheddar Cheese: A sharp cheese contrasting with the sweet cookies will surprise your palate and make for an inviting snack platter.
Don’t forget to mix and match these delightful treats for a cozy gathering or an afternoon pick-me-up!
Storage Tips for Apple Butter Thumbprint Cookies
Room Temperature: Keep cookies in an airtight container for up to 3 days. This way, you’ll enjoy their soft and chewy texture without worrying about them going stale.
Fridge: If you prefer, store them in the fridge for up to a week, although they may lose some of their initial softness. Wrap them tightly to avoid absorbing fridge odors.
Freezer: For longer storage, freeze the cookies in a single layer on a baking sheet, then transfer them to a freezer-safe bag for up to 3 months. Simply thaw at room temperature when ready to enjoy!
Reheating: To restore warmth, pop them in the microwave for 10-15 seconds or in a low oven for a few minutes until warmed through, enhancing the comforting taste of your Apple Butter Thumbprint Cookies.

Apple Butter Thumbprint Cookies Recipe FAQs
How do I choose the best apple butter for my cookies?
Absolutely! When selecting apple butter, look for brands that list natural ingredients without excessive preservatives. A rich, thick texture packed with spices indicates quality apple butter. Homemade is always a winner if you have time, as it offers the freshest taste tailored to your preference!
What’s the best way to store Apple Butter Thumbprint Cookies?
Store these cookies in an airtight container at room temperature for up to 3 days to keep them soft and chewy. If you want them to last longer, you can refrigerate them for up to a week, ensuring they’re well-wrapped to prevent drying out or absorbing odors.
Can I freeze Apple Butter Thumbprint Cookies?
Certainly! For freezing, first lay the cooled cookies in a single layer on a baking sheet. Once frozen solid, transfer them into a freezer-safe bag or container. They can be stored for up to 3 months. When you’re ready to enjoy, simply thaw them at room temperature or warm them slightly in the microwave for that fresh-baked feel.
What if my cookies spread too much while baking?
If your cookies spread more than expected, it often means the dough was too warm or didn’t chill sufficiently. Be sure to chill the dough for at least 30 minutes, and if you still have spreading, try adding an extra tablespoon of flour to the mixture next time. This will help solidify the dough and maintain their beautiful thumbprint shape!
Are these cookies suitable for people with nut allergies?
Very! The Apple Butter Thumbprint Cookies can easily accommodate nut allergies as they don’t include any nuts in the recipe. Just make sure to verify that the apple butter you choose is nut-free. If you’re substituting any ingredients, ensure they are also free of nuts to keep them safe for those with allergies.
How can I make these cookies gluten-free?
To make gluten-free Apple Butter Thumbprint Cookies, simply substitute the all-purpose flour with a gluten-free flour blend. Such blends usually consist of a mix of rice flour, potato starch, and tapioca flour, which work well to provide the right texture. Be sure to check that all other ingredients are gluten-free, especially the baking powder and vanilla extract!

Apple Butter Thumbprint Cookies for Cozy Fall Moments
Ingredients
Equipment
Method
- Preheat your oven to 350°F (175°C). Prepare your baking sheets by lining them with parchment paper.
- In a large mixing bowl, combine unsalted butter and granulated sugar. Beat until light and fluffy, about 2-3 minutes. Add egg yolks and vanilla, mixing until creamy.
- In a medium bowl, whisk together all-purpose flour and salt. Gradually add to the creamed mixture, mixing on low speed until just combined.
- Cover the dough with plastic wrap and refrigerate for about 30 minutes to prevent spreading.
- Prepare cinnamon sugar by mixing granulated sugar and ground cinnamon in a shallow bowl.
- Scoop tablespoon-sized portions of dough, roll into balls, and coat in cinnamon sugar. Place on prepared sheets, spaced two inches apart.
- Using your thumb, press down into the center of each ball to create a well.
- Spoon apple butter into each well, ensuring a generous but not overflowing amount.
- Bake for 12-14 minutes until edges are golden brown. The cookies should be set but soft in the center.
- Allow cookies to cool on sheets for about 5 minutes before transferring to a wire rack to cool completely.

Leave a Reply