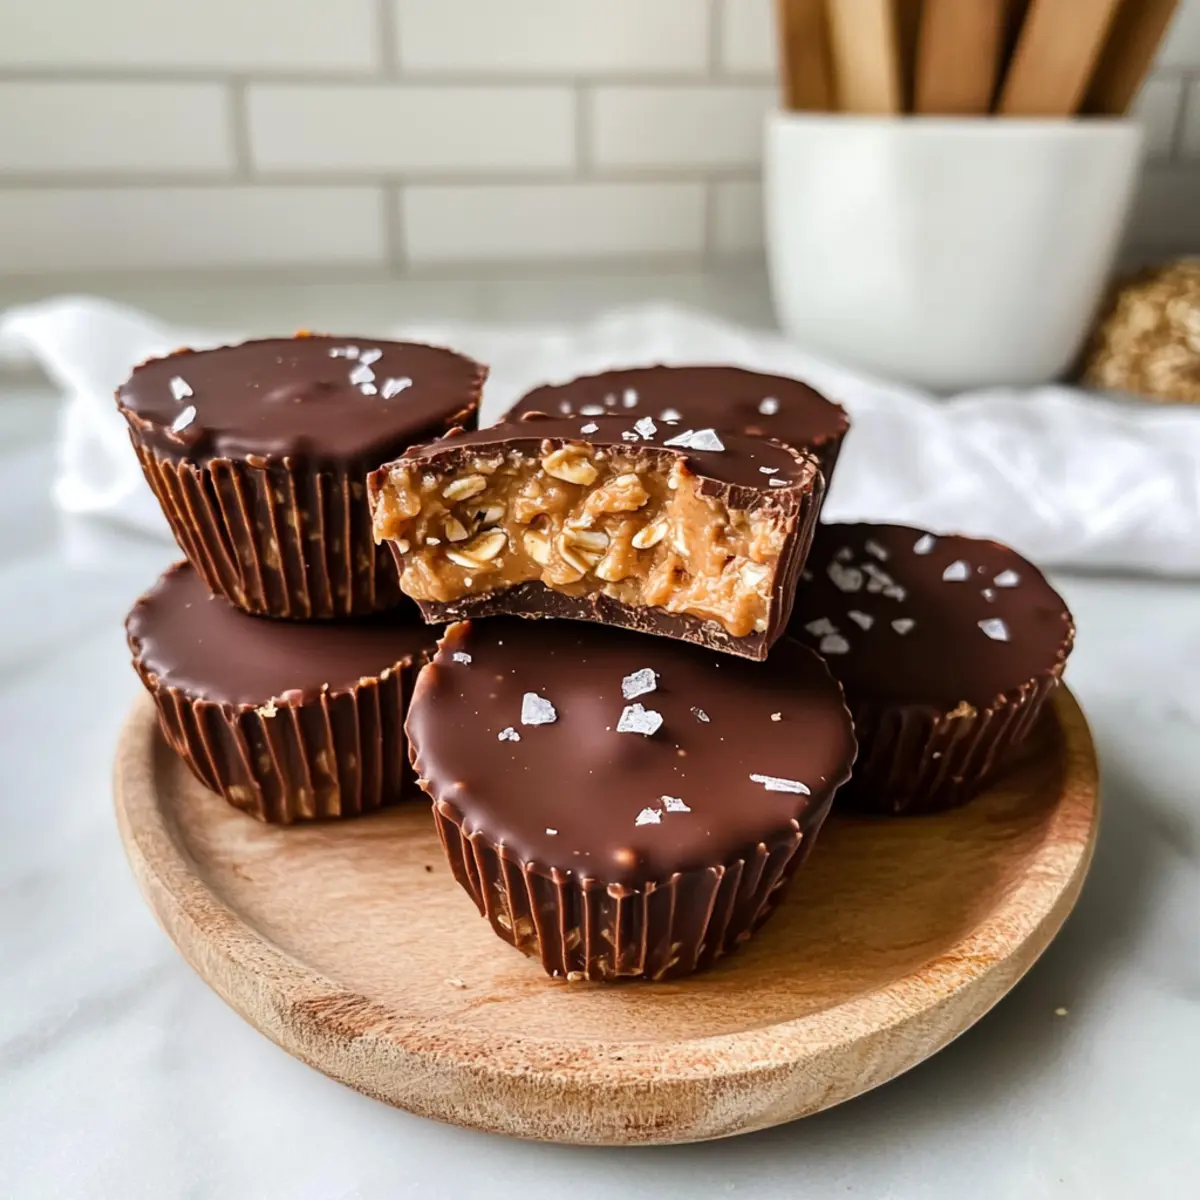
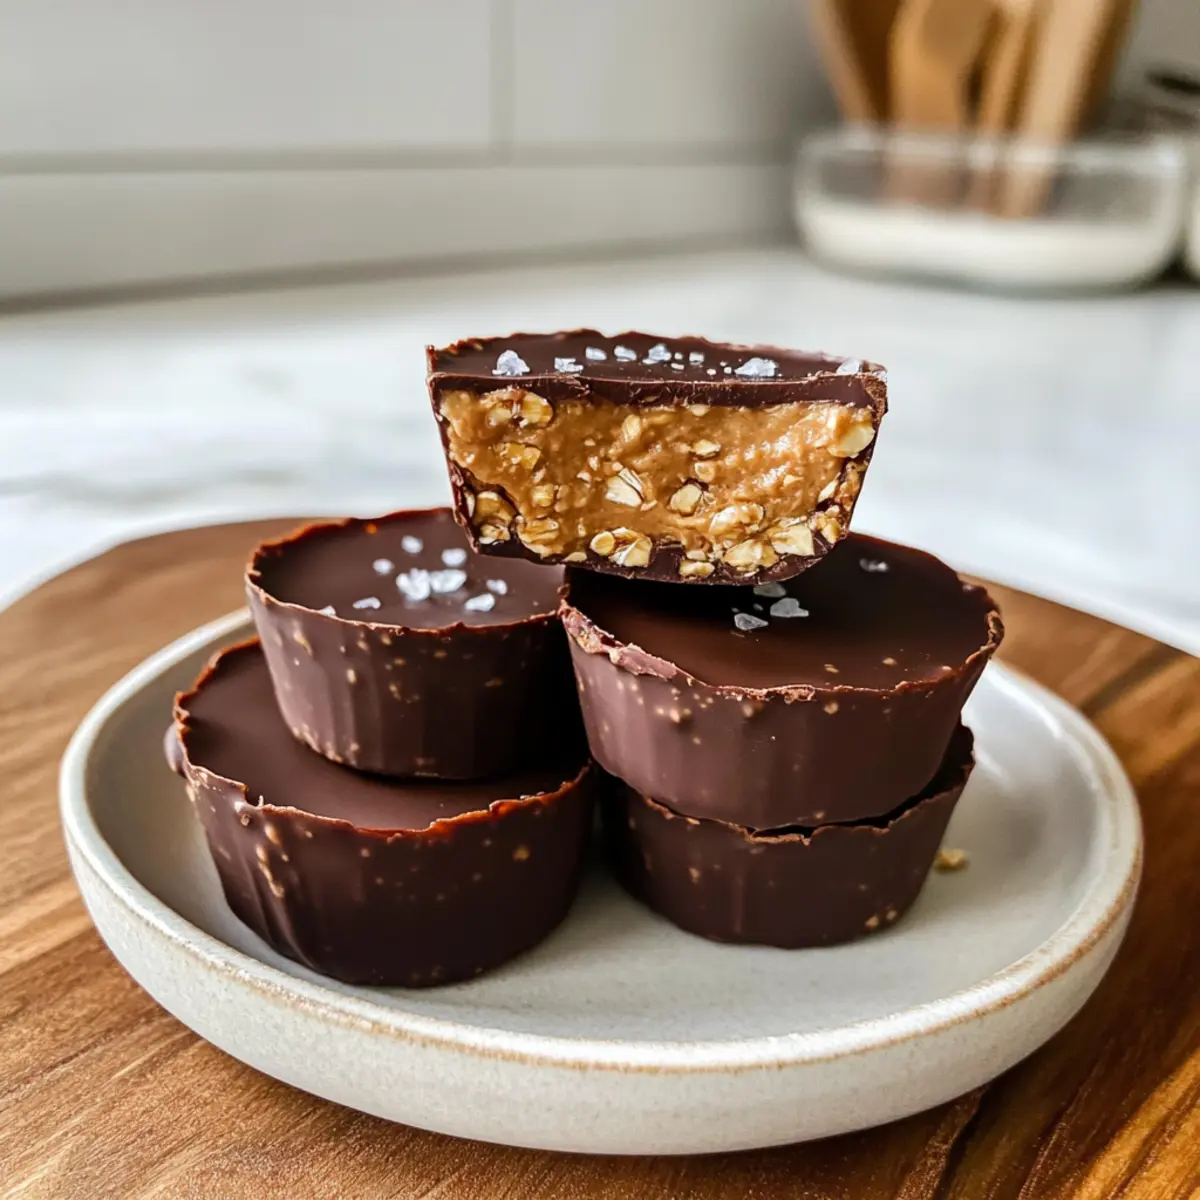
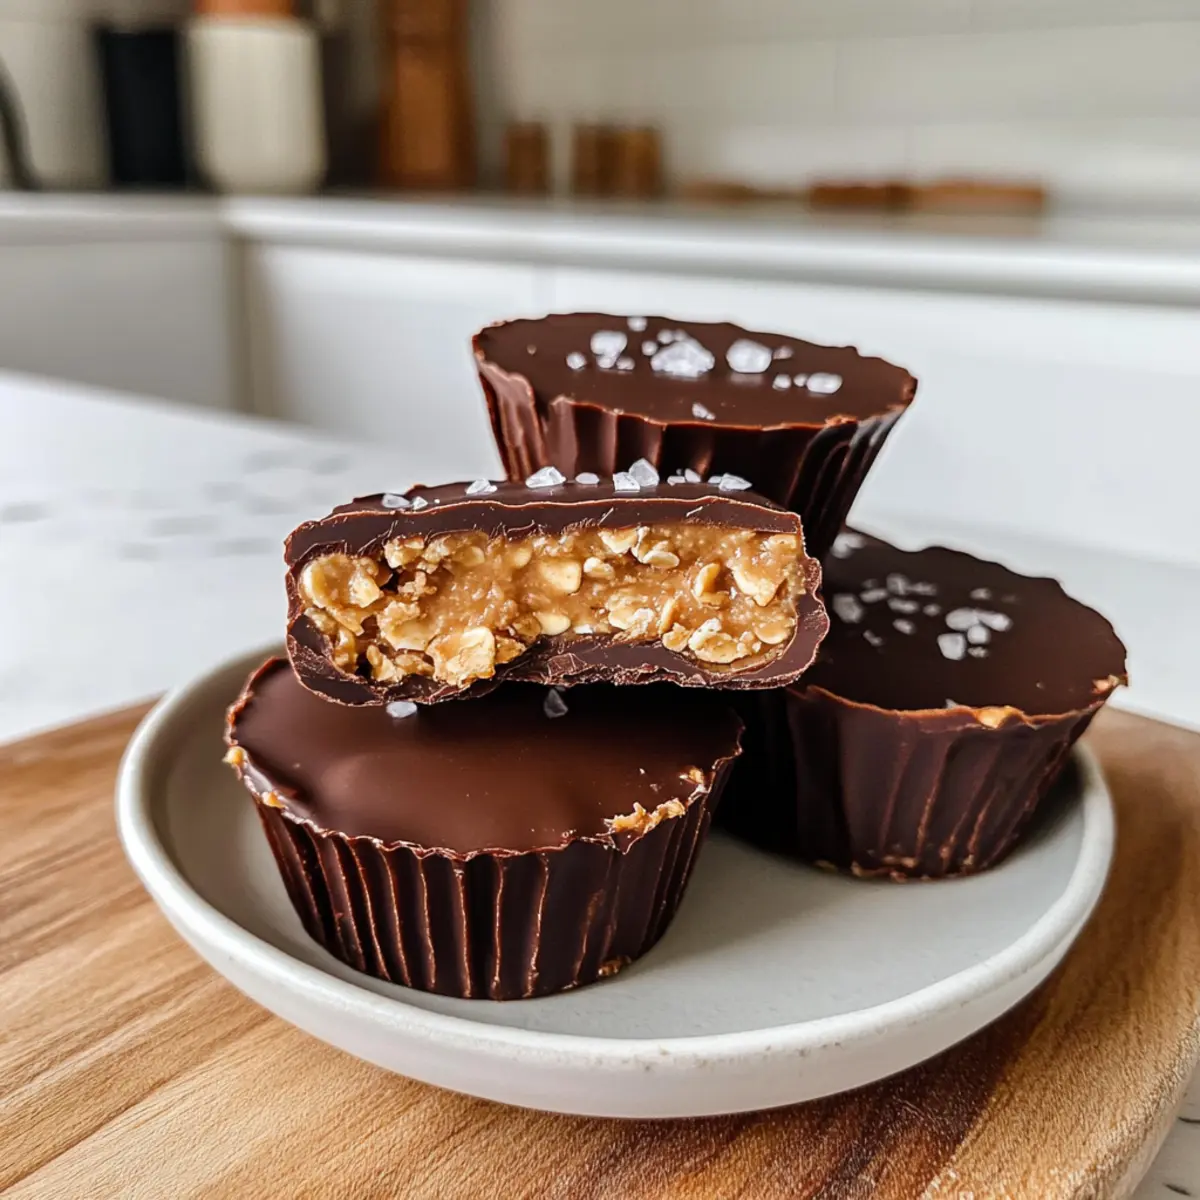
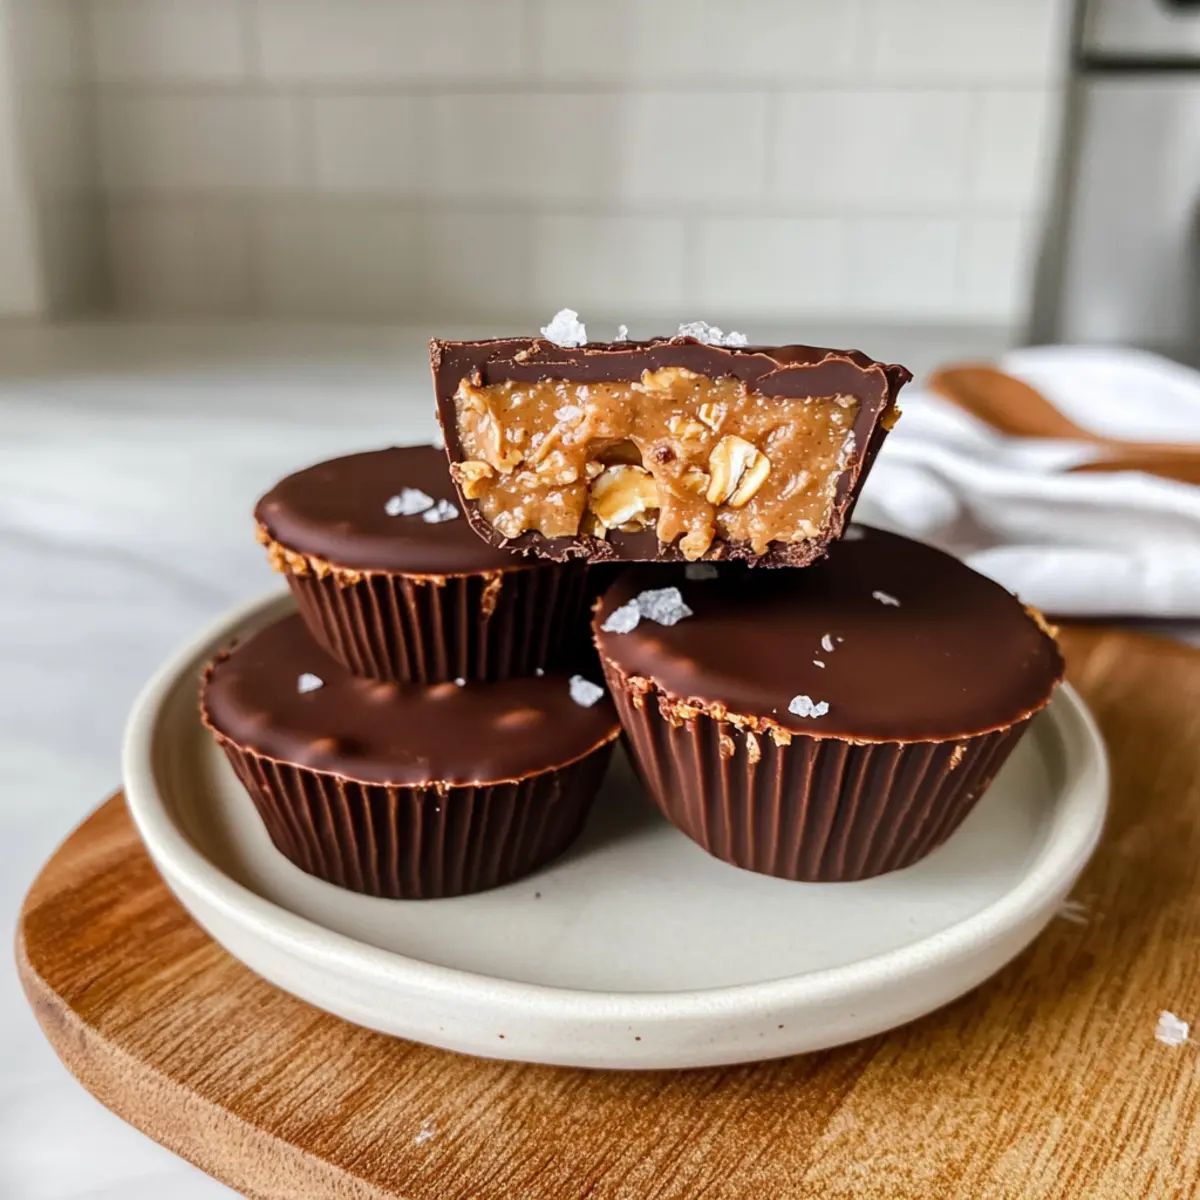
Rushing through a busy day, I often find myself longing for something homemade that satisfies both my cravings and my health goals. Enter my No Bake Peanut Butter Oat Cups—a delightful snack that can be whipped up in less than 20 minutes! These little gems are perfect for anyone seeking a quick treat without turning on the oven. The creamy peanut butter, wholesome oats, and a hint of rich chocolate come together to create a sweet indulgence that’s both vegan and gluten-free. Not only are these Peanut Butter Oat Cups a fantastic energy boost for a mid-afternoon slump, but they also make for a guilt-free dessert that everyone can enjoy. Who knew a healthy snack could be so easy and delicious? Are you ready to dive into this simple recipe that will elevate your snack game?

Why are Peanut Butter Oat Cups a must-try?
Quick and Easy: Ready in under 20 minutes, these no-bake cups are perfect for busy lifestyles.
Nutritious Indulgence: Packed with wholesome oats and creamy peanut butter, they satisfy your sweet tooth guilt-free.
Versatile Flavor: Feel free to swap out ingredients; try almond butter or add nuts and dried fruits for a fun twist!
Kid-Friendly: Perfect as an after-school snack, kids will love helping make these delicious bites.
Energy Boost: Ideal for post-workout fuel or a midday pick-me-up, these cups keep you energized and satisfied.
Elevate your snacking with these delightful Peanut Butter Oat Cups! You can also explore more healthy recipes like Peanut Butter Energy Bites for more tasty options.
Peanut Butter Oat Cups Ingredients
• Get ready to indulge in a healthy snack!
For the Base
- Peanut Butter – Provides creaminess and flavor; try sunflower seed butter for a nut-free option.
- Old Fashioned Rolled Oats – Adds texture and structure; quick oats work too but may change the final texture.
- Maple Syrup – Sweetens the mix naturally; honey or agave syrup can be used as substitutes.
- Additional Peanut Butter – Enhances flavor and creaminess; optional if you prefer a lighter version.
- Protein Powder – An optional boost for nutrition; any kind works well.
For the Coating
- Chocolate Chips – Provides a rich chocolate flavor when melted; feel free to experiment with dark, milk, or white chocolate based on your taste.
- Flaky Sea Salt – A delightful topping that enhances the chocolate flavor; totally optional, but highly recommended.
With these simple ingredients, your Peanut Butter Oat Cups will not only satisfy your cravings but also nourish your body. Let’s get snacking!
Step‑by‑Step Instructions for Peanut Butter Oat Cups
Step 1: Mix the Base Ingredients
In a medium bowl, combine 1 cup of creamy peanut butter and 1/4 cup of maple syrup. Use a spatula to stir the mixture for about 1-2 minutes until it becomes a smooth and homogenous blend. This mixture should have a glossy appearance, indicating it’s well combined.
Step 2: Incorporate the Oats
Add 2 cups of old fashioned rolled oats to your peanut butter mixture. Stir gently yet thoroughly for an additional 2-3 minutes until all oats are fully coated and wedged within the mixture. You want a thick, sticky consistency that’s easy to mold, ensuring every bite of your Peanut Butter Oat Cups is packed with oats.
Step 3: Spoon Mixture into Molds
Next, prepare your silicone molds by placing them on a tray for stability. Using a spoon, dollop about 2 tablespoons of the oat mixture into each mold cup. Press down firmly to pack the mixture tightly, ensuring a solid base. The tops should be relatively even, creating a nice surface for optional toppings later.
Step 4: Add Toppings (Optional)
For an extra layer of flavor, take an additional tablespoon of peanut butter and dollop it on top of each packed oat cup. If you’re using protein powder, mix it with the peanut butter and layer a spoonful on top for added nutrition. This step makes your Peanut Butter Oat Cups even more indulgent!
Step 5: Freeze the Cups
Carefully place the trays in the freezer and allow the oat cups to freeze for about 20 minutes. This initial freeze will help them set firmly, making it easier to coat with chocolate later. Check that they are firm, which indicates they are ready for the next step.
Step 6: Melt the Chocolate
While the oat cups are freezing, in a microwave-safe bowl, combine 1 cup of chocolate chips. Microwave on high for about 1 minute, stirring every 30 seconds until smooth and completely melted, which will create a luscious coating for your Peanut Butter Oat Cups. Ensure there are no lumps for a glossy finish.
Step 7: Coat the Oat Cups
Once the oat cups are set, remove them from the freezer, and carefully dip each cup into the melted chocolate. Allow the excess to drip off, and return the coated cups back to the tray lined with parchment paper. This glossy chocolate layer adds a delicious crunch when biting into your treats.
Step 8: Freeze Again to Firm Up
Return the chocolate-coated Peanut Butter Oat Cups back to the freezer for another 20 minutes. This final freeze ensures the chocolate hardens completely, making for a perfectly firm and delightful treat. Check their texture to ensure they are fully set before removing from molds.
Step 9: Remove and Serve
After the final freeze, gently pop each cup out of the silicone molds. If desired, lightly sprinkle flaky sea salt on top for enhanced flavor. Serve these delightful Peanut Butter Oat Cups as a wholesome snack or dessert, appreciating their rich flavors and satisfying textures!

Make Ahead Options
These Peanut Butter Oat Cups are a perfect option for meal prep, saving you time during busy days! You can prepare the base mixture and fill the molds up to 24 hours in advance; just store them in the refrigerator to maintain their freshness. If you’re looking to prep even further, you can freeze the molded cups after the initial freeze for up to 3 months. When you’re ready to enjoy, simply melt the chocolate and coat the cups, followed by a final freeze for about 20 minutes. This way, you can have a delicious, homemade snack ready to go at a moment’s notice, with all the flavors just as delightful as when freshly made!
What to Serve with Peanut Butter Oat Cups
Looking to create a delightful spread that complements the creamy indulgence of your homemade snacks?
-
Fresh Fruit Salad: A medley of vibrant fruits adds a refreshing contrast to the rich flavors, enhancing your snacking experience. Think of juicy strawberries, crunchy apples, and sweet bananas that provide a burst of freshness.
-
Almond Milk or Oat Milk: A chilled glass of almond or oat milk balances the sweetness of the oat cups, making for a wholesome pairing. These creamy beverages are also dairy-free and align perfectly with your health-conscious snacking.
-
Granola Parfait: Layer yogurt, granola, and a drizzle of honey to create a satisfying parfait that complements the oat cups nicely. The crunch of granola and the creaminess of yogurt will enhance the textures while providing a balanced meal.
-
Dark Chocolate-Covered Nuts: For those who crave a little extra crunch, dark chocolate-covered nuts can mirror the chocolate coating of your cups while adding a delightful nutty flavor. They offer a satisfying bite and a touch of decadence.
-
Homemade Trail Mix: Blend your favorite nuts, seeds, and dried fruits for an easy snack that adds a different flavor profile. The mix of textures and flavors will keep your palates excited and can be enjoyed alongside the oat cups.
-
Hibiscus Iced Tea: A refreshing, herbal iced tea adds a floral note that perfectly offsets the nutty and sweet elements of the Peanut Butter Oat Cups. This drink feels indulgent but remains light and hydrating.
-
Coconut Chia Pudding: The creaminess of chia pudding made with coconut milk brings a tropical twist to your snack table. Its velvety texture, alongside the oat cups, creates a beautiful balance that’s both refreshing and satisfying.
Storage Tips for Peanut Butter Oat Cups
-
Room Temperature: These cups can be left out at room temperature for up to 2 hours, but they taste best when chilled.
-
Fridge: Store your Peanut Butter Oat Cups in an airtight container in the fridge for up to 1 week. This maintains their texture while keeping them ready for snacking.
-
Freezer: For longer storage, freeze the cups in an airtight container. They can last up to 3 months. Simply thaw in the fridge before enjoying!
-
Reheating: No reheating is necessary; simply enjoy them cold or at room temperature for the best flavor and texture.
Expert Tips for Peanut Butter Oat Cups
- Silicone Molds: Use silicone molds for easy removal; they prevent sticking and help maintain the shape of your Peanut Butter Oat Cups.
- Right Consistency: Ensure your peanut butter is thick enough; runny peanut butter may result in a longer freezing time.
- Chocolate Choices: Adjust chocolate types based on preference; dark chocolate provides a richer flavor, while white chocolate offers sweetness.
- Mix-ins: Get creative with add-ins like dried fruits or nuts for a delightful twist; just ensure they complement the oat mixture well.
- Storage Wisdom: Store your Peanut Butter Oat Cups in an airtight container; they freeze well but also stay delicious in the fridge for a softer texture.
Peanut Butter Oat Cups Variations & Substitutions
Feel free to get creative with your Peanut Butter Oat Cups and customize them to your liking!
- Nut-Free: Swap peanut butter for sunflower seed butter to keep it nut-free without losing that creamy flavor.
- Lower Sugar: Replace maple syrup with mashed bananas or unsweetened applesauce for a naturally sweet alternative. These swaps will add a unique flavor while reducing sugar.
- Protein Boost: Add a scoop of your favorite protein powder to the oat mixture, giving your snack an extra nutrition kick. This twist makes them perfect for post-workout recovery!
- Chocolate Variety: Use dark, milk, or white chocolate chips for coating based on your preference. Experimenting with flavored chocolate can also excite your taste buds!
- Fruit & Nut Mix-ins: Stir in chopped dried fruits like cranberries, or nuts like almonds for a crunchier texture and added flavor. This can create delightful bites of surprise in each cup!
- Coconut Flakes: Incorporate shredded coconut into the oat mixture for a tropical twist that adds an irresistible chewiness. The combination of coconut and peanut butter is simply heavenly!
- Spicy Kick: Sprinkle a bit of cayenne pepper into the chocolate for a surprising heat that pairs beautifully with the sweetness. This adventurous twist can elevate your snack experience.
These Peanut Butter Oat Cups are incredibly versatile, so don’t hesitate to mix and match! For more fun ideas, consider experimenting with Peanut Butter Cheerio Bars or indulge in Peanut Butter Cookies for another delicious treat. Enjoy custom snacking!

Peanut Butter Oat Cups Recipe FAQs
What type of peanut butter should I use?
Absolutely, I recommend using creamy peanut butter for a smooth texture, but you can also choose crunchy for an added crunch. If you’re looking for a nut-free option, sunflower seed butter works wonderfully as a substitute.
How should I store leftover Peanut Butter Oat Cups?
You can store your Peanut Butter Oat Cups in an airtight container in the refrigerator for up to 1 week. If you prefer a softer texture, keep them chilled in the fridge. For longer storage, they freeze beautifully and can last up to 3 months in the freezer. Just make sure to thaw them in the fridge before enjoying!
Can I freeze these cups? If so, how?
Absolutely! To freeze your Peanut Butter Oat Cups, place them in a single layer on a baking sheet and pop them in the freezer until firm—about 20-30 minutes. Once set, transfer them to an airtight container, separating layers with parchment paper to prevent sticking. They’ll stay fresh for up to 3 months, and you can easily thaw them before snacking.
What should I do if my oats don’t stick together?
If your mixture isn’t sticking, it might be due to dry oats or too much peanut butter. Make sure you’re using enough peanut butter and maple syrup. If the mixture seems dry, try adding a little more maple syrup or a splash of water, then mix thoroughly until the oats are well coated.
Are Peanut Butter Oat Cups suitable for people with allergies?
When it comes to dietary concerns, you can definitely adjust this recipe. To make it nut-free, use sunflower seed butter instead of peanut butter. Always be cautious about the chocolate you choose, especially if allergies to dairy are a concern; opt for vegan chocolate chips. It’s best to read labels carefully to ensure they’re safe for everyone’s dietary needs.
Can I modify the ingredients for different dietary needs?
Very! This recipe is quite versatile. Use agave syrup instead of maple syrup for a vegan-friendly sweetener and feel free to experiment with different nut or seed butters based on your preference. You can also throw in mix-ins like dried fruit or coconut flakes to enhance flavor while keeping it healthy. Adapt it to fit your tastes and dietary goals!

Delicious Peanut Butter Oat Cups for Quick Healthy Snacking
Ingredients
Equipment
Method
- In a medium bowl, combine 1 cup of creamy peanut butter and 1/4 cup of maple syrup. Stir until smooth and homogenous.
- Add 2 cups of old fashioned rolled oats to the mixture and stir gently for an additional 2-3 minutes.
- Prepare silicone molds on a tray. Spoon about 2 tablespoons of the oat mixture into each mold and press down firmly.
- Optionally, take an additional tablespoon of peanut butter and dollop it on top of each packed oat cup.
- Place the trays in the freezer for about 20 minutes.
- In a microwave-safe bowl, combine 1 cup of chocolate chips. Microwave on high for about 1 minute until melted.
- Remove oat cups from the freezer and carefully dip each into the melted chocolate.
- Return the chocolate-coated oat cups back to the freezer for another 20 minutes.
- After freezing, gently pop each cup out of the molds. Optionally, sprinkle flaky sea salt on top for enhanced flavor.

Leave a Reply