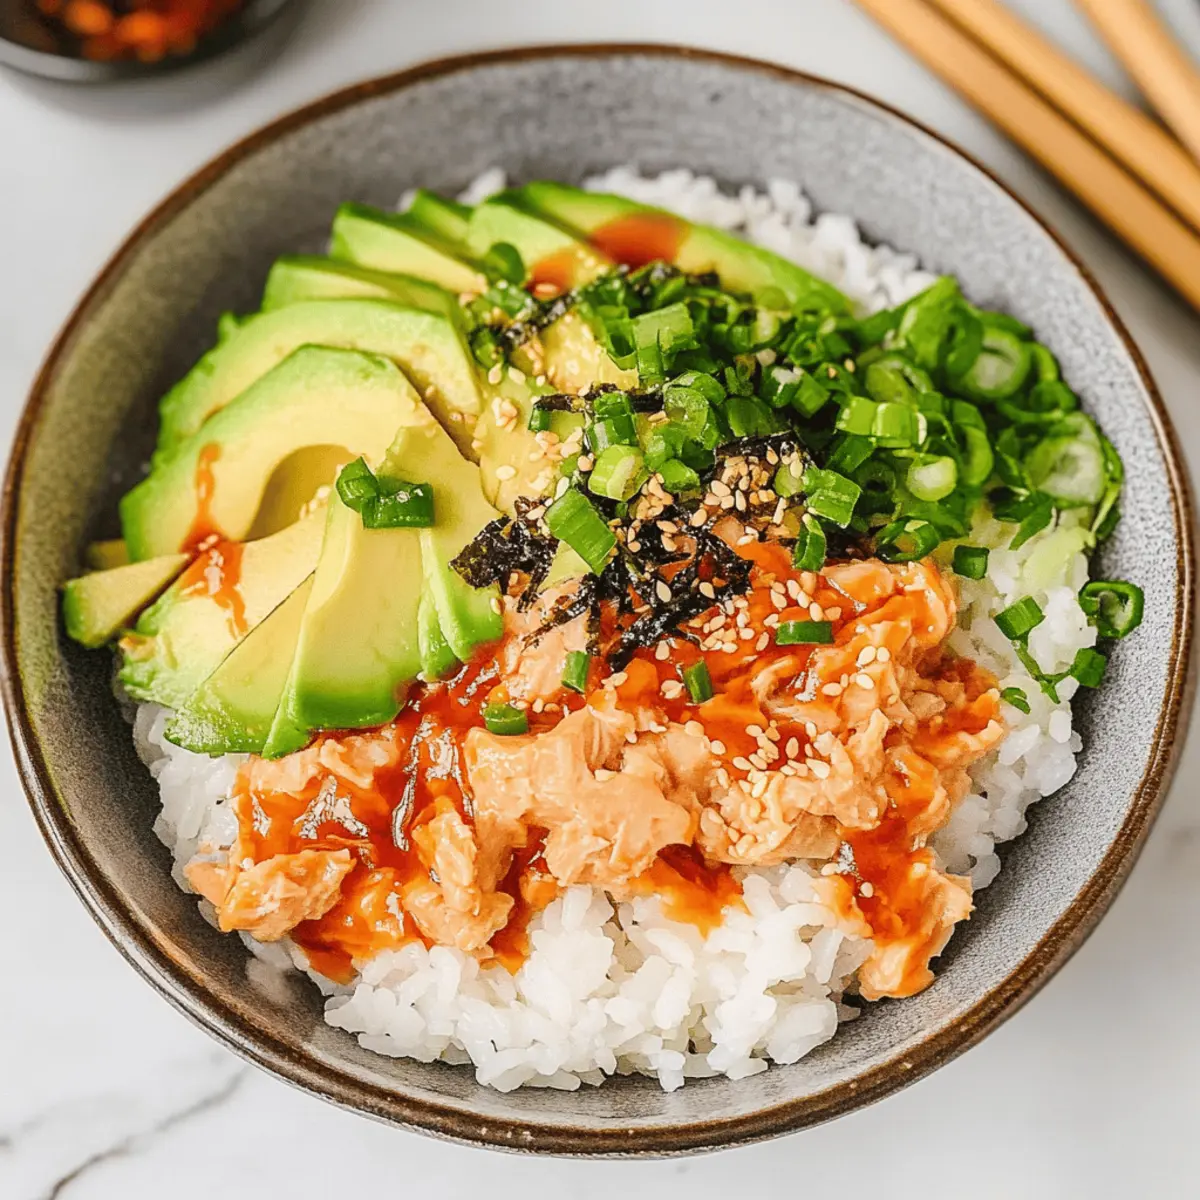
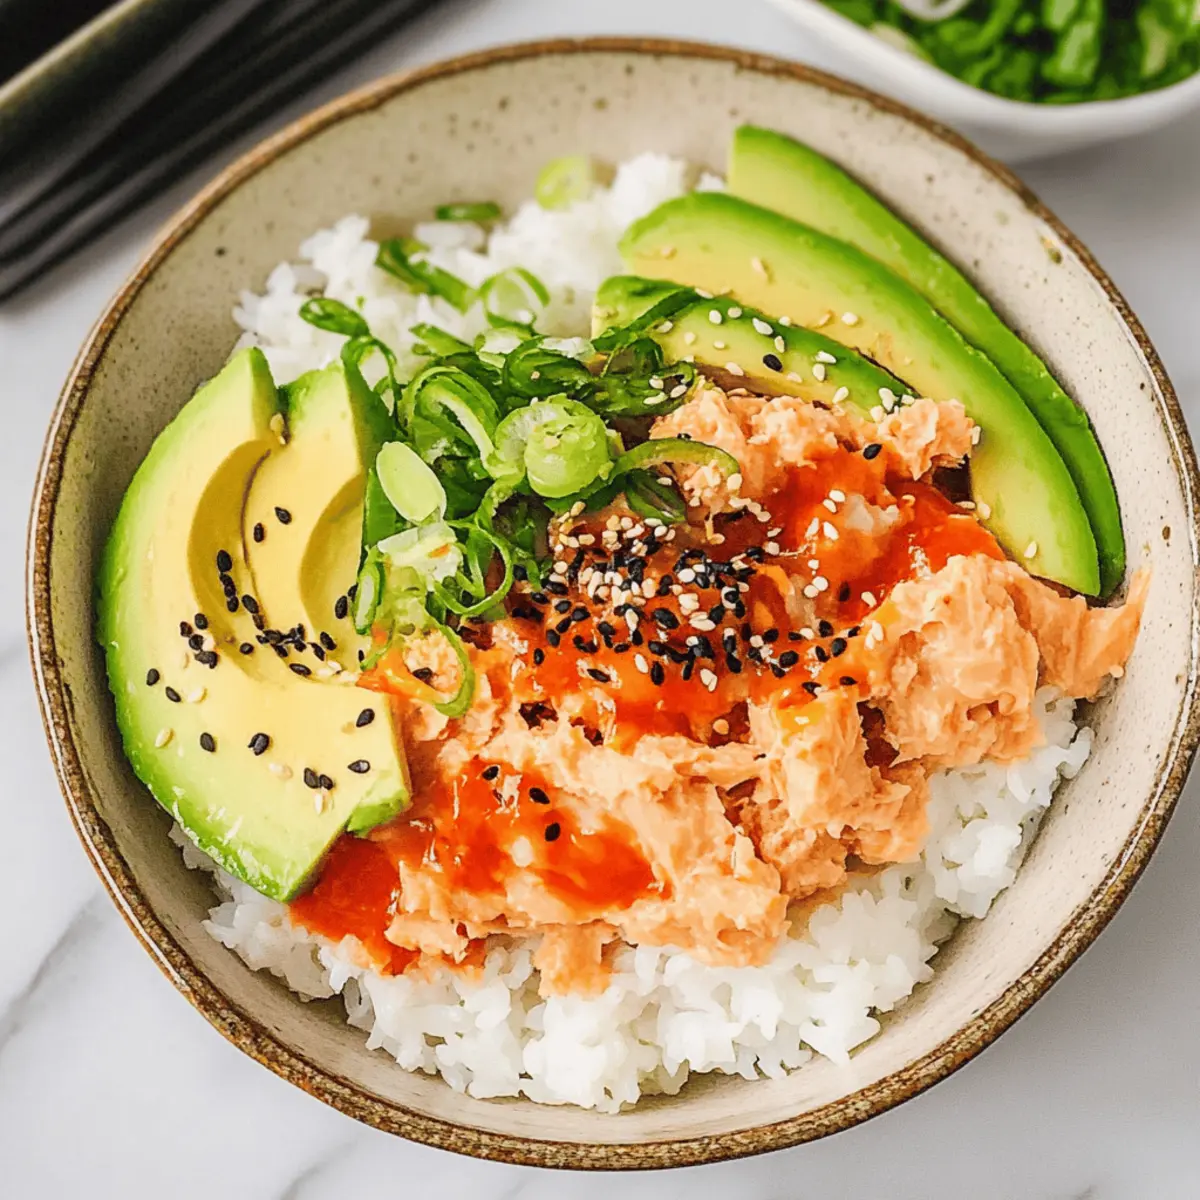
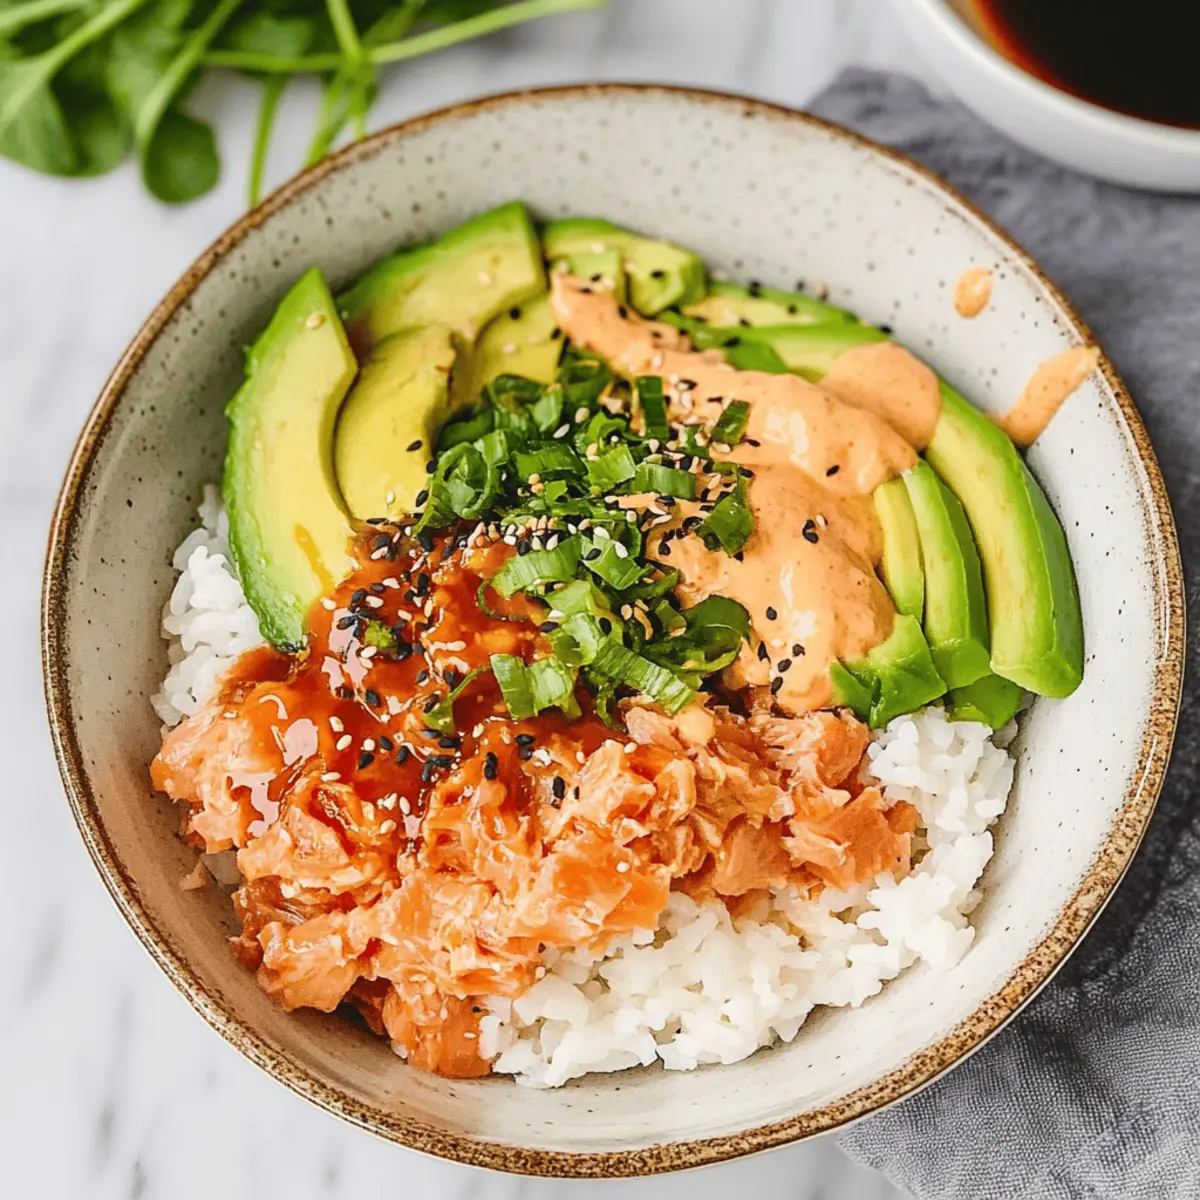
As I stood in my kitchen, juggling a busy schedule and a rumbling stomach, the idea of a quick yet satisfying meal became my mission. Enter the Canned Tuna Sushi Bowl—a delightful and customizable option that comes together in just 20 minutes. With its perfect blend of crispy sushi rice and spicy, creamy bang bang tuna, this dish not only satisfies your hunger but also eliminates the temptation of fast food. Plus, it’s protein-packed and encourages creativity with fresh toppings like creamy avocado and crunchy cucumbers. I promise, it’s a dish both you and your family will love! Are you ready to dive into this easy and delicious adventure?

Why is this Canned Tuna Sushi Bowl amazing?
Speedy Preparation: You can whip up this delicious Canned Tuna Sushi Bowl in just 20 minutes, making it perfect for busy weeknights.
Protein-Packed: With canned tuna at its core, this dish is rich in omega-3 fatty acids, providing a nutritious boost to your meal.
Customizable: Feel free to mix and match toppings according to your taste! Whether you prefer creamy avocado or the crunch of cucumbers, the choices are endless.
Flavor Explosion: The combination of crispy rice, spicy bang bang sauce, and fresh ingredients creates a savory delight that will leave your taste buds dancing.
Easy Clean-Up: With minimal dishes and quick preparation time, you’ll spend less time cleaning and more time enjoying your meal.
Family-Friendly: This recipe is a hit with everyone! It’s an exciting and accessible meal for kids and adults alike, turning dinner into a fun experience. If you’re looking for more easy meals, check out our Sausage Gnocchi Soup for another delightful dish!
Canned Tuna Sushi Bowl Ingredients
• Ready to create this delicious Canned Tuna Sushi Bowl? Here’s what you’ll need!
For the Base
- Cooked Sushi Rice – This provides the perfect foundation, but don’t worry; leftovers work great too.
- Olive Oil – Used for pan-frying the rice to achieve that delightful crispy texture.
- Salt and Black Pepper – Essential for seasoning to your taste preference.
For the Tuna Mix
- Canned Tuna (drained) – This protein-packed option is rich in omega-3s; opt for tuna in oil for extra moistness.
- Bang Bang Sauce – This creamy and spicy secret elevates the dish; swap with spicy mayo if you wish!
- Sriracha Sauce – For an extra kick of heat; any hot sauce will fit the bill if you’re feeling adventurous.
Toppings
- Avocado (sliced or diced) – Adds creaminess and healthy fats, enriching your bowl.
- Spring Onions (chopped) – They lend a fresh, sharp flavor and are a must for garnishing.
- Furikake – This Japanese rice seasoning enhances flavor and provides delightful texture; you can use nori if you’re out.
Feel free to get creative with the toppings, and prepare to enjoy this quick and delightful meal!
Step‑by‑Step Instructions for Canned Tuna Sushi Bowl
Step 1: Prepare the sushi rice
Begin by cooking your sushi rice according to the package instructions, usually around 15-20 minutes. Once the rice is perfectly tender and warm, transfer it to a large bowl. While it’s still warm, drizzle in a splash of rice wine vinegar, a bit of sesame oil if desired, and a pinch of sugar. Gently fold to combine, allowing the flavors to mingle.
Step 2: Mix toppings
In a separate bowl, combine the drained canned tuna with the bang bang sauce, stirring until well-coated. This process should only take a minute or two. While the tuna absorbs the flavors, slice your avocado and chop the spring onions for topping—this adds a fresh element to your Canned Tuna Sushi Bowl.
Step 3: Pan-fry the rice
Heat a skillet over medium-high heat and add a drizzle of olive oil. Once the oil is hot, gently add your seasoned sushi rice, pressing it down slightly. Let it cook for about 3-5 minutes, until the bottom is golden brown and slightly crispy. Carefully flip the rice to ensure even cooking, then break apart any large clumps and remove it from the heat.
Step 4: Assemble the bowl
To create your beautiful Canned Tuna Sushi Bowl, start by layering the crispy sushi rice as the base in a bowl. Spoon the delicious bang bang tuna mixture generously on top, ensuring it covers the rice. Next, add your sliced avocado and chopped spring onions as vibrant toppings, enhancing both the flavors and presentation of your dish.
Step 5: Final touches
For a burst of added flavor, sprinkle a generous amount of furikake over the assembled bowl. If you enjoy a kick of heat, drizzle some sriracha or spicy mayo on top. Serve your Canned Tuna Sushi Bowl immediately for the best taste, inviting everyone to gather around and enjoy this quick, satisfying meal.

How to Store and Freeze Canned Tuna Sushi Bowl
Fridge: Store leftovers in an airtight container for up to 2 days. To keep the sushi rice crispy, you might want to separate the rice from the toppings.
Freezer: While it’s best to enjoy the Canned Tuna Sushi Bowl fresh, you can freeze plain, cooked sushi rice in a freezer-safe bag for up to 1 month.
Reheating: Reheat the sushi rice in the microwave, adding a splash of water to maintain moisture. Avoid reheating any toppings like avocado, as they do not freeze well.
Serving Fresh: For optimal taste and texture, assemble your Canned Tuna Sushi Bowl just before eating, especially if you’ve stored the ingredients separately.
Canned Tuna Sushi Bowl Variations & Substitutions
Feel free to get creative with your Canned Tuna Sushi Bowl—the possibilities are endless!
-
Different Protein: Swap out canned tuna for canned salmon for a delightful change in flavor.
-
Rice Variety: Substitute sushi rice with brown or jasmine rice for a heartier and healthier alternative.
-
Spicy Twist: Add diced jalapeños or spicy pickled vegetables to kick up the heat in your bowl!
-
Extra Crunch: Top with crispy tempura vegetables or toasted sesame seeds for an exciting texture contrast.
-
Green Goodness: Include fresh spinach or arugula as a bed under your rice for added nutrients and color.
-
Zingy Finish: Drizzle with a citrus dressing—like yuzu or lemon—for a refreshing, zesty touch that brightens the flavors.
-
Sweet Addition: Include mango slices or a dash of sweet chili sauce for a delightful fruity twist.
-
Asian Flair: Serve alongside a warm bowl of miso soup for a comforting, well-rounded meal that transports you to your favorite sushi spot.
Let your imagination run wild, and if you want more quick meal inspirations, don’t forget to check out our Sausage Gnocchi Soup for another tasty adventure!
Make Ahead Options
These Canned Tuna Sushi Bowls are perfect for meal prep, allowing you to streamline your weeknight dinners! You can prepare the sushi rice and store it in an airtight container in the refrigerator for up to 3 days, ensuring it’s ready to use whenever hunger strikes. The bang bang sauce can also be made in advance and kept in the fridge for up to 24 hours. To maintain the quality of your meal, assemble the bowls just before serving, adding the toppings like avocado and spring onions to prevent sogginess. When it’s time to eat, simply pan-fry the prepped sushi rice and layer with the tuna mixture for quick, scrumptious results that satisfy your cravings effortlessly!
Tips for the Best Canned Tuna Sushi Bowl
- Warm Ingredients: Ensure the sushi rice is warm when seasoning; this helps the flavors absorb better and enhances the dish’s overall taste.
- Crispy Perfection: Avoid overcrowding the pan when pan-frying the sushi rice to achieve the perfect crispy texture without burning it.
- Drained Tuna: Always use well-drained canned tuna to prevent excess moisture, which can make your Canned Tuna Sushi Bowl soggy.
- Customize Wisely: While variations are encouraged, balance flavors carefully. For example, if you’re adding more spicy ingredients, reduce others to maintain harmony.
- Fresh Toppings: Always opt for fresh toppings like avocado and spring onions for the best texture and vibrant flavor; they elevate the meal significantly!
What to Serve with Canned Tuna Sushi Bowl
Elevate your mealtime experience with delightful pairings that perfectly complement the flavors of your Canned Tuna Sushi Bowl.
-
Crispy Edamame: These lightly salted and sautéed soybeans add a pop of protein and a satisfying crunch, enhancing your meal’s nutrition and texture.
-
Miso Soup: A warm bowl of savory miso soup pairs beautifully, bringing a comforting umami flavor that complements the sushi bowl’s freshness.
-
Seaweed Salad: A refreshing seaweed salad introduces a light, briny flavor that rounds out the meal while offering a delightful chewy texture.
-
Pickled Ginger: A small dish of pickled ginger acts as a palate cleanser, brightening up flavors and adding a zingy touch to your dining experience.
-
Sushi Rolls: If you’re looking to make it a sushi night, pairing with your favorite sushi rolls can create a fun, interactive dining experience full of variety.
-
Sparkling Water with Lime: Quench your thirst with this refreshing drink; the zesty lime adds a bright, citrusy note that complements all the flavors in your bowl.
Each of these options brings something unique to the table, enhancing the exquisite taste of your Canned Tuna Sushi Bowl and making your meal even more enjoyable!

Canned Tuna Sushi Bowl Recipe FAQs
What type of canned tuna is best for the sushi bowl?
Absolutely! I recommend using canned tuna packed in oil rather than water. It keeps the tuna moist and flavorful, which is essential for a delicious Canned Tuna Sushi Bowl. If you prefer a lighter option, you could use tuna packed in water, but be sure to drain it well to avoid excess moisture.
How should I store leftovers of the Canned Tuna Sushi Bowl?
Leftover sushi rice and toppings should be stored in separate airtight containers in the refrigerator. The sushi rice will keep well for up to 2 days, while the toppings like avocado and tuna should be consumed within that timeframe for the best taste. Always ensure the containers are sealed to maintain freshness!
Can I freeze the sushi rice for future use?
Yes, you can! To freeze cooked sushi rice, spread it out evenly on a baking sheet to cool, then transfer it into a freezer-safe bag or container. Ensure you remove as much air as possible before sealing. It should last up to 1 month in the freezer. When ready to use, thaw in the fridge overnight and reheat in the microwave with a splash of water for moisture.
How can I prevent my sushi rice from becoming soggy after cooking?
To avoid soggy rice, make sure to use drained canned tuna and allow your rice to cool slightly after cooking before adding any sauces. When pan-frying the rice, press it gently but not too tightly to allow steam to escape, which will help retain a crispy texture. If you combine everything right after cooking, it can make your rice become mushy, so assemble just before serving!
Can I make this recipe gluten-free?
Certainly! To make a gluten-free Canned Tuna Sushi Bowl, simply ensure your bang bang sauce and soy sauce are gluten-free. You can find various brands of gluten-free soy sauce or tamari available in stores. Additionally, check that your furikake seasoning is gluten-free as well. Enjoy without worry!
Is this recipe suitable for kids or those with food allergies?
Very! This recipe can easily be customized to cater to different dietary needs. If allergies to fish or seafood are a concern, you could replace the tuna with chickpeas or black beans for a vegetarian option. Just be mindful of any specific allergies regarding toppings like avocado or sesame seeds, and adjust accordingly!

Savory Canned Tuna Sushi Bowl in Just 20 Minutes
Ingredients
Equipment
Method
- Prepare the sushi rice by cooking it according to package instructions.
- In a separate bowl, mix drained canned tuna with bang bang sauce.
- Heat olive oil in a skillet over medium-high heat and pan-fry the seasoned sushi rice.
- Assemble the bowl with crispy sushi rice, tuna mixture, avocado, and spring onions.
- Finish with a sprinkle of furikake and optionally drizzle sriracha or spicy mayo.

Leave a Reply