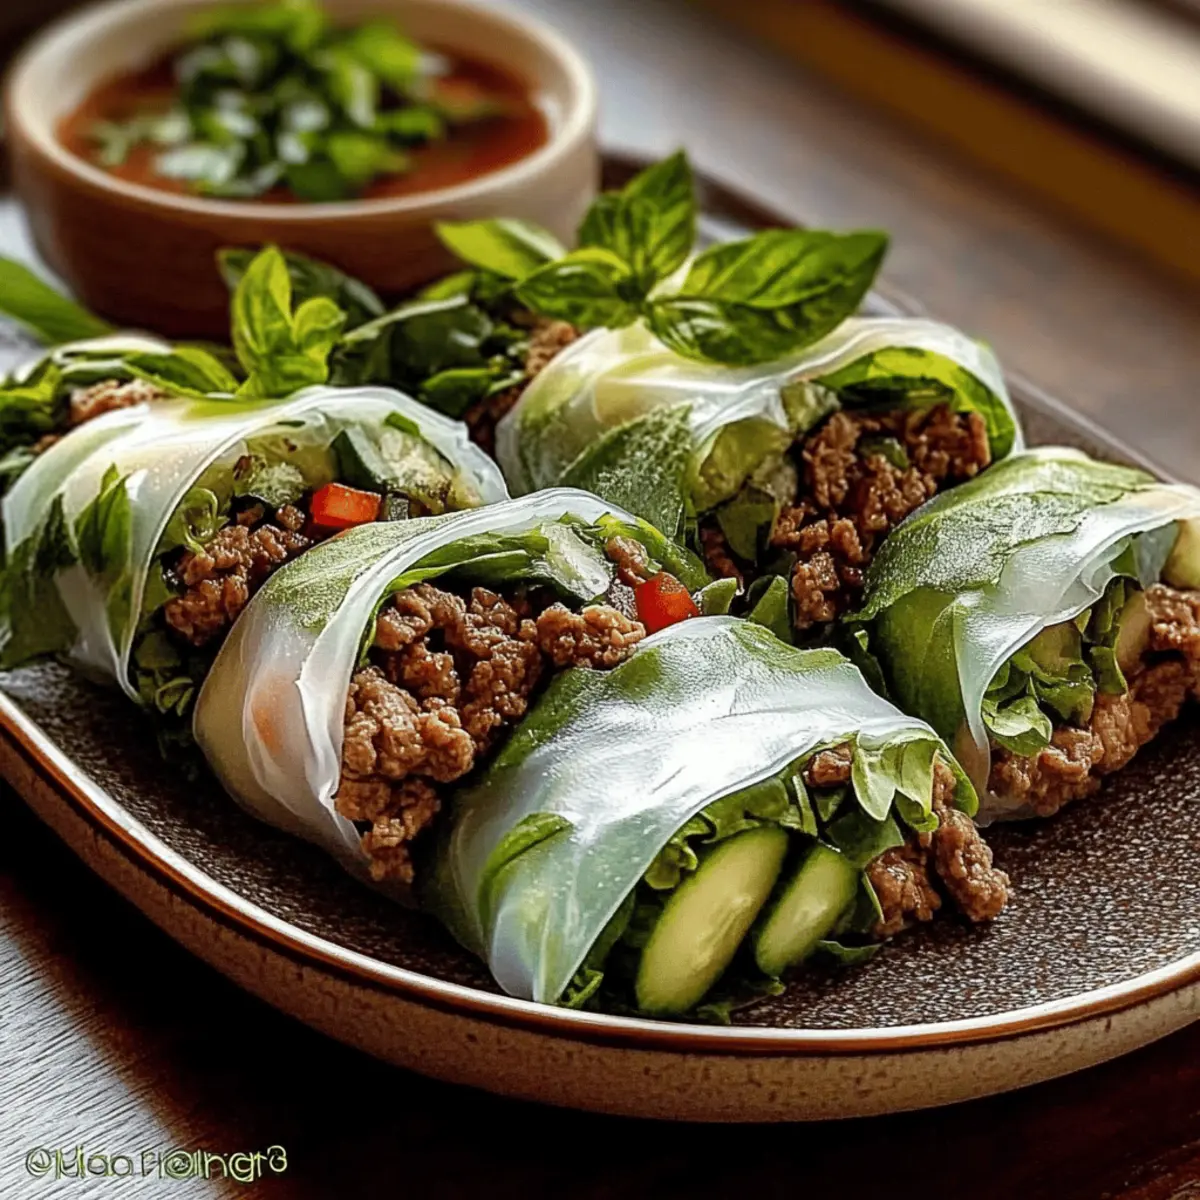
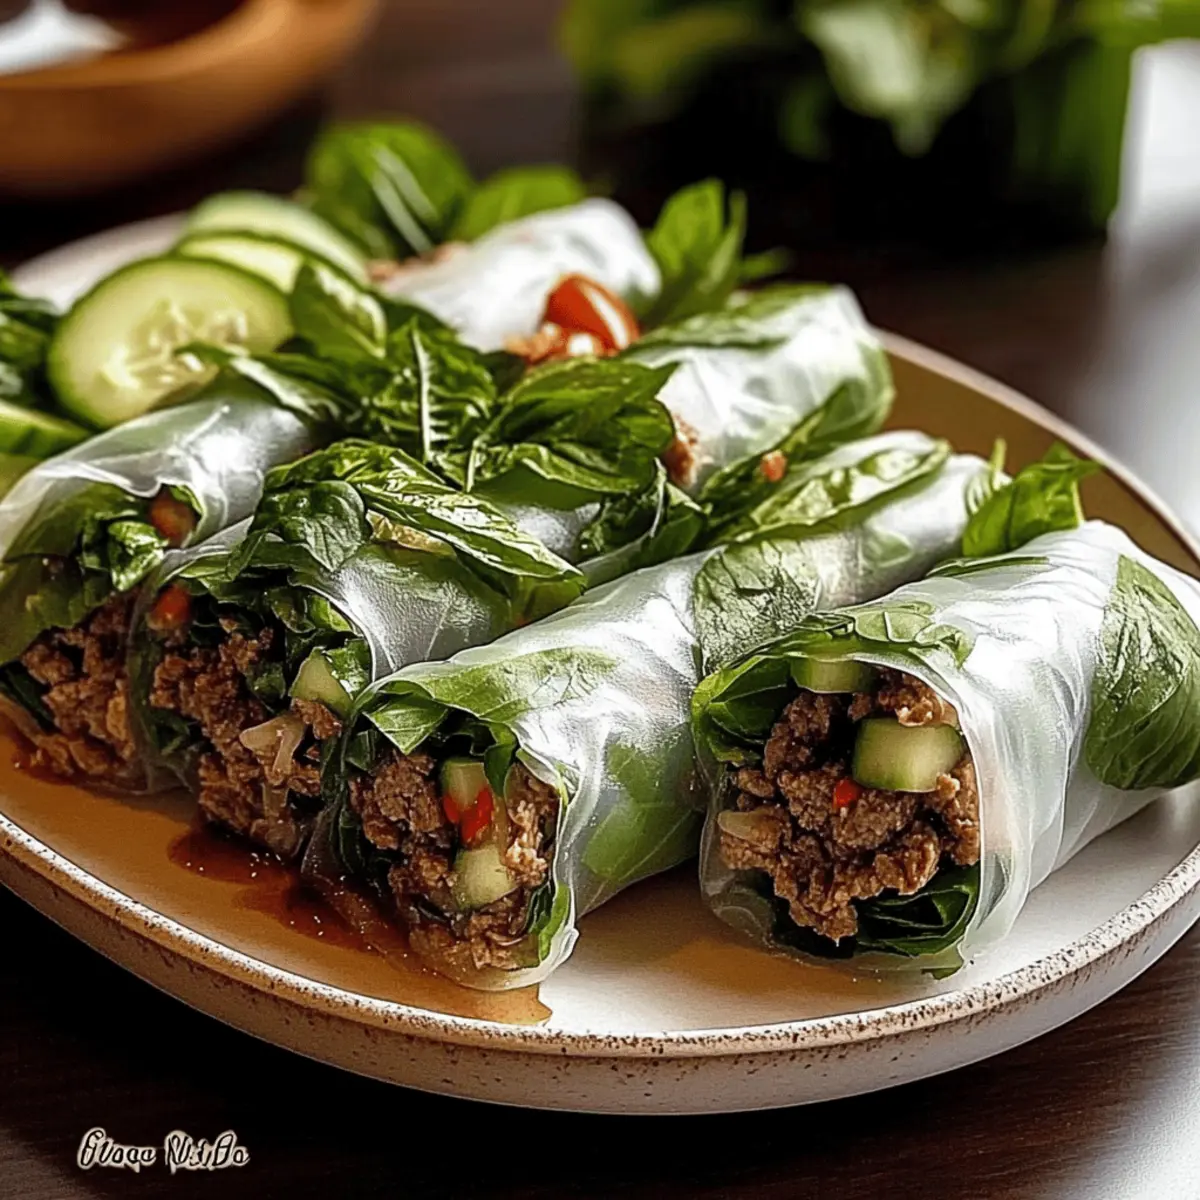
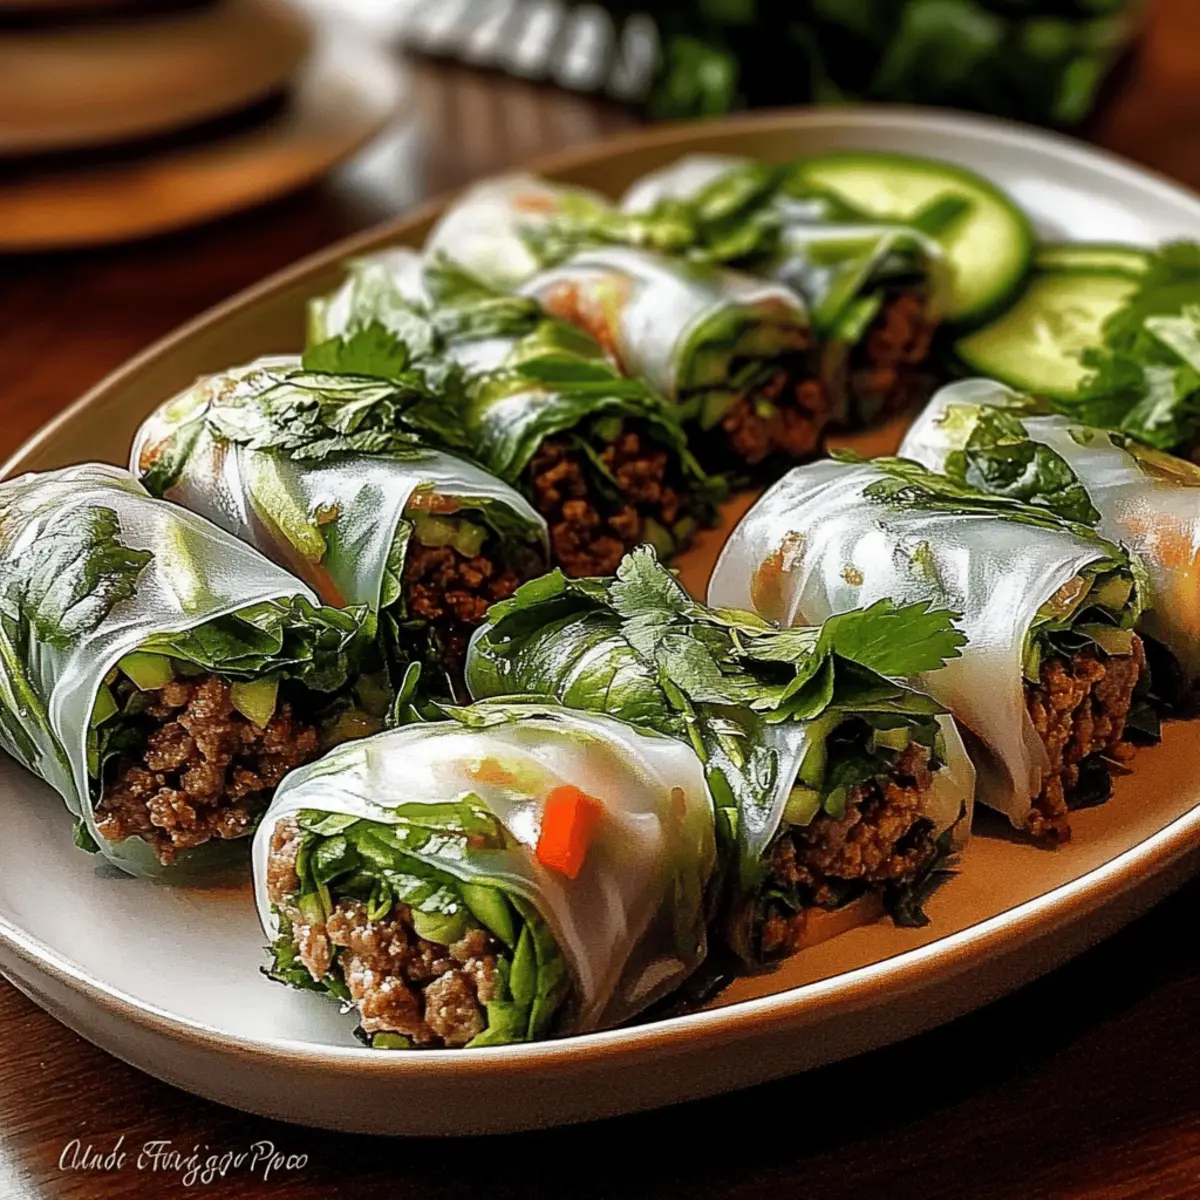
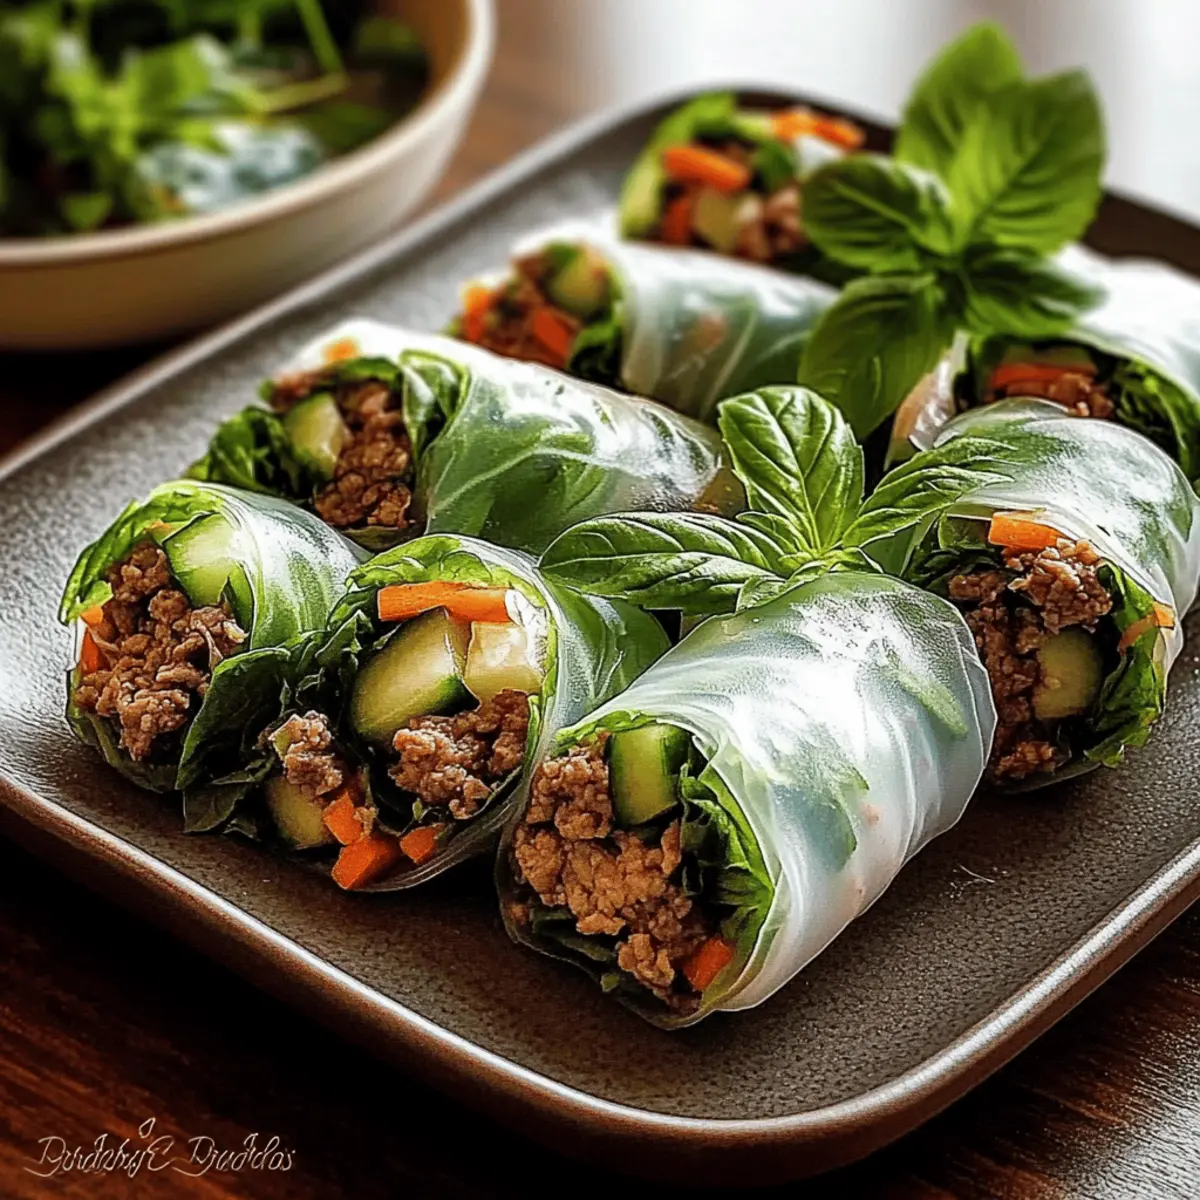
As I dipped my first rice paper sheet into warm water, I felt a wave of excitement wash over me—today, I was making Thai Basil Beef Rolls! These rolls are more than just a delightful treat; they offer a wonderful way to showcase vibrant flavors and fresh ingredients, all while being gluten-free and incredibly customizable to suit any taste. Wrapped snugly around tender ground beef, aromatic herbs, and a spicy-sweet dipping sauce, this dish packs a punch without the fuss, making it perfect for quick lunches or a stress-free dinner party. Plus, they’re a fantastic way to impress guests while keeping your kitchen relatively clean! Are you ready to roll up some deliciousness?

Why Are Thai Basil Beef Rolls Irresistible?
Fresh Ingredients: Each bite is a burst of flavor thanks to the combination of fragrant herbs and savory beef.
Quick & Easy: In just under 30 minutes, you can whip up these delicious rolls, making them a perfect option for busy weeknights.
Gluten-Free Goodness: These rolls are naturally gluten-free, and with a few simple swaps, such as using tamari, even gluten-sensitive friends can indulge!
Customizable: Personalize your rolls with a variety of fresh veggies, herbs, or even swap the beef for mushrooms for a delightful vegetarian twist.
Crowd-Pleasing Appeal: Whether it’s a casual lunch or a fancy dinner party, these rolls bring a fun and interactive dining experience that everyone will love!
Thai Basil Beef Rolls Ingredients
For the Filling
- Vegetable Oil – Adds moisture and prevents sticking during cooking.
- Garlic (3 cloves, minced) – Provides aromatic flavor to the beef mixture; fresh garlic is recommended for the best taste.
- Shallot (1 small, finely chopped) – Contributes sweetness and a mild onion flavor; yellow onion can be used in a pinch, though with a stronger taste.
- Ground Beef (1 lb, 85/15) – The main protein, providing richness and flavor; can be substituted with leaner beef or plant-based options like mushrooms or tofu.
- Soy Sauce (2 tbsp) – Adds umami and saltiness; for gluten-free Thai Basil Beef Rolls, use tamari instead.
- Oyster Sauce (1 tbsp) – Enhances flavor with sweetness and depth; opt for a vegetarian oyster sauce for a plant-based version.
- Brown Sugar (1 tsp) – Balances flavors with sweetness; can replace with honey or maple syrup for a different flavor profile.
- Fresh Lime Juice (1 tbsp) – Adds acidity and brightness to the filling; freshly squeezed is best for maximum flavor.
- Chili Flakes (1/2 tsp or 1 minced Thai chili) – Provides heat and spice; adjust to taste or omit for milder flavor.
- Fresh Thai Basil Leaves (1 cup, chopped) – Adds freshness and signature Thai flavor; can replace with regular basil, but the taste will differ.
For Wrapping
- Rice Paper Wrappers (8-10) – Encases the filling for a chewy texture; soak briefly in warm water before use to soften.
Optional Add-ins
- Fresh Mint/Cilantro (1/2 cup each) – Enhances flavor and freshness; can be omitted if not preferred.
- Sliced Green Onion (1/4 cup) – Adds a fresh crunch and flavor; a light sprinkle can also enhance presentation.
- Julienned Carrots/Cucumbers (1/4 cup each) – Adds texture and color; any crunchy vegetables can be used as a substitute.
For Dipping
- Dipping Sauce (1/4 cup, soy-lime or chili-garlic blend) – Enhances flavor and adds interactivity; use a mild sauce to balance out spicy rolls.
Step‑by‑Step Instructions for Thai Basil Beef Rolls
Step 1: Heat the Oil and Aromatics
In a skillet, heat 1 tablespoon of vegetable oil over medium heat. Add 3 minced garlic cloves and 1 finely chopped shallot, sautéing for about 1 minute or until fragrant and translucent. This aromatic base will set the stage for the rich flavor of your Thai Basil Beef Rolls.
Step 2: Brown the Beef
Add 1 pound of ground beef to the skillet, breaking it apart with a spatula. Cook the beef for about 5–7 minutes, stirring occasionally, until it’s nicely browned and no longer pink. As it cooks, the beef will take on a delicious, savory aroma that fills your kitchen, ready to be transformed into rolls.
Step 3: Flavor the Beef Mixture
Stir in 2 tablespoons of soy sauce, 1 tablespoon of oyster sauce, 1 teaspoon of brown sugar, and 1/2 teaspoon of chili flakes. Let these flavors meld together by simmering for an additional 2–3 minutes until the mixture thickens slightly. The combination of sweet and savory will elevate your Thai Basil Beef Rolls.
Step 4: Incorporate Fresh Ingredients
Remove the skillet from the heat and mix in 1 tablespoon of fresh lime juice and 1 cup of chopped Thai basil leaves. Allow the filling to cool for a few minutes; this helps retain the crunchiness of the herbs while ensuring the rice paper doesn’t tear when you start rolling.
Step 5: Prepare for Rolling
Set up a rolling station with a shallow bowl filled with warm water and your filling ingredients nearby. As you prepare your Thai Basil Beef Rolls, this setup will make the process smooth and enjoyable. Keeping everything in arm’s reach will help you roll quickly and efficiently.
Step 6: Soak the Rice Paper
Dip a rice paper sheet into the warm water for about 5–10 seconds, just until it softens but isn’t overly mushy. Lay it flat on a clean surface; this will be the perfect canvas for your delicious beef filling. Make sure the wrapper is pliable so it rolls easily without tearing.
Step 7: Fill the Roll
Place a small amount of the beef filling, along with any optional fresh herbs or veggies, near the bottom third of the rice paper. Aim for about 2-3 tablespoons, leaving space on the sides for folding. Visualize the beautiful Thai Basil Beef Rolls you’re creating, filled with bright flavors.
Step 8: Roll It Up
Fold the bottom of the rice paper up over the filling, then tuck in the sides, enclosing the mixture snugly. Roll the rice paper away from you, keeping it tightly wrapped but gentle enough to avoid tearing. The goal is to seal in all that flavorful goodness.
Step 9: Repeat the Process
Continue the rolling process with the remaining rice papers and filling, placing the completed rolls seam-side down on a platter. If desired, you can lightly sprinkle sliced green onions or additional herbs on top for an inviting presentation before serving.
Step 10: Serve with Dipping Sauce
Slice the Thai Basil Beef Rolls in half to showcase the colorful filling, and serve them alongside your choice of dipping sauce, like a soy-lime or chili garlic blend. The interaction of flavors will delight your guests as they dive into this delightful, homemade meal.

What to Serve with Thai Basil Beef Rolls
These irresistible rolls are the perfect starting point for a delightful and satisfying meal experience that will leave your guests raving.
- Fresh Mango Salad: This light and refreshing salad adds a sweet contrast to the savory rolls, enhancing their vibrant flavors beautifully.
- Crispy Spring Rolls: The crunch of crispy spring rolls provides a delightful texture contrast, making for a fun appetizer pairing.
- Chilled Rice Noodle Salad: A cold noodle salad dressed with tangy lime and fresh vegetables creates a flavorful, light side dish that complements the rolls perfectly.
For a burst of flavor, try swapping in different fresh vegetables like bell peppers or jicama for extra crunch.
- Herb-Infused Quinoa: This protein-packed side dish provides a hearty base while still keeping things fresh with aromatic herbs that harmonize well with the beef.
- Thai Iced Tea: Creamy and sweet, this classic beverage pairs beautifully with the spice of the rolls, adding a refreshing touch to your dining experience.
- Coconut Sticky Rice: Soft and sweet, this dessert beautifully balances the savory notes of the rolls, making it a perfect finale to your meal.
By serving these delightful pairings alongside your Thai Basil Beef Rolls, you will elevate your dining experience and create lasting memories for your loved ones.
Make Ahead Options
These Thai Basil Beef Rolls are perfect for busy home cooks looking to save time! You can prepare the beef filling up to 3 days in advance; simply let it cool completely and store it in an airtight container in the refrigerator to maintain its rich flavors. Additionally, you can chop the fresh herbs and vegetables ahead of time and store them separately. When you’re ready to serve, just soak the rice paper wrappers in warm water (5–10 seconds) before filling with the prepped beef and veggies, rolling them tightly. This way, you’ll enjoy fresh, delicious rolls with minimal effort, all while impressing your family or guests!
Thai Basil Beef Rolls: Customize Your Own
Feel free to play with your ingredients and make these rolls uniquely yours, bringing joy and flavor to your table!
-
Vegetarian Delight: Replace ground beef with a mix of chopped mushrooms or tofu for a plant-based twist. The umami flavor of mushrooms can add a deep richness that will satisfy everyone.
-
Herb Variations: Swap in fresh mint or cilantro instead of Thai basil for a different herbaceous touch. Each herb brings a unique flavor profile to the rolls, enhancing the overall taste experience.
-
Gluten-Free Sauce: Use tamari instead of soy sauce and a vegetarian oyster sauce to cater to gluten-sensitive palates. Your friends will enjoy these tasty morsels without a hint of worry!
-
Extra Crunch: Add thinly sliced bell peppers or shredded carrots for a cheerful pop of color and delightful crunch with each bite. It’s a great way to sneak in more veggies!
-
Spice It Up: Increase the amount of chili flakes or introduce fresh jalapeños for a fiery kick. For those who love spice, these rolls can become a thrilling adventure!
-
Wrap It Right: For a different texture, try using lettuce leaves instead of rice paper. Crunchy lettuce wraps lend themselves to a fresh, low-carb version while delivering all the flavors.
-
Dipping Sauce Variations: Experiment with your dipping sauce by adding peanut butter for a creamy twist or mixing in some sriracha for extra heat. A personalized sauce can turn this dish into a flavor extravaganza!
By customizing these Thai Basil Beef Rolls, you’ll create a unique experience for you and your loved ones. For more delightful dishes, check out my recipes for Grilled Thai Chicken and Orange Cardamom Rolls. Let your kitchen creativity shine!
How to Store and Freeze Thai Basil Beef Rolls
Fridge: Store leftover rolls in a single layer, covered with a damp paper towel, inside an airtight container for up to 2 days. This helps retain moisture and prevents drying out.
Freezer: For longer storage, freeze unassembled rice paper rolls in an airtight container for up to 2 months. Just thaw in the fridge before assembly and enjoy fresh!
Reheating: If reheating cooked rolls, briefly microwave them covered to avoid drying, or steam them for a few minutes until warmed. Enjoy the flavors of your Thai Basil Beef Rolls without losing their delightful texture!
Make-Ahead: Prepare the filling ahead of time and keep it in the fridge for up to 4 days. Assemble the rolls fresh to maximize flavor and crunch.
Expert Tips for Thai Basil Beef Rolls
-
Don’t Over-Soak: Keep a close eye while soaking the rice paper; too long can cause tearing. Just a quick dip in warm water is perfect for flexibility.
-
Use Fresh Ingredients: Quality fresh herbs and vegetables enhance flavor significantly; make sure your Thai basil is bright and fragrant for the best results.
-
Chill the Filling: Allowing the beef mixture to cool slightly before rolling makes it easier to handle and prevents the wrappers from tearing as you roll.
-
Try Different Fillings: Experiment with vegetables or alternate proteins; using mushrooms adds a delightful umami kick to your Thai Basil Beef Rolls.
-
Mind the Spice: Start with a smaller amount of chili flakes, then adjust to taste; it’s easier to add heat than to tone it down if it becomes too spicy!

Thai Basil Beef Rolls Recipe FAQs
What should I look for when selecting fresh Thai basil?
Absolutely! When choosing fresh Thai basil, look for vibrant green leaves that are free from dark spots or wilting. The leaves should feel firm and fragrant—fresh basil can elevate the flavor of your Thai Basil Beef Rolls significantly!
How do I store leftover Thai Basil Beef Rolls?
To keep your leftover rolls fresh, place them in a single layer and cover them with a damp paper towel before sealing them in an airtight container. They can be stored this way in the refrigerator for up to 2 days. This method helps maintain moisture and prevents the wrappers from drying out!
Can I freeze my Thai Basil Beef Rolls?
Yes, you can! To freeze your rolls, lay them out in a single layer on a baking sheet and freeze until solid. Once frozen, transfer them into an airtight container or freezer bag. They can be stored this way for up to 2 months. Just remember to thaw them in the fridge before assembly or cooking!
What if my rice paper tears while rolling?
No worries at all! If your rice paper tears, just take another piece and try again. Alternatively, you can patch the tear by cutting a small piece of another rice paper and placing it over the tear while rolling. This way, you can still enjoy delicious Thai Basil Beef Rolls without any mishaps.
Is it safe to eat leftovers for more than 2 days?
I wouldn’t recommend it! It’s best to consume any leftover Thai Basil Beef Rolls within 2 days for optimal freshness and food safety. If you have any doubt about their quality or safety after that timeframe, it’s better to be cautious and discard them. Enjoy your rolls while they’re at their best!

Thai Basil Beef Rolls: Fresh, Flavor-Packed & Easy to Make
Ingredients
Equipment
Method
- Heat the oil in a skillet, add minced garlic and chopped shallot, sauté until fragrant.
- Add ground beef, cook until browned, breaking it apart.
- Stir in soy sauce, oyster sauce, brown sugar, chili flakes, and simmer for 2-3 minutes.
- Remove from heat, mix in lime juice and chopped Thai basil, let cool.
- Set up a rolling station with warm water and filling.
- Soak rice paper in warm water for 5-10 seconds, then lay flat.
- Place beef filling on rice paper and optionally add fresh herbs or veggies.
- Fold the rice paper over filling, tuck in the sides, and roll tightly.
- Repeat with remaining ingredients, placing finished rolls seam-side down.
- Serve with dipping sauce, slice in half to showcase filling.

Leave a Reply