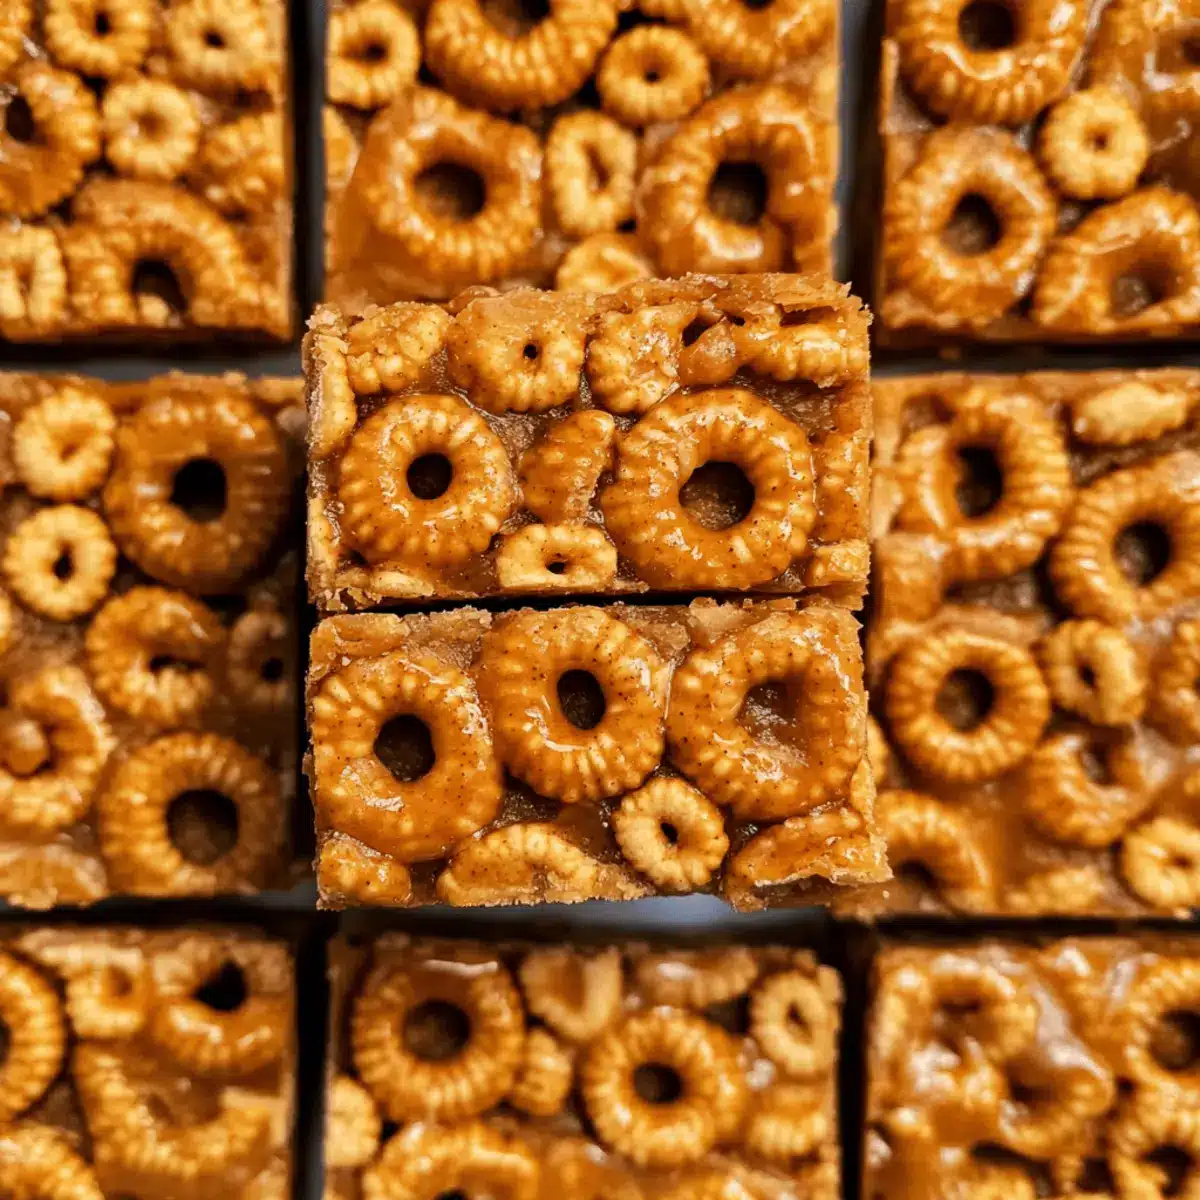
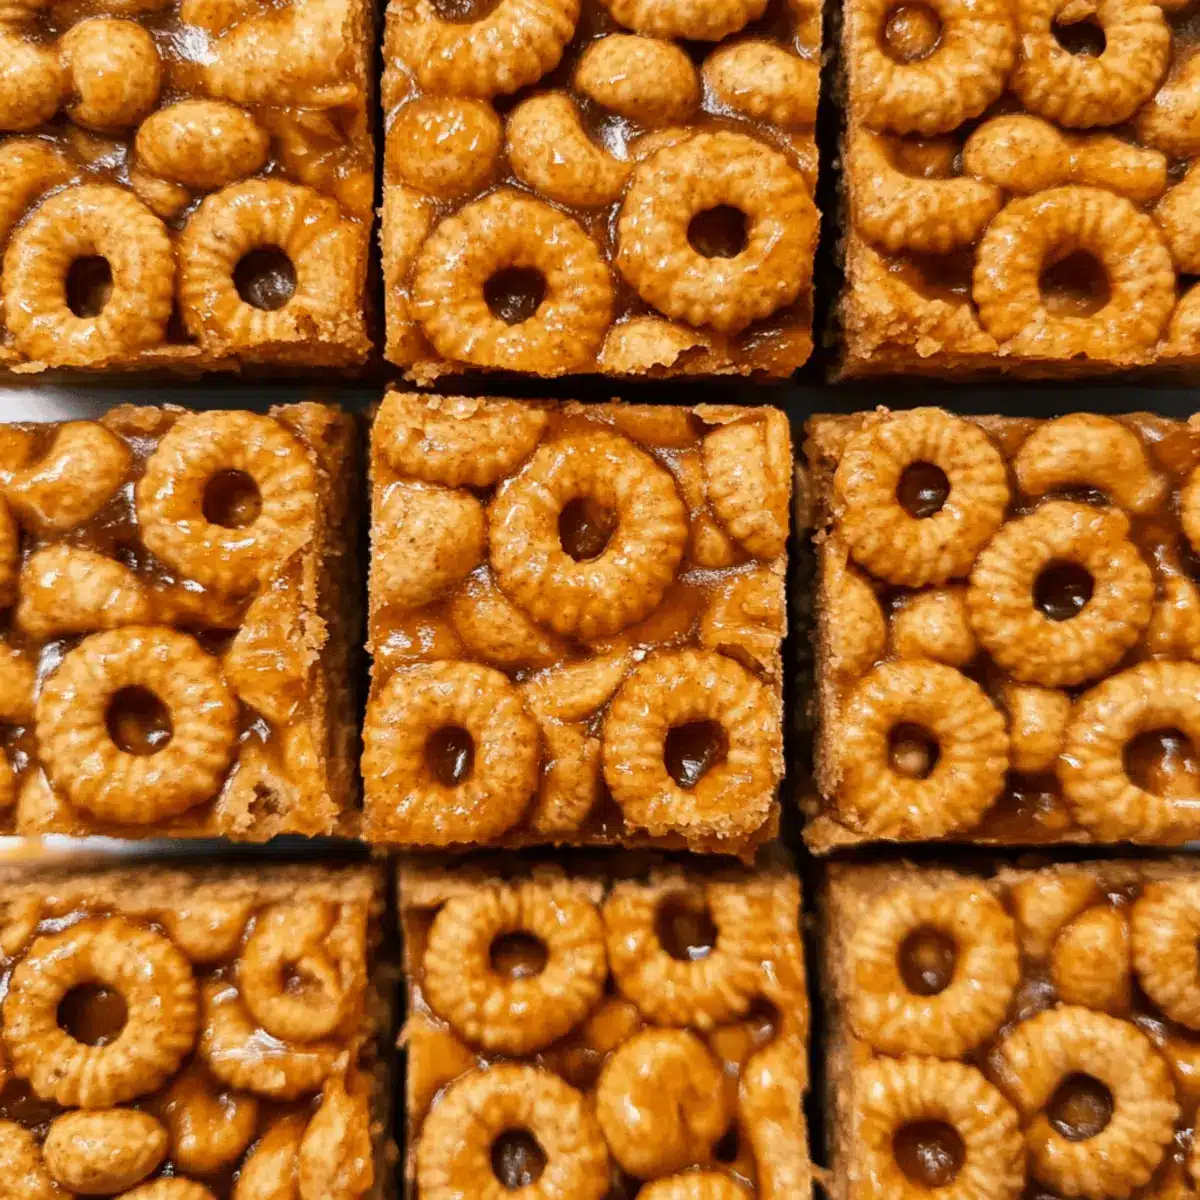
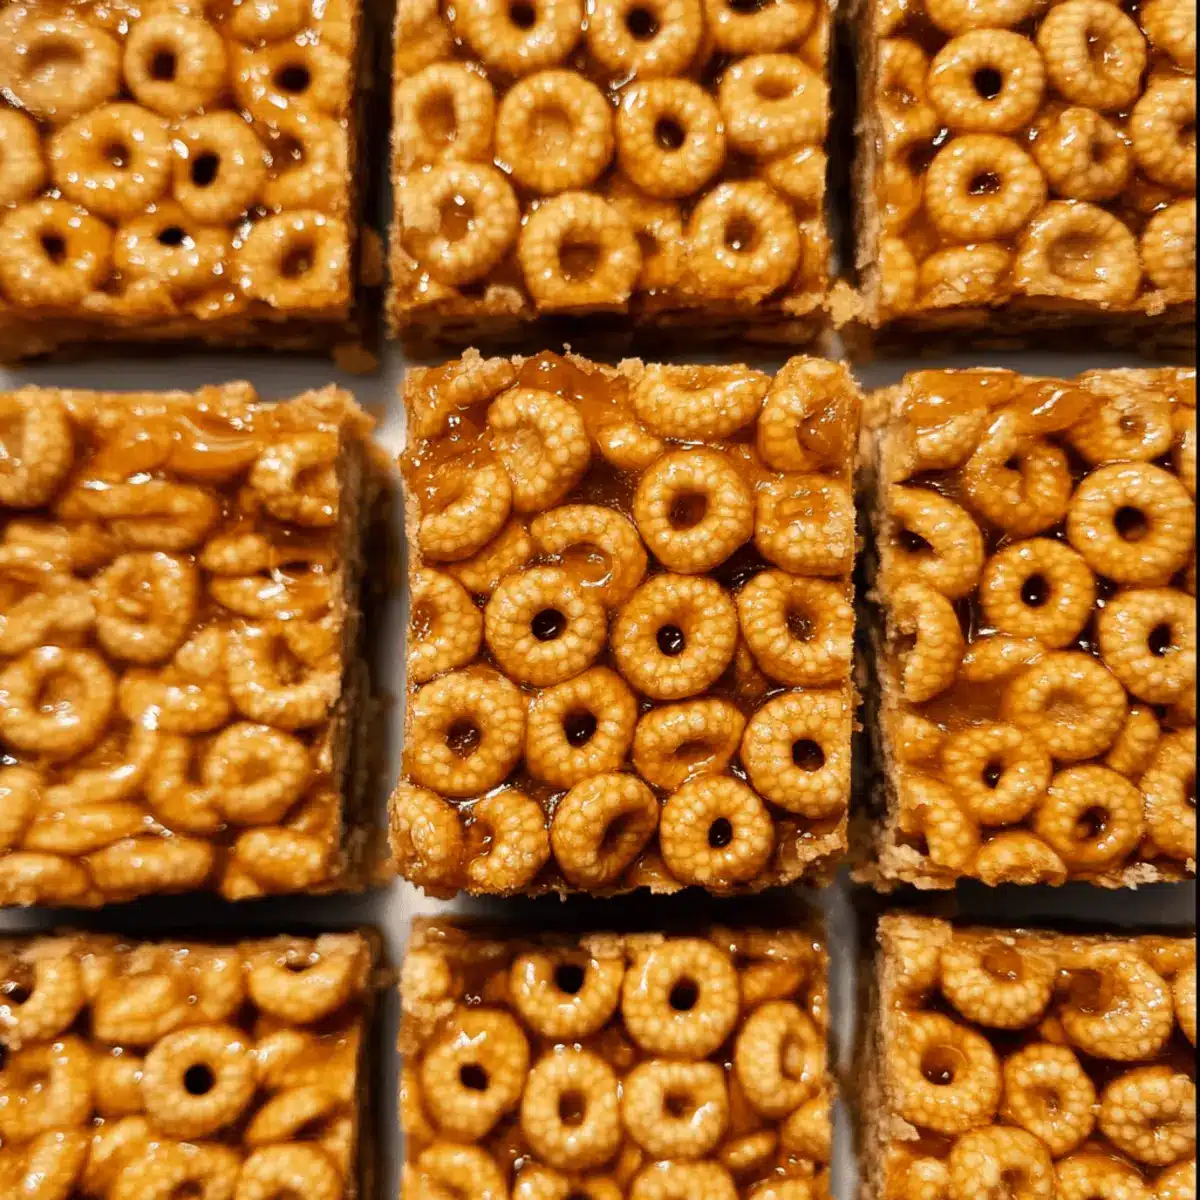
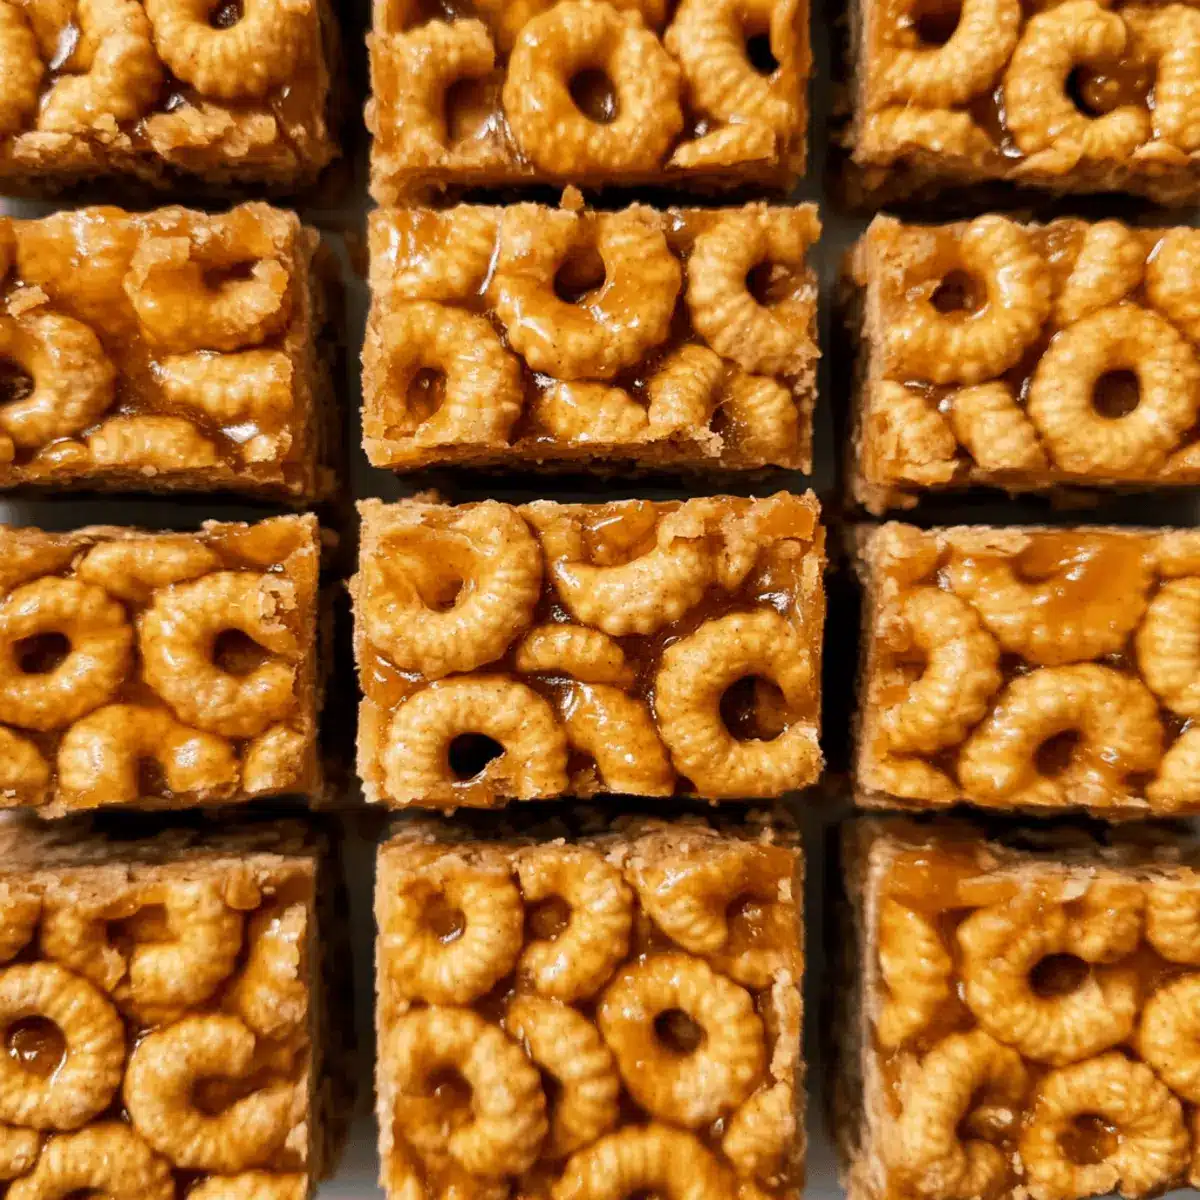
In just a flash, I discovered my new go-to snack that checks all the boxes—quick, easy, and oh-so-delicious! These Peanut Butter Cheerio Bars come together in under 10 minutes using only three simple ingredients. As someone who is always on the hunt for kid-friendly treats that don’t involve a ton of fuss, I find these bars are the ultimate lifesaver. Perfect for lunchboxes or after-school cravings, they strike that perfect balance between chewy and crunchy, making them a hit with both kids and adults alike. Plus, they can easily be customized to fit your pantry’s mood, whether you fancy adding a drizzle of chocolate or a sprinkle of dried fruits. Curious how simple it can be to create a healthy snack that your family will adore? Let’s dive into this quick and satisfying recipe!

Why Will You Love These Bars?
Simplicity at Its Finest: With just three ingredients, these Peanut Butter Cheerio Bars come together in under 10 minutes, making them perfect for bustling weeknight snack prep.
Kid-Friendly Treat: Enjoyed by kids and adults, they provide a nutritious boost that satisfies sweet cravings without the guilt!
Customizable Delight: Feel free to swap peanut butter for almond or cashew butter, or add mini chocolate chips for an indulgent twist.
No Baking Required: Ideal for those busy weeks, these no-bake bars are a fuss-free way to get homemade goodness on the table.
Perfect for Lunchboxes: Great as a quick lunchbox filler or a post-school snack, they’re a healthy alternative to fast food.
Storage Made Easy: Store them in an airtight container for up to five days, ensuring you always have a delicious snack on hand!
Peanut Butter Cheerio Bars Ingredients
• Discover how easy it is to whip up these delightful bars!
For the Bars
- Peanut Butter – Creamy or crunchy, this ingredient provides a rich flavor base that pairs perfectly with honey.
- Honey – This natural sweetener binds the bars and adds a lovely touch of sweetness; maple syrup makes for a delicious vegan swap.
- Cheerio Cereal – Adds that satisfying crunch and is easy to substitute with similar cereals for a bit of variety.
Step‑by‑Step Instructions for Peanut Butter Cheerio Bars
Step 1: Prepare the Baking Dish
Begin by lining an 8×8-inch square baking dish with parchment paper or lightly greasing it with cooking spray. This will ensure your Peanut Butter Cheerio Bars release easily after they set. Make sure the paper hangs over the edges a bit for easy lifting later, creating a sturdy foundation for your delicious bars.
Step 2: Microwave Peanut Butter and Honey
In a large microwave-safe bowl, combine equal parts creamy or crunchy peanut butter and honey. Microwave the mixture on high for about 30 seconds. After this initial time, stir until well combined, ensuring both ingredients melt together. If the peanut butter hasn’t fully melted, continue microwaving in 15-second intervals until it reaches a smooth consistency.
Step 3: Mix in the Cheerios
Once your peanut butter and honey are perfectly blended, take a rubber spatula and gently fold in the cheerio cereal. Stir until each Cheerio is evenly coated with the sticky mixture, which should take about a minute. The visual should be a thick, cohesive mixture that looks luscious and inviting, ready to be transformed into bars.
Step 4: Transfer and Press the Mixture
Carefully spread the Cheerio mixture into your prepared baking dish, using your spatula to press it down firmly. Aim for an even layer, which will help the bars to hold together when you cut them. Take your time to pack it in well, making sure there are no gaps, to achieve the perfect Peanut Butter Cheerio Bars.
Step 5: Compact and Chill
To ensure your bars set firmly, cover the dish with plastic wrap and press down even more to compact the mixture. This step is crucial for achieving a solid and sliceable bar. Place the covered dish in the freezer and let it chill for about 30 minutes until the mixture firms up nicely.
Step 6: Cut and Store the Bars
After the mixture has chilled, remove the dish from the freezer. Lift the bars out using the parchment paper overhang. Place them on a cutting board and cut them into your desired bar sizes. Finally, store the bars in an airtight container in the fridge, where they will stay fresh for up to five days, ready to enjoy whenever cravings strike!

How to Store and Freeze Peanut Butter Cheerio Bars
Fridge: Store your Peanut Butter Cheerio Bars in an airtight container in the fridge, where they’ll stay fresh for up to 5 days. This keeps them chewy and delicious!
Freezer: For longer storage, you can freeze the bars. Wrap them individually in plastic wrap and place them in a freezer-safe bag or container. They’ll last for up to 2 months.
Thawing: When you’re ready to enjoy, simply remove the desired number of bars from the freezer and let them thaw at room temperature for about 15 minutes, or pop them in the microwave for a quick warm-up.
Make-Ahead: Preparing these bars in advance is a breeze! Make them on the weekend, and you’ll have a quick and nutritious snack on hand for busy weekdays.
What to Serve with Peanut Butter Cheerio Bars
Elevate your snack experience and create a delightful spread that complements the sweet and nutty goodness of these chewy bars.
-
Fresh Fruit Salad: Bright, juicy fruits like strawberries and bananas provide a refreshing contrast to the rich flavors of the bars. Their natural sweetness adds a delightful balance.
-
Creamy Yogurt Dip: A simple yogurt mixed with honey or vanilla creates a creamy dip that softens the crunchy texture of the bars, making each bite even more irresistible.
-
Nutty Trail Mix: Toss together nuts and dried fruits for a crunchy, protein-packed side that pairs beautifully with the softness of the bars, creating a satisfying textural contrast.
-
Chocolate Milk: This indulgent drink matches the bars’ sweetness, making it a favorite for kids and a comforting treat for everyone after a long day.
-
Honey-Dipped Apples: Sliced apples lightly dipped in honey echo the flavors in the bars. The crispness of the apples complements the chewiness, making each bite feel refreshing.
-
Oatmeal Cookies: For those craving a little extra sweetness, a side of oatmeal cookies can enhance the wholesome appeal of your snack table while staying within the comfort of familiar flavors.
-
Iced Tea: A chilled glass of iced tea, perhaps with a splash of lemon, offers a refreshing contrast that balances the richness of the peanut butter while leaving you feeling revitalized.
-
Mini Chocolate Chips: Serve some mini chocolate chips on the side for anyone who wants to sprinkle a little extra chocolatey goodness onto their bars, boosting flavor and fun.
Make Ahead Options
These Peanut Butter Cheerio Bars are perfect for meal prep enthusiasts! You can prepare the mixture up to 24 hours in advance, storing it tightly wrapped in the baking dish in the refrigerator. To maintain their delicious texture, make sure to press the mixture firmly into the pan before refrigerating to help them stay compact. While you can also cut the bars ahead of time, for maximum freshness, it’s best to chill the mixture first and cut them right before serving. When you’re ready to enjoy, simply remove them from the fridge and serve as a quick, tasty treat that your family will love, all while saving you time during your busy week!
Peanut Butter Cheerio Bars Variations
Feel free to get adventurous with your Peanut Butter Cheerio Bars and explore these tasty twists!
-
Nut Butter Swap: Substituting peanut butter with almond or cashew butter brings a nutty flavor twist. Each nut butter adds its delightful essence, customizing your bars to fit your cravings!
-
Vegan Delight: Replace honey with agave nectar for a delicious vegan treat. This switch provides the same sticky sweetness while catering to your plant-based lifestyle!
-
Chocolate Lovers: Stir in mini chocolate chips for a chocolatey explosion that’ll melt in your mouth. The creamy bites of chocolate combined with peanut butter create an utterly indulgent experience.
-
Dried Fruit Boost: Toss in dried fruits like cranberries or apricots for a chewy contrast. The natural sugars in the fruits will enrich each bar, offering added nutrients and a burst of flavor.
-
Cereal Change-Up: Swap Cheerios for a similar cereal, like Rice Krispies or granola, for a new texture and flavor surprise. The lightness or crunch can redefine this beloved recipe!
-
More Crunch: Add chopped nuts, such as walnuts or pecans, for an extra bite. These additions create a satisfying crunch that enhances the overall eating experience.
-
Spice It Up: A pinch of cinnamon or a splash of vanilla extract can elevate the flavor profile. You’ll find that these small enhancements can make your bars even more enjoyable.
-
Heat It Up: If you like a kick, integrate some crushed red pepper flakes. A hint of spice takes a familiar treat and makes it exciting, perfect for adults seeking some zing!
Plus, if you’re looking for more easy and delicious snacks, check out these Peanut Butter Energy bites or dive into a scrumptious Bake Peanut Butter dessert!
Expert Tips for Peanut Butter Cheerio Bars
-
Press Firmly: Ensure you press down the mixture firmly in the baking dish; this prevents the bars from crumbling when cut.
-
Equal Parts Magic: For a firmer texture, stick to equal parts peanut butter and honey. This balance helps maintain shape and chewiness.
-
Add Flavor: Get creative! Toss in mini chocolate chips or dried fruits to enhance flavor and nutrition, making your Peanut Butter Cheerio Bars more exciting.
-
Microwave Caution: Heat the peanut butter and honey gently in the microwave; stopping too soon can leave lumps and ruin the smooth blend.
-
Storage Tip: Store in an airtight container in the fridge for up to five days to keep them fresh and delicious for snacking!

Peanut Butter Cheerio Bars Recipe FAQs
What type of peanut butter should I use?
Absolutely, you can use either creamy or crunchy peanut butter based on your texture preference! If you like a smooth, rich flavor, creamy peanut butter is the way to go. Conversely, if you love a bit more texture, crunchy peanut butter adds delightful bits that elevate your Peanut Butter Cheerio Bars.
How should I store these bars?
You can keep your Peanut Butter Cheerio Bars in an airtight container in the fridge for up to 5 days. This method maintains their chewy texture, ensuring they’re always ready for a snack! Just make sure to check for any visual cues like dark spots or changes in texture to ensure freshness.
Can I freeze the Peanut Butter Cheerio Bars?
Yes, indeed! To freeze, wrap each bar individually in plastic wrap and place them in a freezer-safe bag or container. They’ll stay fresh for up to 2 months. For a quick treat, simply remove a bar and let it thaw at room temperature for about 15 minutes or microwave for a few seconds.
What if the mixture seems too crumbly?
If your Peanut Butter Cheerio mixture feels crumbly before pressing into the pan, don’t worry! I recommend adding a touch more honey or peanut butter to achieve a more cohesive mixture. Make sure to press down firmly when spreading it in the baking dish. This extra step helps the bars hold together beautifully when cut.
Are these bars suitable for kids with nut allergies?
If there are nut allergies, you can easily swap out peanut butter with sunflower seed butter or soy nut butter, making your Peanut Butter Cheerio Bars suitable for kids with nut allergies. Just ensure that all other ingredients are free from potential allergens!
How can I adjust the sweetness?
If you find the bars too sweet, feel free to reduce the amount of honey or replace it with a less sweet alternative like unsweetened applesauce for a healthier option. The chewy texture will still hold up beautifully while accommodating your family’s preferences!

Peanut Butter Cheerio Bars: Your New Go-To No-Bake Snack
Ingredients
Equipment
Method
- Prepare the Baking Dish: Line an 8x8-inch square baking dish with parchment paper or lightly grease it.
- Microwave Peanut Butter and Honey: Combine equal parts peanut butter and honey in a bowl and microwave for 30 seconds.
- Mix in the Cheerios: Fold in the Cheerio cereal until evenly coated.
- Transfer and Press the Mixture: Spread the mixture into the baking dish and press down firmly.
- Compact and Chill: Cover with plastic wrap and press down then chill for 30 minutes.
- Cut and Store the Bars: Lift from the dish and cut into bars. Store in an airtight container.

Leave a Reply