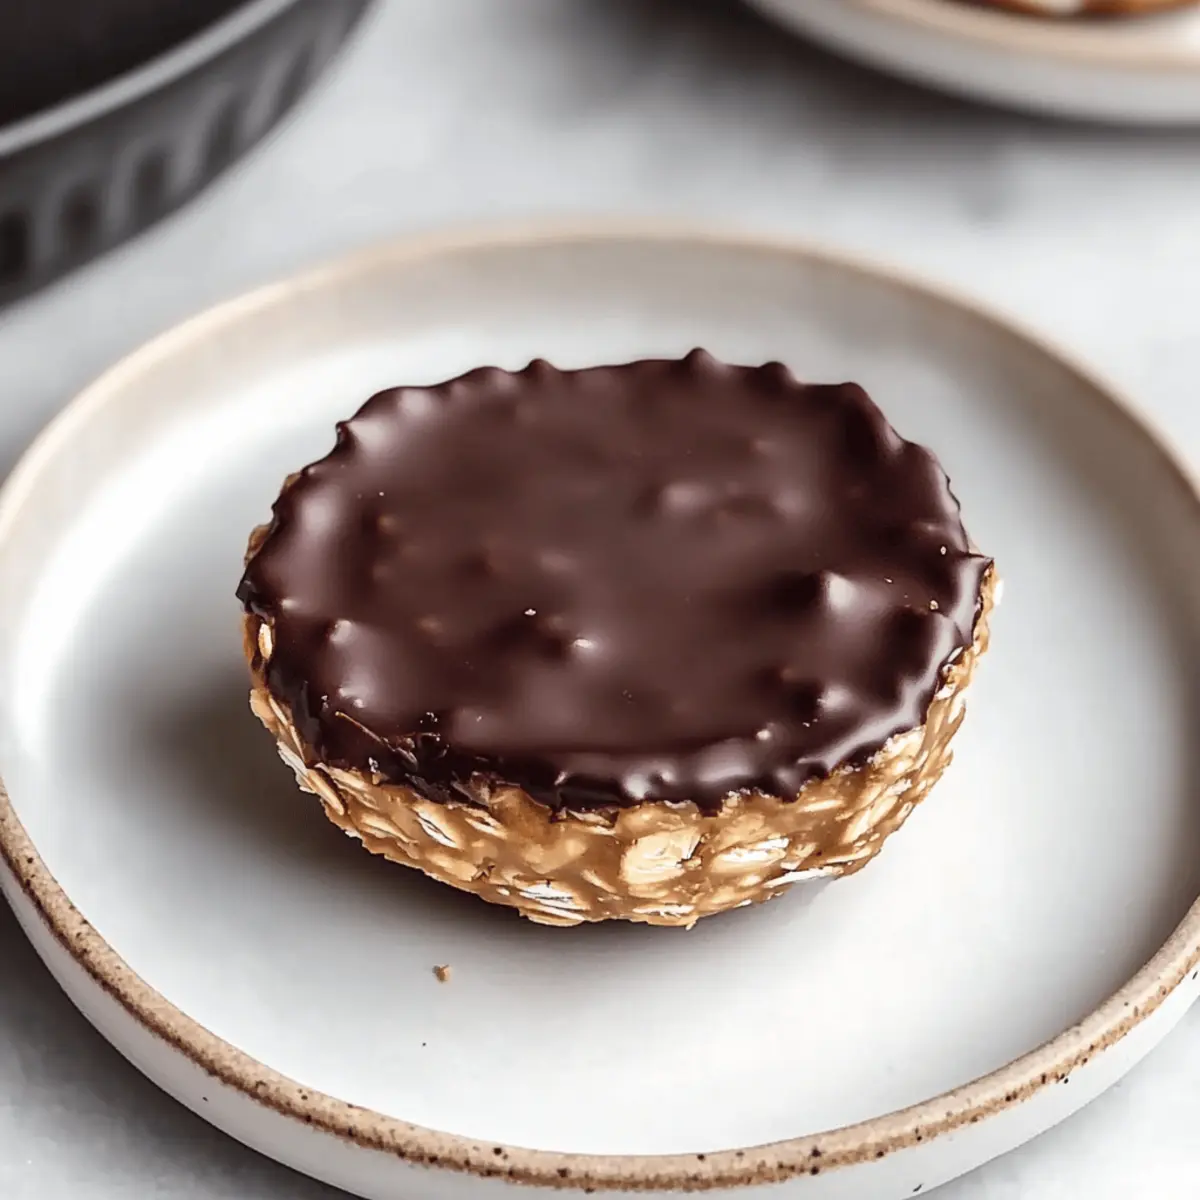
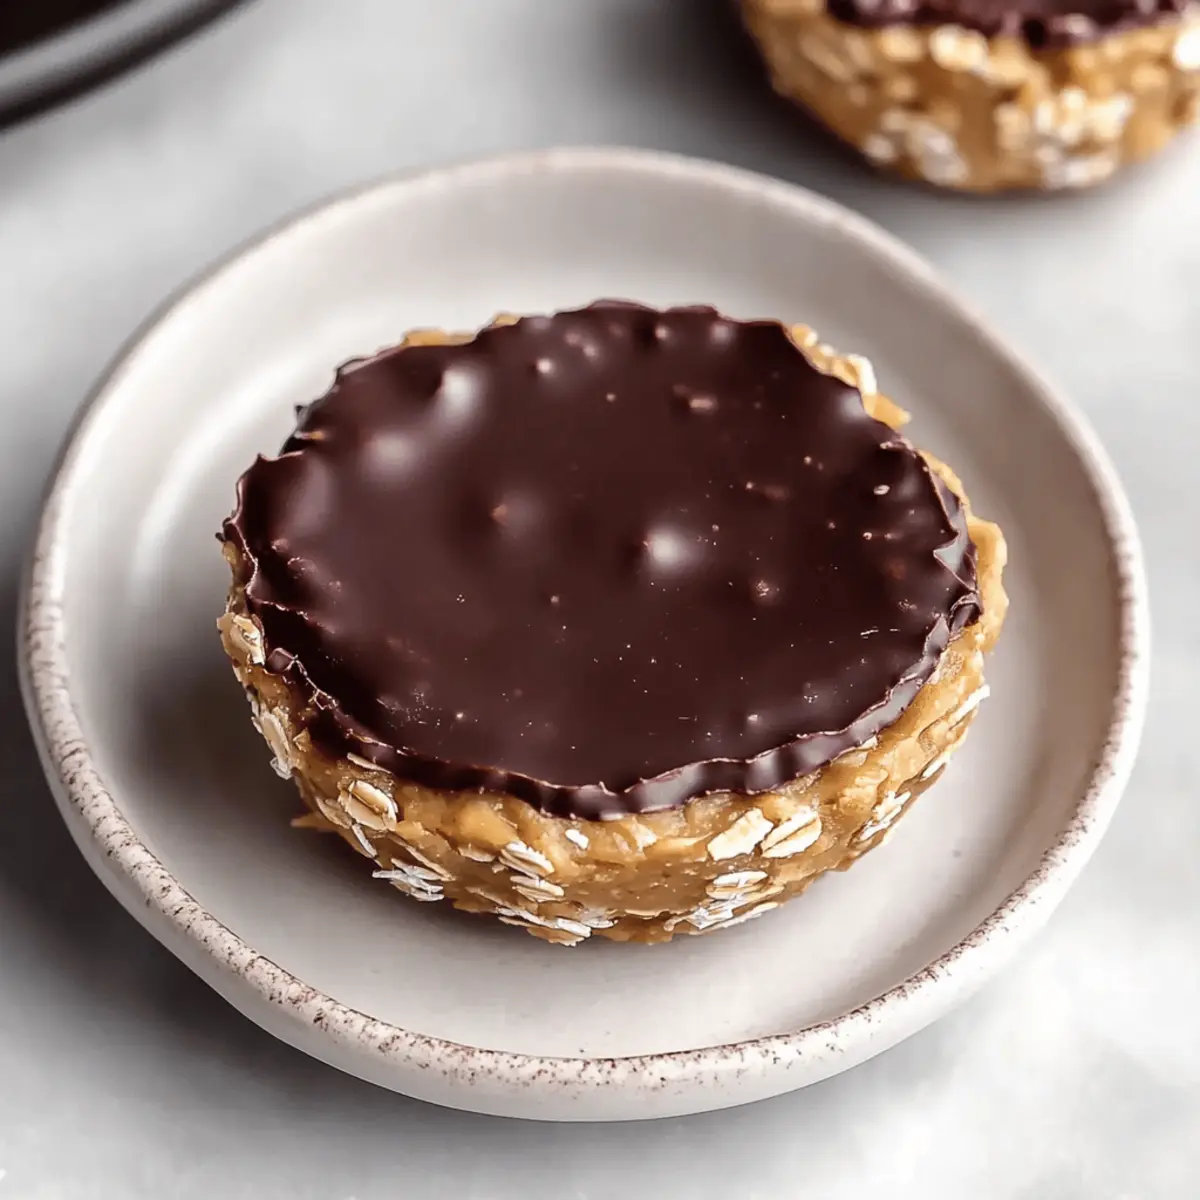
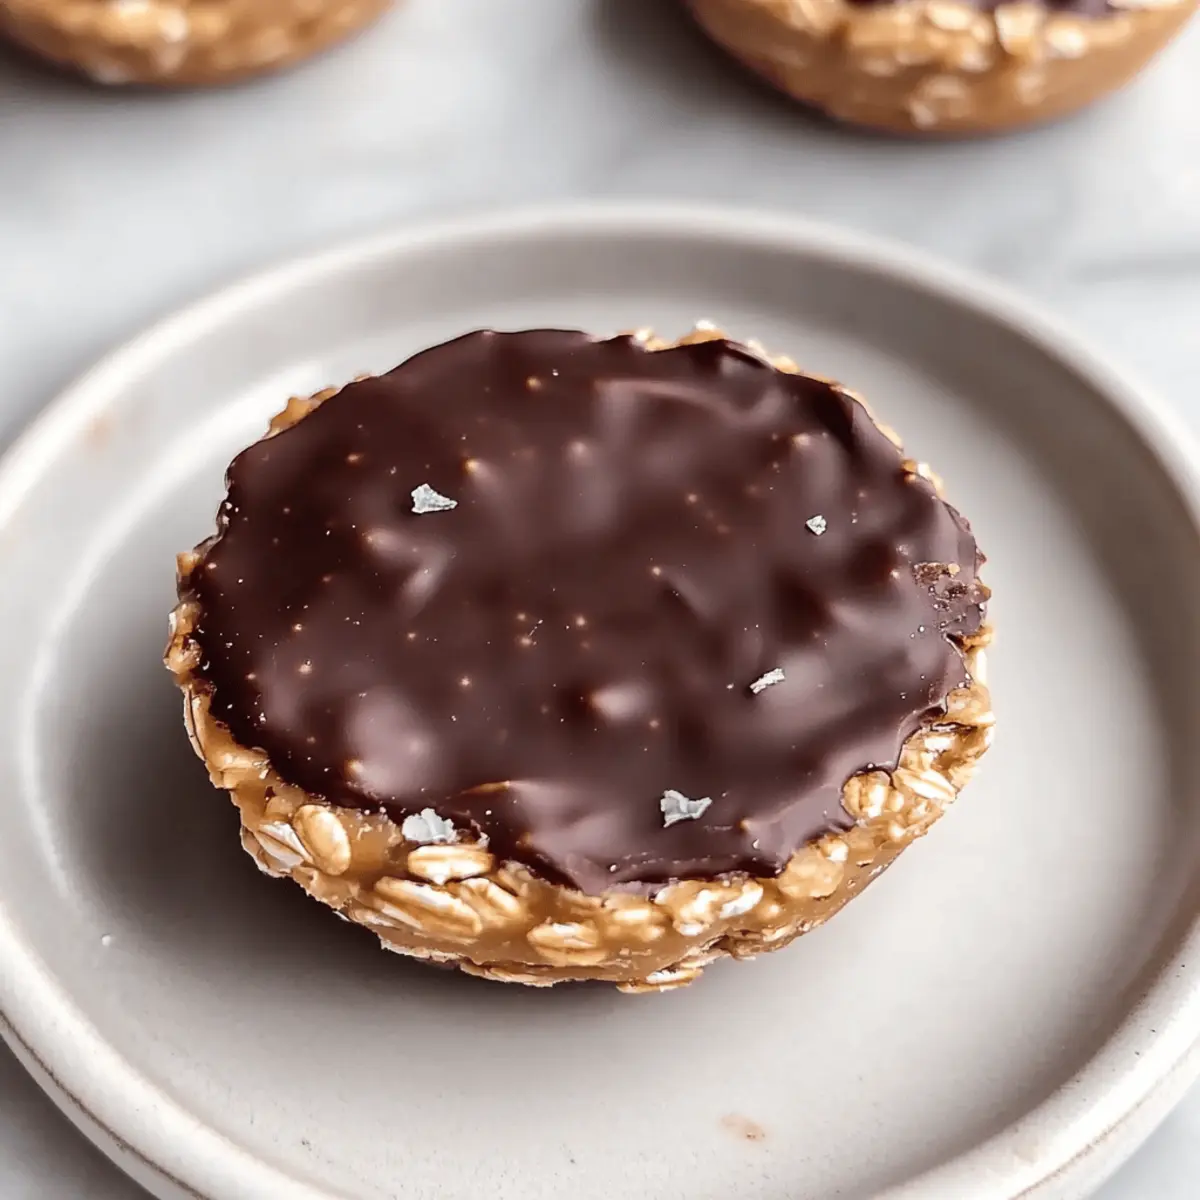
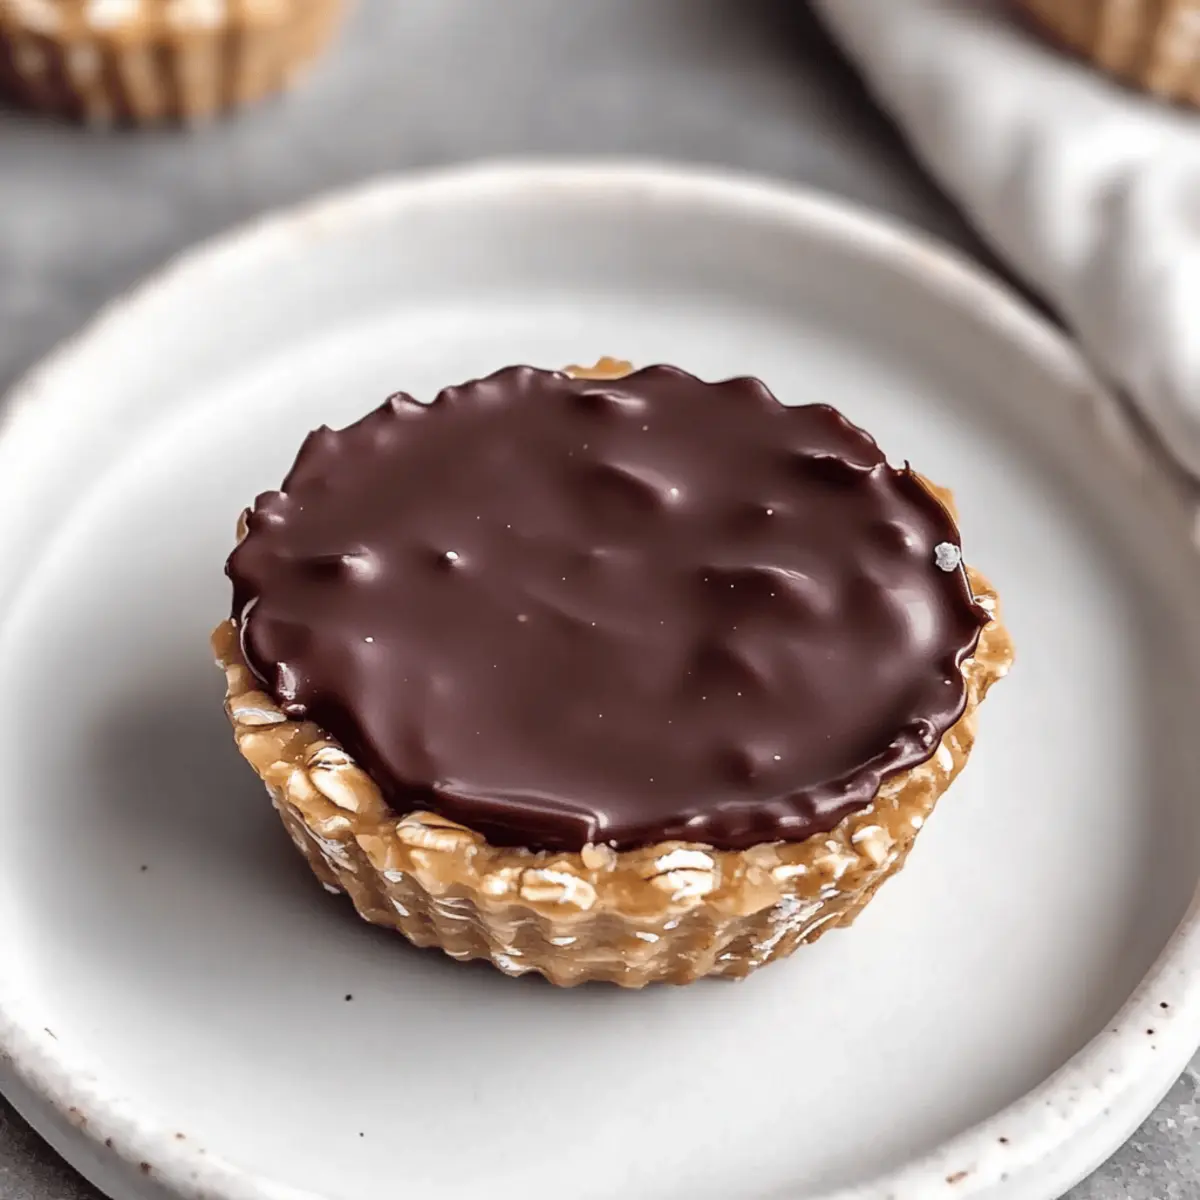
Have you ever had one of those days when all you want is a satisfying snack but can’t bear the thought of turning on the oven? That’s where these No Bake Peanut Butter Oat Cups come to the rescue! With just a handful of ingredients, you can whip up these delightful treats that are not only quick and easy to prepare but also gluten-free. Imagine the perfect balance of chewy oats, creamy peanut butter, and a smooth layer of chocolate melting in your mouth. They’re an ideal solution for anyone tired of fast food or seeking a healthier, homemade alternative. Whether you need a mid-afternoon pick-me-up or a sweet treat to share with friends, these cups are versatile enough for any occasion. Ready to discover how to make this delicious, no-bake snack? Let’s dive in!

Why Choose No Bake Peanut Butter Oat Cups?
Quick and Easy: In just a few simple steps, you can create these delightful treats without ever turning on the oven!
Gluten-Free Goodness: Perfect for those with dietary restrictions, these oat cups are a smart, wholesome snack that everyone can enjoy.
Customizable: Whether you prefer adding nuts, dried fruits, or drizzling white chocolate on top, the variations are endless to suit your taste.
Family-Friendly: These treats are a hit with kids and adults alike, making them a fantastic option for parties or family gatherings.
Nutty Flavor: The rich, creamy peanut butter combined with the sweetness of honey and smooth chocolate creates an irresistible flavor profile!
Imagine pairing these with fresh fruit or serving alongside a cozy cup of coffee for a delightful afternoon snack! With options for meal prep, you’ll want to keep a batch in your fridge or try something new like Blueberry Buttermilk Pancake Casserole as a weekend treat!
No Bake Peanut Butter Oat Cups Ingredients
Discover the key ingredients for your delicious no bake peanut butter oat cups!
For the Oat Base
- Rolled Oats – Provides structure and chewiness; opt for traditional rolled oats to avoid mushiness.
- Natural Peanut Butter – Acts as the flavor base and binding agent; make sure it’s well-stirred for best consistency.
- Honey – Adds natural sweetness and binding; feel free to adjust based on your taste preference.
- Vanilla Extract – Enhances the overall flavor profile with a lovely depth.
For the Topping
- Chocolate Chips – The perfect sweet topping; use semi-sweet or dark chocolate for a rich finish.
- Coconut Oil – Ensures the chocolate melts smoothly; can easily be replaced with any neutral oil if desired.
These delightful ingredients blend beautifully, creating a sweet, gluten-free treat that satisfies cravings without the need for baking! Enjoy preparing your no bake peanut butter oat cups!
Step‑by‑Step Instructions for No Bake Peanut Butter Oat Cups
Step 1: Combine Ingredients
In a medium mixing bowl, combine rolled oats, natural peanut butter, honey, and vanilla extract. Stir everything together until the oats are fully coated, which should take about 2-3 minutes. The mixture should be sticky but well combined. This forms the base of your delicious No Bake Peanut Butter Oat Cups!
Step 2: Prepare Muffin Tin
Next, grab a muffin tin and lightly spray it with nonstick cooking spray to prevent sticking. This step is crucial, as the oat mixture will need to release easily once set. Ensure you cover each cup thoroughly to achieve perfect removal later.
Step 3: Fill Muffin Cups
Evenly divide the peanut butter oat mixture into each muffin cup. Press down firmly with the back of a spoon or your fingers for approximately 30 seconds per cup. This compaction will help the cups hold their shape once they set, giving you tasty No Bake Peanut Butter Oat Cups!
Step 4: Melt Chocolate
In a microwave-safe bowl, mix together the chocolate chips and coconut oil. Heat the mixture in the microwave for 20 seconds at a time, stirring well after each burst. After about 1-2 minutes, you should have a smooth, melted chocolate ready to top your oat cups. Be careful not to overheat the chocolate!
Step 5: Top with Chocolate
Spoon the melted chocolate evenly over each filled muffin cup, ensuring all the oats are well covered. Use a small spatula or the back of a spoon to spread it if needed. This chocolate layer will give the No Bake Peanut Butter Oat Cups a deliciously rich finish, just like a candy bar!
Step 6: Optional Sea Salt Finish
For an added flavor boost, sprinkle a tiny pinch of sea salt on top of the melted chocolate before it hardens. This step enhances the sweetness of the chocolate and peanut butter, creating an irresistible contrast that elevates your No Bake Peanut Butter Oat Cups to the next level.
Step 7: Chill to Set
Place your muffin tin in the freezer and let it chill for at least one hour. This cooling period is essential for the chocolate to set properly and for the oat cups to firm up. After an hour, check that the tops are firm to the touch; you may need to freeze a bit longer if they are still soft.
Step 8: Serve and Store
Once completely set, gently remove each cup from the muffin tin. Store them in an airtight container in the refrigerator for up to two weeks. Alternatively, you can freeze them for longer storage, layering them with parchment paper to avoid sticking. Now you can enjoy your delightful No Bake Peanut Butter Oat Cups anytime!

Make Ahead Options
These No Bake Peanut Butter Oat Cups are perfect for meal prep enthusiasts! You can prepare the oat mixture and fill the muffin cups up to 24 hours in advance, then simply cover and refrigerate to keep everything fresh. This way, the flavors meld beautifully, ensuring that each bite is just as delicious as when freshly made. When ready to enjoy, all you need to do is melt the chocolate, spoon it over your prepared oat cups, and allow them to set in the freezer for about an hour. This streamlined approach saves you time and effort on busy weeknights while providing a delightful homemade snack!
What to Serve with No Bake Peanut Butter Oat Cups
Brighten your day with delightful pairings that elevate these sweet treats into a complete snacking experience!
-
Fresh Fruit: Juicy slices of strawberries or bananas complement the earthy richness of the oat cups, providing a refreshing contrast.
-
Greek Yogurt: Creamy and tangy, a dollop of Greek yogurt adds a lovely creaminess while boosting protein, perfect for a wholesome snack.
-
Chilled Milk: The classic combination of a glass of cold milk makes each bite even more enjoyable, balancing sweetness with a cool, creamy texture.
-
Coffee: Start your morning with a cup of freshly brewed coffee. The rich, slightly bitter notes wonderfully contrast the sweet, nutty flavors of the oat cups.
-
Dark Chocolate Dipped Almonds: For a touch of luxury, pair these oat cups with dark chocolate-dipped almonds, adding a crunchy texture and nutty flavor.
-
Nut Mix: Combine a medley of crunchy nuts with your treats for extra protein and texture, making every bite a little gourmet moment of joy.
With these delicious pairings, you’ll savor the full experience of your no-bake peanut butter oat cups any time of the day!
No Bake Peanut Butter Variations
Customize your no bake peanut butter oat cups to fit your taste buds and dietary preferences—they’re just waiting for your creative touch!
-
Almond Butter: Switch to almond butter for a nutty twist that’s equally delicious and creamy.
-
Dried Fruits: Add dried cranberries, apricots, or raisins for a chewy surprise and fruity flavor in each bite.
-
Seed Mix: Incorporate sunflower seeds or chia seeds for added crunch and nutrition, making your cups even more wholesome.
-
Coconut Flakes: Stir in unsweetened coconut flakes for a tropical flair that pairs beautifully with peanut butter.
-
Spicy Kick: Mix a pinch of cayenne pepper or cinnamon into the oat mixture for a warm, unexpected burst of flavor.
-
Dark Chocolate Drizzle: Enhance the topping with a drizzle of dark chocolate for a gourmet touch that will impress!
-
Nut-Free: Substitute sunflower seed butter if you need a nut-free alternative, making these cups accessible for everyone.
-
Fruit Topping: Top with fresh banana slices or strawberries for a refreshing twist that pairs perfectly with the rich peanut butter.
Explore these variations to keep your snack game exciting and satisfying! And if you’re hungry for more creative ideas, check out these Baked Cod Coconut or try the delightful Bake Strawberry Cheesecake for dessert!
Expert Tips for No Bake Peanut Butter Oat Cups
Perfect Consistency: Ensure your mixture isn’t too dry or too wet; a crumbling texture means it’s too dry, while wet mixture won’t hold shape.
Mix It Well: Blend all ingredients thoroughly, especially the peanut butter, for a cohesive mixture that ensures every bite is delicious.
Watch the Chocolate: Melt chocolate carefully in short bursts, stirring in between to keep it silky-smooth and prevent burning.
Chill Properly: Allow the oat cups to set in the freezer for at least an hour. Patience is key, as this firming is crucial for structure.
Customize Freely: Don’t hesitate to add your favorite mix-ins or toppings, like nuts or dried fruit, for a personal twist on these no bake peanut butter treats!
How to Store and Freeze No Bake Peanut Butter Oat Cups
Fridge: Keep your no bake peanut butter oat cups in an airtight container for up to 2 weeks, ensuring they stay fresh and delicious.
Freezer: For longer storage, freeze the oat cups in a freezer-safe container for up to 3 months. Layer them with parchment paper to prevent sticking.
Reheating: Enjoy straight from the fridge or freezer. If frozen, let them sit at room temperature for a few minutes before serving to soften slightly.
Check for Sturdiness: Ensure the oat cups are firm before removing from their container; they should hold their shape beautifully.

No Bake Peanut Butter Oat Cups Recipe FAQs
How do I choose ripe ingredients for my No Bake Peanut Butter Oat Cups?
Absolutely! While the oats and peanut butter don’t require ripeness, it’s essential to use fresh ingredients. Make sure your natural peanut butter is well-stirred and free from separation or any rancid smell. Honey should be pure and smooth without crystallization. If you decide to mix in dried fruits or nuts, look for fresh options without dark spots or excess sugar.
How should I store my No Bake Peanut Butter Oat Cups?
Very! You can keep your oat cups in an airtight container in the fridge for up to 2 weeks. Just make sure to check for any signs of spoilage like an off smell or texture before eating. For longer storage, placing them in a freezer-safe container will extend their life up to 3 months, but remember to layer with parchment paper to prevent sticking.
Can I freeze my No Bake Peanut Butter Oat Cups, and how?
Certainly! To freeze your oat cups, place them in a single layer on a baking sheet and freeze for about an hour until firm. Once they’re solid, transfer them to a freezer-safe container or zip-top bag, separating layers with parchment paper. They can be stored in the freezer for up to 3 months; just let them sit at room temperature for a few minutes before indulging!
What should I do if my oat mixture is too dry or too wet?
Absolutely, troubleshooting is key! If your mixture feels too dry and crumbles when pressed, add a splash of honey or a bit more peanut butter to help it stick together. If it’s too wet and won’t hold shape, sprinkle in a little more rolled oats until you reach a manageable consistency. Mixing well is crucial here!
Are there any dietary considerations for my No Bake Peanut Butter Oat Cups?
Absolutely! If you have nut allergies, consider substituting peanut butter with sunflower seed butter or another seed-based alternative. Check labels for cross-contamination if serving to others. The recipe is naturally gluten-free with rolled oats, but do confirm your oats are labeled gluten-free to avoid any issues.

No Bake Peanut Butter Oat Cups for a Sweet Snack Fix
Ingredients
Equipment
Method
- In a medium mixing bowl, combine rolled oats, natural peanut butter, honey, and vanilla extract. Stir until fully coated.
- Lightly spray a muffin tin with nonstick cooking spray.
- Evenly divide and press the peanut butter oat mixture into each muffin cup.
- Mix chocolate chips and coconut oil in a microwave-safe bowl and heat in bursts until melted.
- Spoon the melted chocolate evenly over each filled muffin cup.
- Sprinkle a tiny pinch of sea salt atop the melted chocolate, if desired.
- Place muffin tin in the freezer for at least one hour to set.
- Gently remove each cup from the muffin tin and store in an airtight container.

Leave a Reply