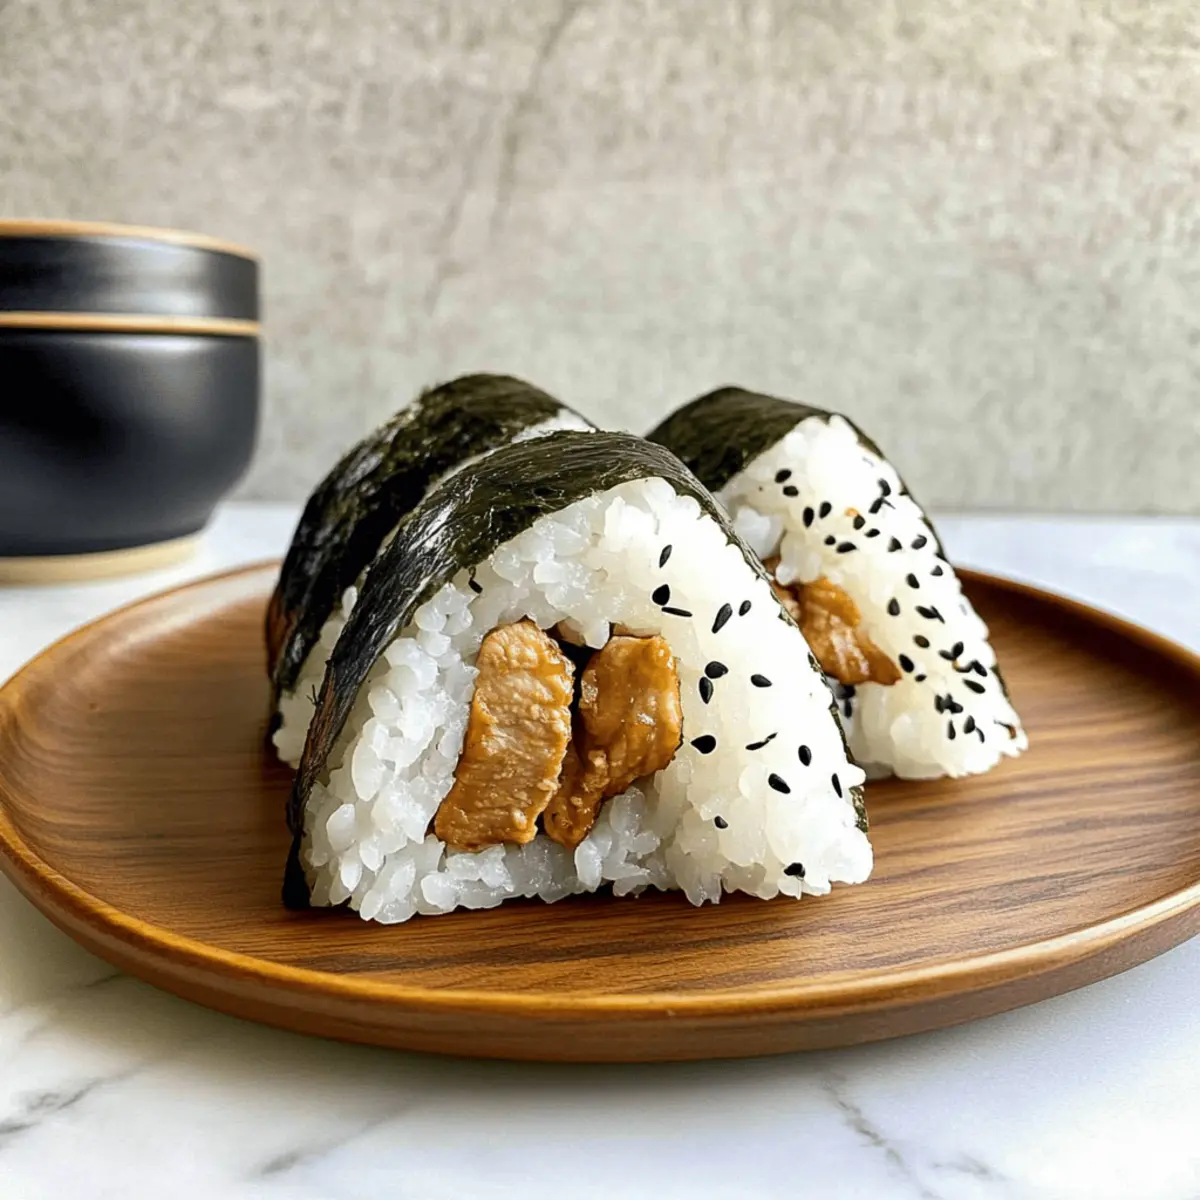
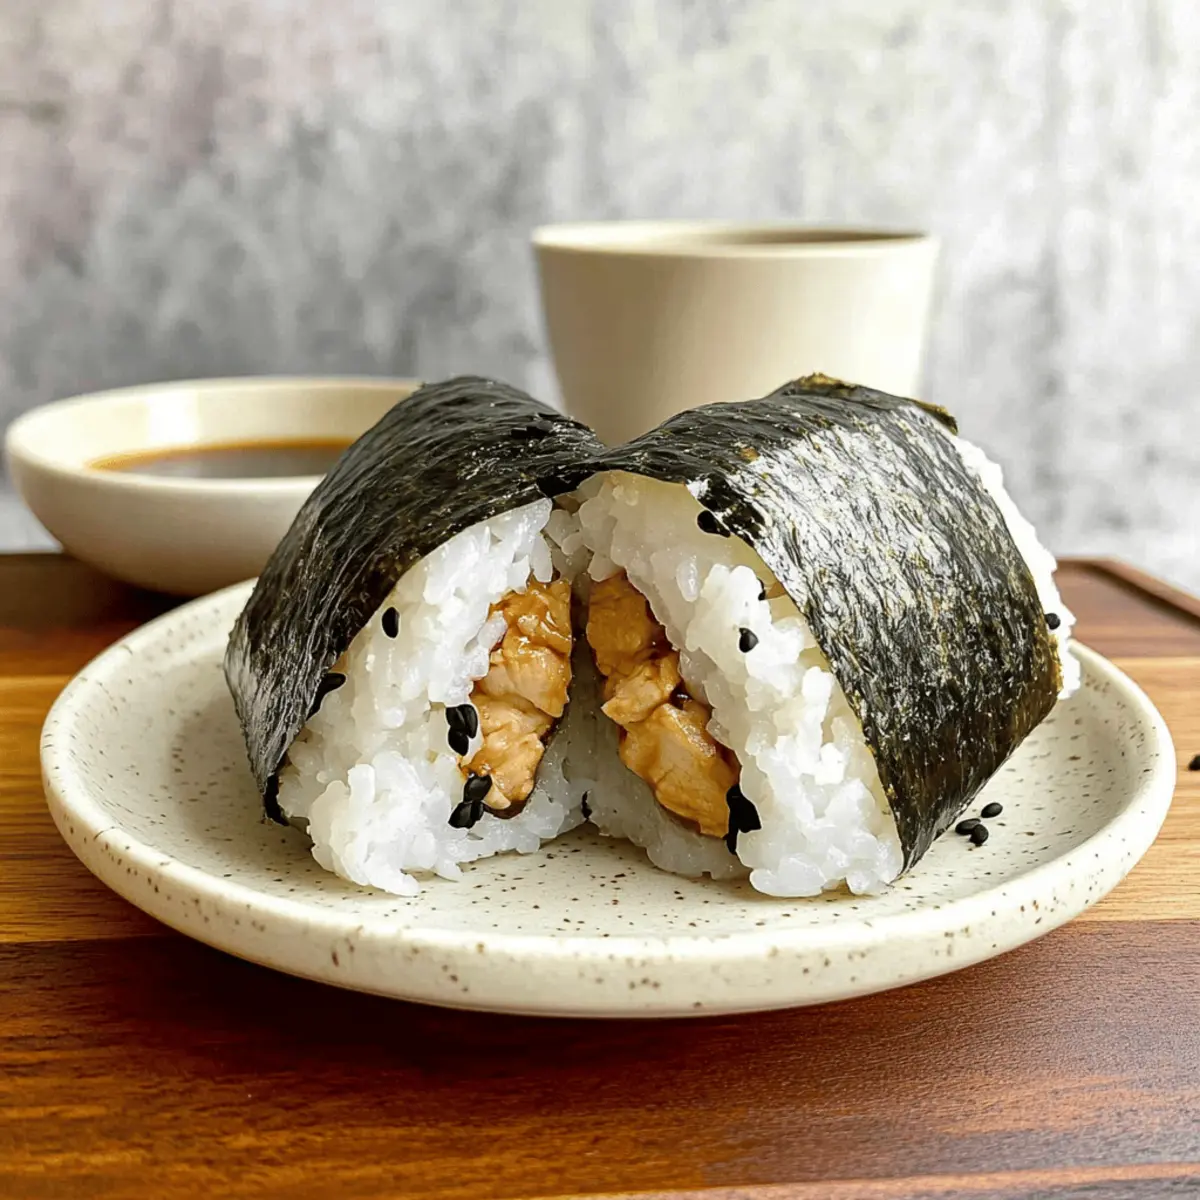
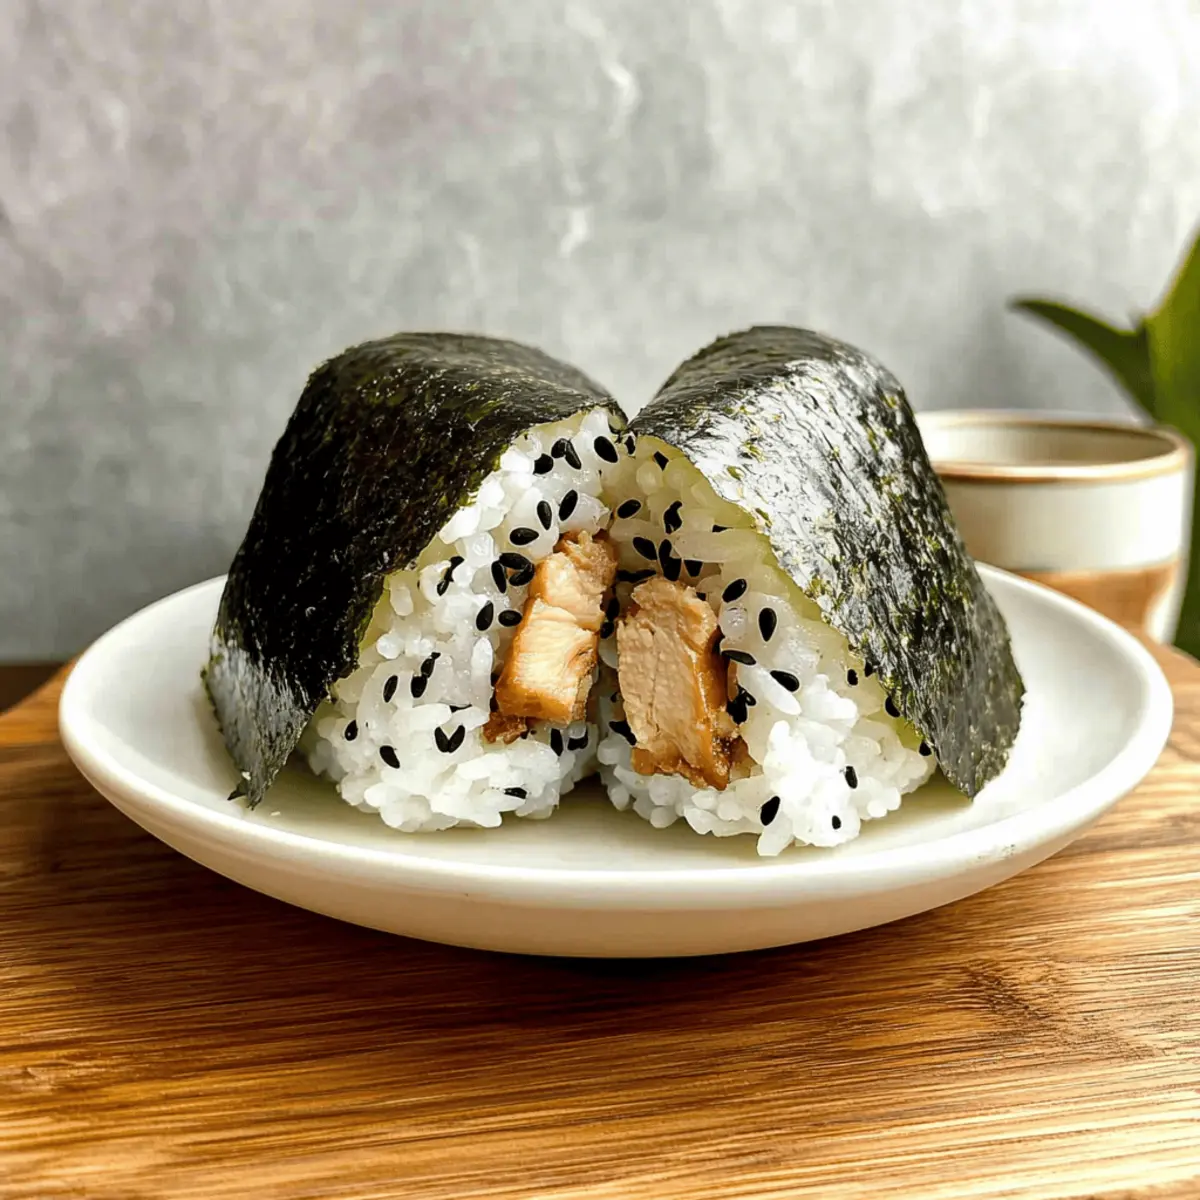
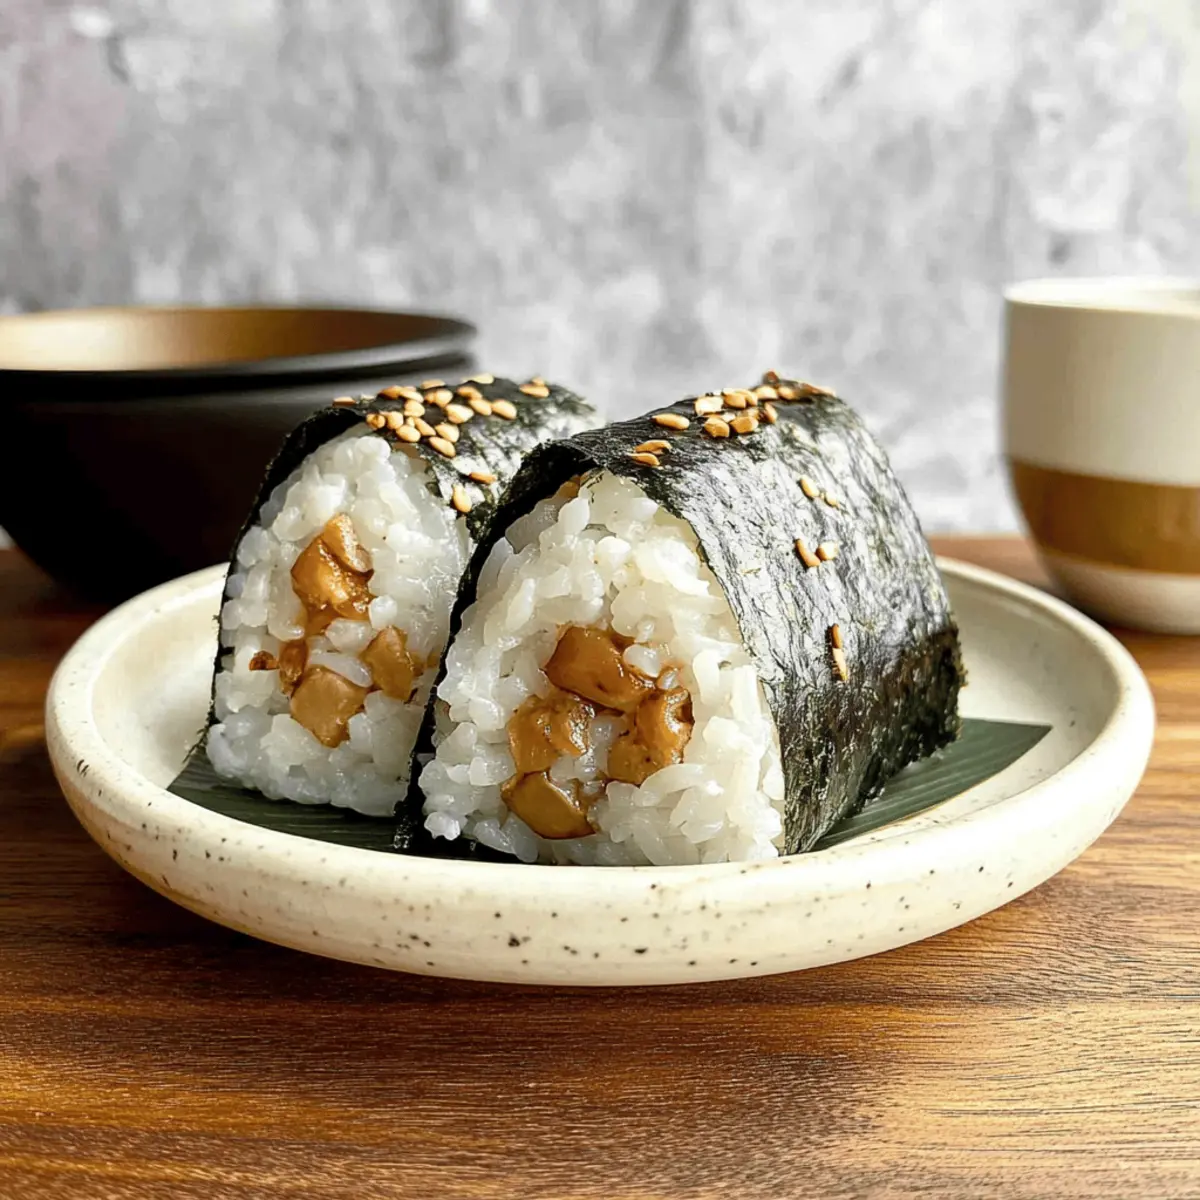
As the sweet aroma of teriyaki chicken wafts through my kitchen, I can’t help but feel a wave of nostalgia for my first taste of Chicken Onigiri. These delightful Japanese rice balls are more than just a snack; they carry the essence of homemade comfort food that transports you straight to a bustling Tokyo street market. This Teriyaki Chicken Onigiri recipe is not only easy to whip up, making it a perfect quick meal for busy weeknights, but it’s also a great family-friendly option that can please even the pickiest eaters. The combination of tender, marinated chicken wrapped in sticky sushi rice creates a satisfying handheld treat that’s perfect for lunchboxes or picnics. Curious about how to craft these savory rice balls yourself? Let’s dive into this delicious adventure!

Why is Chicken Onigiri So Special?
Flavor-packed, the combination of sweet teriyaki chicken and nutty sushi rice creates an explosion of taste!
Quick and easy, this recipe is perfect for busy weeknights, allowing you to enjoy homemade goodness without lengthy prep.
Family-friendly, these bite-sized delights please even the pickiest eaters, making them an ideal addition to lunchboxes.
Versatile, you can mix and match fillings, from ground turkey to veggies, giving you endless options.
Additionally, perfect for sharing, they make a wonderful snack for gatherings, much like these Garlic Parmesan Chicken bites that everyone loves!
Chicken Onigiri Ingredients
Curious about the ingredients for these delicious rice balls?
For the Rice
• Cooked Sushi Rice – The main foundation; use short-grain sushi rice for the ideal sticky texture.
• Salt – Enhances flavor; fine salt ensures even distribution for the best taste.
• Furikake – Optional seasoning that adds umami; consider mixing it directly into the rice for deeper flavor.
For the Teriyaki Chicken Filling
• Boneless Skinless Chicken Meat – The delicious filling; can use thighs, drumsticks, or ground chicken for variety.
• Soy Sauce – Provides depth and saltiness; enriches the overall marinade for the chicken.
• Sake (or Water) – Adds moisture; use sake for an authentic Japanese flavor.
• Baking Soda – Tenderizes the chicken; helps keep it juicy during cooking.
• Cornstarch – Aids in getting a crispy exterior for that delightful bite.
• Mirin – Sweet rice wine for flavoring the teriyaki sauce; substitute with equal parts sugar and water if you’re in a pinch.
• Brown Sugar – Adds the perfect sweetness; firmly packed for accurate measurement.
• Oil – Essential for stir-frying; choose a neutral oil with a high smoke point.
• Minced Garlic – Infuses aromatic flavor; enhances the taste of your chicken filling.
For Wrapping
• Nori – Seaweed wrap for the onigiri; cut into small rectangles for easy handling and wrapping.
With these ingredients, you’re well on your way to crafting mouthwatering Chicken Onigiri that will transport you straight to Japan with every savory bite!
Step‑by‑Step Instructions for Chicken Onigiri
Step 1: Prepare Sushi Rice
Start by cooking 4 cups of short-grain sushi rice in a rice cooker according to the manufacturer’s instructions. While the rice is cooking, prepare a mix of ½ teaspoon of salt and 2 tablespoons of furikake, if using. Once the rice is fluffy and cooked, gently fold in the salt and furikake for an even seasoning. Set aside for cooling.
Step 2: Marinate Chicken
Cut half a pound of boneless, skinless chicken into small, bite-sized pieces. In a bowl, combine the chicken with 2 tablespoons of soy sauce, 1 tablespoon of sake, ½ teaspoon of baking soda, and 1 tablespoon of cornstarch. Mix thoroughly to coat the chicken well and let it marinate in the refrigerator for 30 minutes to absorb those delicious flavors.
Step 3: Make Teriyaki Sauce
In a small mixing bowl, whisk together 2 tablespoons of soy sauce, 2 tablespoons of mirin, and 1 tablespoon of brown sugar until smooth. This will create your homemade teriyaki sauce which will enhance the Chicken Onigiri filling. Set the sauce aside while you prepare the chicken, allowing the flavors to meld a bit.
Step 4: Cook Chicken
Heat 1 tablespoon of oil in a nonstick pan over medium-high heat until shimmering. Once hot, add the marinated chicken pieces and stir-fry for about 2-3 minutes until they are fully cooked and turn golden brown. Add minced garlic and sauté everything together for another 30 seconds. Pour in your prepared teriyaki sauce and cook for 2 more minutes, or until the sauce thickens and clings to the chicken.
Step 5: Shape Onigiri
To form the Chicken Onigiri, wet your hands with water to prevent sticking. Scoop ⅓ cup of cooled sushi rice into one palm, creating a well in the center. Fill this well with 1 tablespoon of the cooked teriyaki chicken, then scoop another ⅓ cup of rice over the top and mold into a triangle shape. Repeat this process until all rice and filling are used, making sure to compact the rice nicely.
Step 6: Wrap with Nori
Cut nori sheets into small rectangles. Take a shaped onigiri and wrap one piece of nori around the bottom corner, allowing the top triangle to remain visible. This not only adds an appealing aesthetic but also provides a delightful crunch when you take a bite of your Chicken Onigiri. Repeat for all onigiri and serve fresh, or store in an airtight container for later.

Expert Tips for Chicken Onigiri
- Sticky Rice is Key: Ensure your sushi rice is sticky enough to hold its shape. If the rice feels too dry, it may crumble when forming the onigiri.
- Marinate Longer: For more flavorful chicken, consider marinating for an hour or more. Just remember to keep it refrigerated for safety!
- Wet Your Hands: Always wet your hands while shaping the onigiri to prevent the rice from sticking. Alternatively, use plastic wrap for less mess.
- Don’t Overcook Chicken: Keep an eye on the chicken while stir-frying; overcooking can lead to dryness. Aim for juicy, flavorful bites in your Chicken Onigiri.
- Experiment with Fillings: Feel free to swap out teriyaki chicken for alternatives, like veggies or even seafood, to keep things fresh and exciting!
Chicken Onigiri Variations & Substitutions
Feel free to customize your Chicken Onigiri to suit your taste or dietary needs with these exciting variations!
-
Dairy-Free: Replace any sauces containing dairy with soy sauce or coconut aminos for a flavorful twist.
You can effortlessly cater to dairy-sensitive friends while maintaining that umami goodness! -
Vegetarian: Substitute the chicken with marinated tofu or tempeh, stir-fried to perfection.
This option brings a heartiness to the onigiri while keeping it plant-based and fulfilling. -
Spicy: Add sriracha or gochujang to the teriyaki sauce for a fiery kick.
Heat lovers will appreciate the added dimension of flavor, making every bite burst with excitement! -
Boosted Veggies: Incorporate finely chopped veggies like bell peppers or carrots into the filling for added crunch.
Not only do they add a pop of color, but they also enhance the nutritional value of your onigiri! -
Furikake Twist: Experiment with different furikake flavors, such as wasabi or salmon, for a unique flair.
This simple change beautifully elevates the taste and gives you a new experience each time! -
Quinoa Rice Option: Swap half of the sushi rice with cooked quinoa for a protein-packed alternative.
By doing so, you get a delightful nutty flavor while boosting the health benefits of your onigiri! -
Ginger Soy Marinade: Add freshly grated ginger to the chicken marinade for an aromatic twist.
The zing of ginger brings out the flavors of the teriyaki chicken, creating a more aromatic and vibrant dish. -
Sweet and Savory: Drizzle a touch of honey or maple syrup on the filling for a sweet contrast to the savory chicken.
This delightful combination will surprise your palate and add a delectable layer of complexity to each onigiri!
Check out these other recipes for delicious ideas like Creamy Chicken and Rice or Grilled Thai Chicken to inspire your cooking adventures!
How to Store and Freeze Chicken Onigiri
Fridge: Keep Chicken Onigiri in an airtight container for up to 3 days. They are best enjoyed fresh within the first day to maintain their texture and flavor.
Freezer: You can freeze Chicken Onigiri for up to 2 months. Wrap each rice ball tightly in plastic wrap and then place them in a freezer bag to prevent freezer burn.
Reheating: To reheat, thaw in the fridge overnight, then steam or microwave until heated through. Avoid using the microwave alone, as it may make the rice chewy.
Wrap Storage: If you have used nori, it may become soggy in storage. Consider wrapping it fresh just before serving for that delightful crunch!
Make Ahead Options
These Teriyaki Chicken Onigiri are ideal for meal prep enthusiasts! You can prepare the sushi rice and marinated chicken up to 24 hours in advance, ensuring they stay fresh and flavorful. Simply cook the rice, season it, and allow it to cool before refrigerating in an airtight container. For the chicken, marinate it as directed and store it separately in the fridge. When you’re ready to enjoy your onigiri, stir-fry the chicken and shape the rice balls as instructed. By prepping ahead, you’ll save valuable time during busy weeknights while still serving a delicious, homemade meal that’s just as satisfying as fresh.
What to Serve with Teriyaki Chicken Onigiri
Elevate your onigiri experience by pairing these savory rice balls with complementary dishes and beverages that delight the senses.
-
Miso Soup: This warm, umami-rich soup adds depth alongside the onigiri, providing a comforting balance to the meal.
-
Pickled Vegetables: A tangy crunch from pickled cucumbers or radishes brightens the palate and enhances the flavor profile of the onigiri.
-
Edamame Beans: Lightly salted and simply prepared, these tender, green beans offer a refreshing texture and an excellent source of protein.
-
Seaweed Salad: Earthy and slightly sweet, the flavors of seaweed salad harmonize beautifully with the teriyaki chicken, completing your Japanese-inspired meal.
-
Japanese Beer: An ice-cold Asahi or Sapporo brings a crisp, refreshing layer that pairs nicely with the sweet notes of the teriyaki sauce.
Enjoying these delectable pairings will make your Chicken Onigiri not just a dish, but a moment to savor!

Teriyaki Chicken Onigiri Recipe FAQs
What type of rice should I use for Chicken Onigiri?
Absolutely! For the best results, use short-grain sushi rice. This particular type of rice has a high starch content that contributes to its sticky texture, making it easier to shape into onigiri. Avoid long-grain rice varieties as they may not hold together well.
How should I store leftover Chicken Onigiri?
To keep your Chicken Onigiri fresh, store them in an airtight container in the fridge for up to 3 days. However, they are best enjoyed on the first day when the rice is still sticky and the chicken is flavorful. If you’re storing any with nori, consider wrapping the nori fresh just before serving to maintain its crunch!
Can I freeze Chicken Onigiri?
Yes, you can absolutely freeze Chicken Onigiri for up to 2 months! Begin by wrapping each rice ball individually in plastic wrap to maintain its shape and prevent freezer burn. Place all wrapped onigiri in a freezer-safe bag. For reheating, thaw in the refrigerator overnight and then steam or microwave them, ensuring not to overheat to prevent the rice from becoming chewy.
What if my sushi rice isn’t sticky enough?
If your sushi rice is too dry and crumbles, it might not have enough moisture or was not cooked properly. One tip to help, is to ensure you rinse the rice adequately before cooking to remove excess starch and then steam it tightly in a rice cooker until fluffy. If you’re still having issues, try adding a little water while cooking or mix in some extra furikake for flavor and cohesion.
Is this recipe safe for people with allergies?
Definitely! However, take care to check the ingredients used in your teriyaki sauce and soy sauce, as these often contain gluten. For those with soy allergies, you can explore alternatives like coconut aminos. Always review packaging labels for any potential allergens when preparing this Chicken Onigiri recipe for guests.

Teriyaki Chicken Onigiri: Quick, Delicious Rice Balls to Love
Ingredients
Equipment
Method
- Cook 4 cups of sushi rice in a rice cooker as per instructions. Mix ½ teaspoon salt and 2 tablespoons furikake (if using) and fold gently into cooked rice. Set aside to cool.
- Cut 0.5 pound of chicken into small pieces. Marinate in a mix of 2 tablespoons soy sauce, 1 tablespoon sake, ½ teaspoon baking soda, and 1 tablespoon cornstarch for 30 minutes.
- In a bowl, whisk together 2 tablespoons soy sauce, 2 tablespoons mirin, and 1 tablespoon brown sugar to make teriyaki sauce. Set aside.
- Heat 1 tablespoon oil in a pan. Stir-fry marinated chicken for 2-3 minutes until cooked and golden. Add minced garlic and sauté for 30 seconds, then add teriyaki sauce and cook until thickened.
- Wet hands to prevent sticking. Shape onigiri by scooping ⅓ cup of sushi rice, creating a well, filling it with 1 tablespoon of chicken, then topping with another ⅓ cup of rice. Mold into a triangle.
- Cut nori into rectangles and wrap around the bottom corner of each onigiri. Serve fresh or store in an airtight container.

Leave a Reply