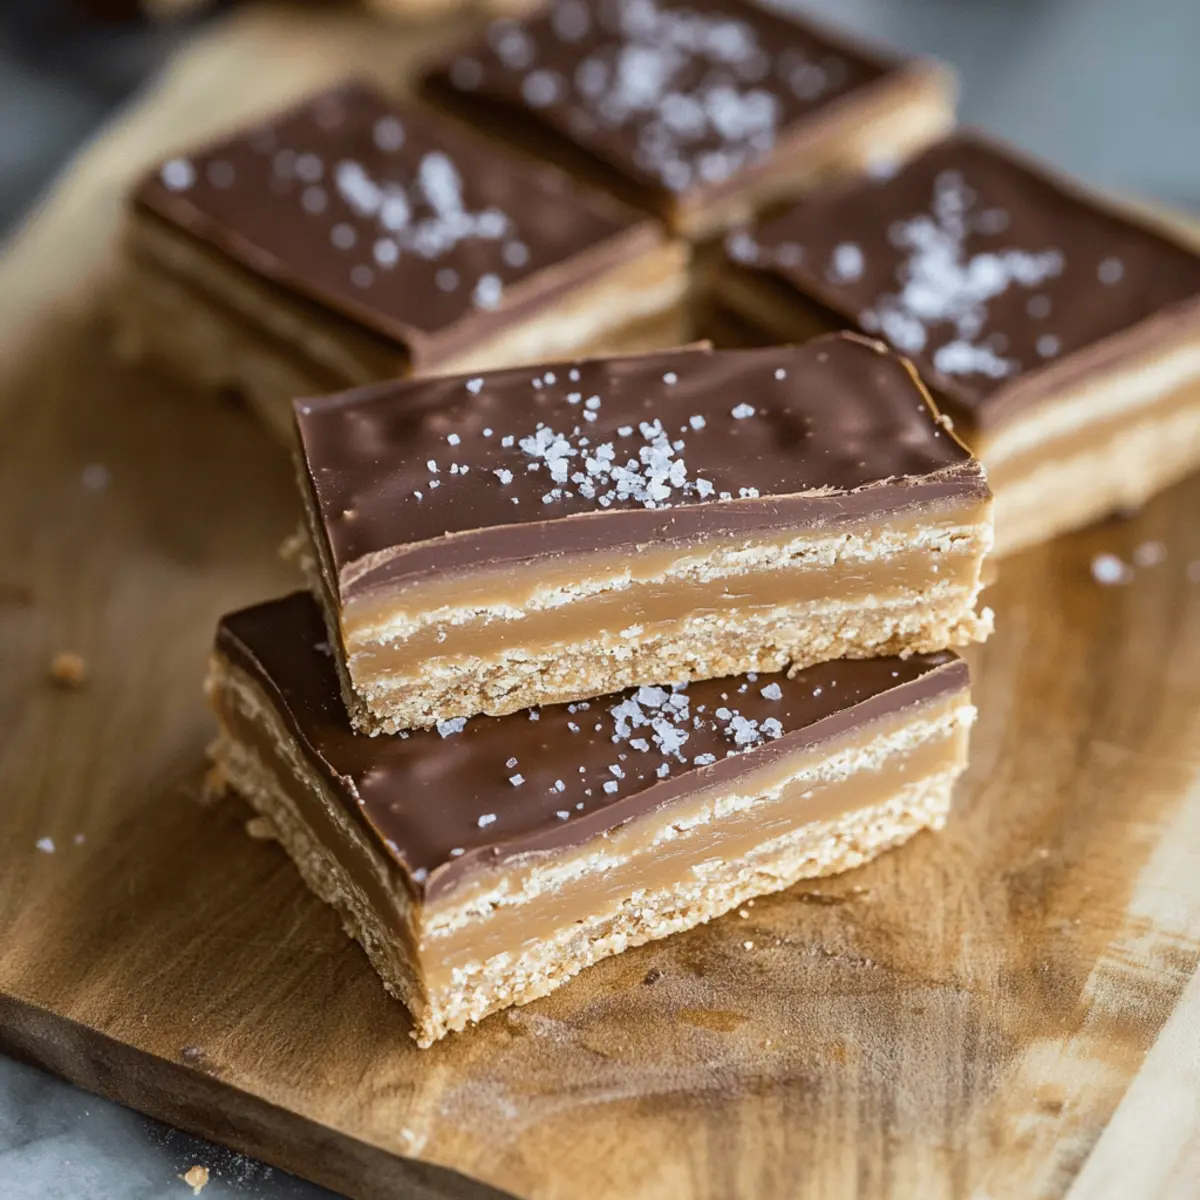
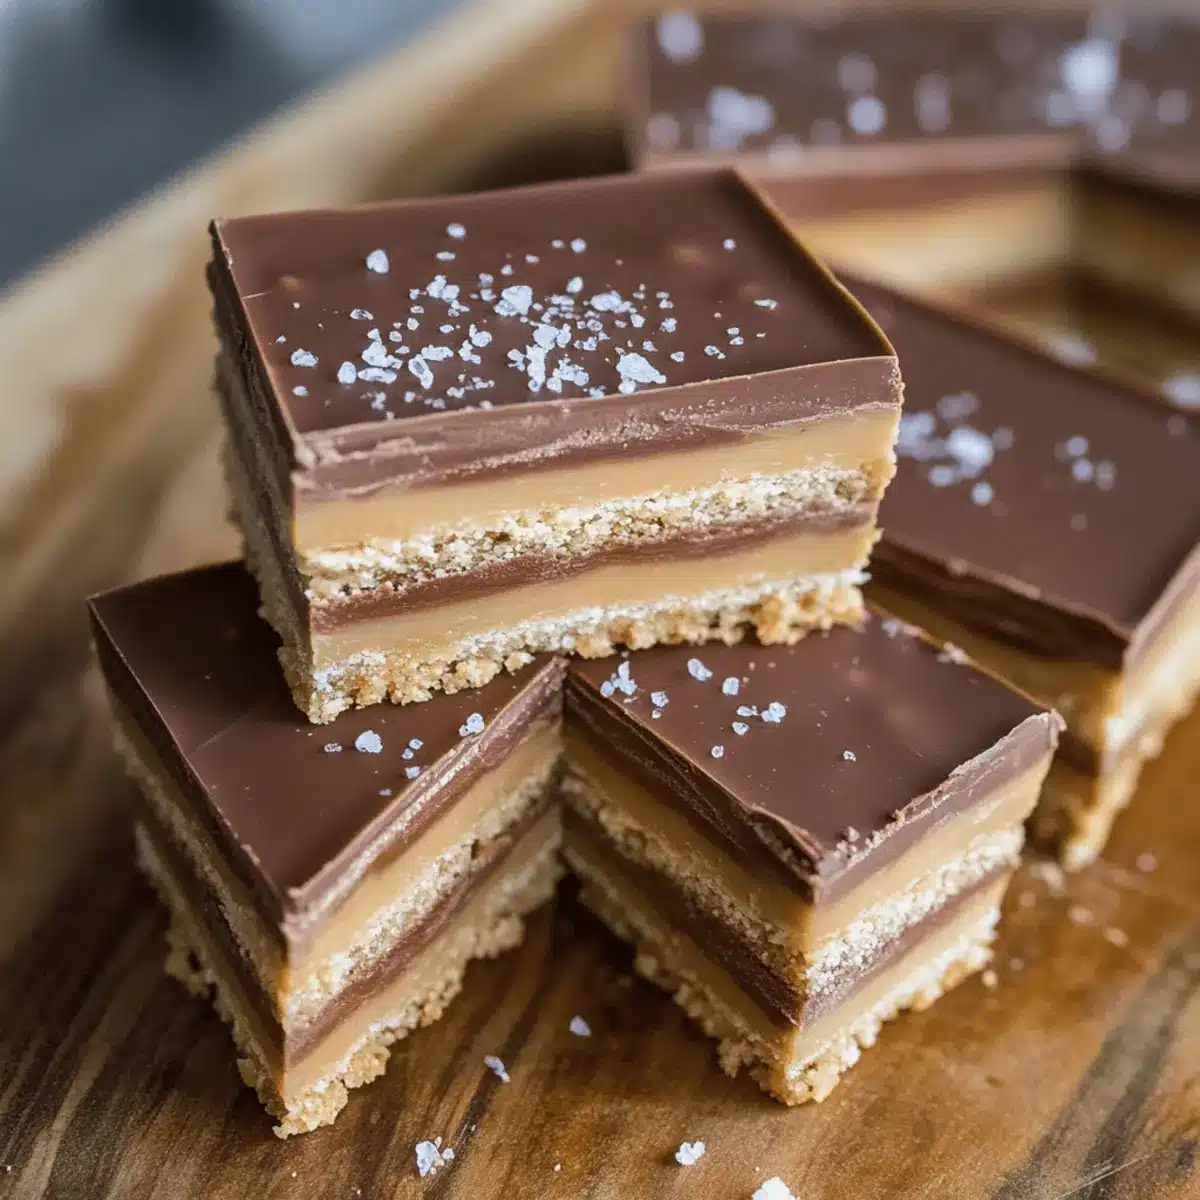
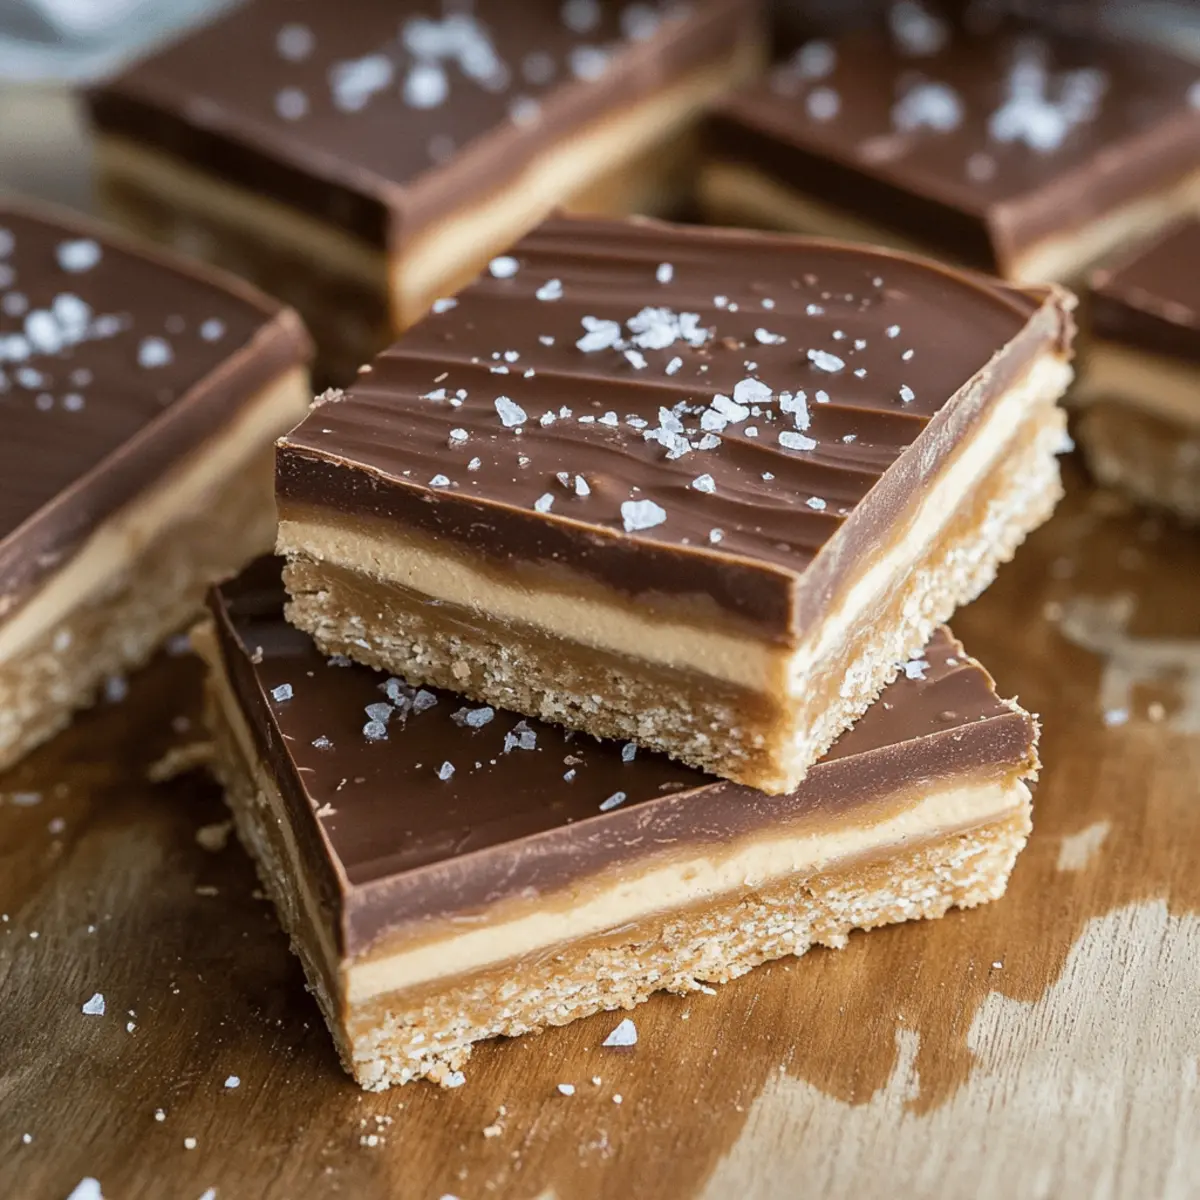
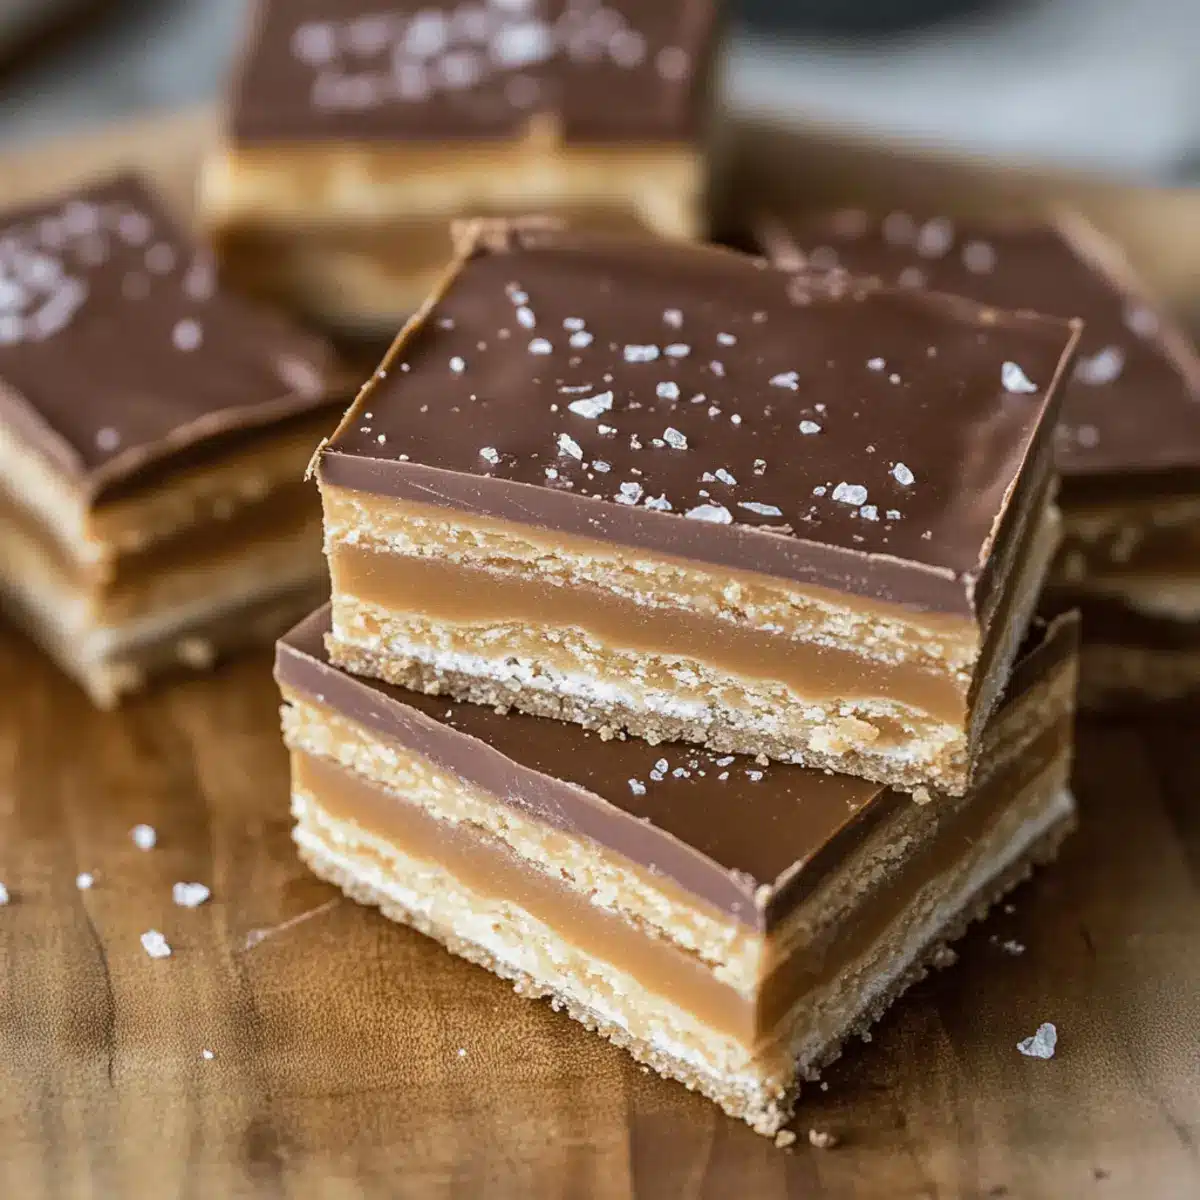
There’s something truly magical about the combination of sweet and salty that transports me back to my favorite dessert spot. These Salt River Bars are my take on a classic treat that captures that nostalgia perfectly. With their chewy, creamy layers and a crunchy cracker bottom, they’re a delightful blend designed to satisfy your sweet tooth without sacrificing flavor. You’ll love how quick and simple this recipe is to whip up, making it a go-to choice for gatherings or a cozy night in. Plus, these bars are perfect for those looking to avoid the fast-food pitfall and indulge in homemade goodness. Are you ready to unlock the secret to this layered dessert delight? Let’s dive into the delicious world of Salt River Bars together!

Why Are Salt River Bars So Irresistible?
Sweet and Salty Harmony: The combination of chocolate, caramel, and the flaky Maldon sea salt creates a heavenly balance that tantalizes your taste buds.
Easy to Make: With just a handful of simple ingredients and a few easy steps, you’ll have a show-stopping dessert ready in no time—perfect for any occasion!
Ideal for Sharing: Whether it’s a family gathering or a casual get-together, these Salt River Bars will be the star of the dessert table. Everyone will ask for the recipe!
Versatile Adjustments: Want to switch things up? Feel free to try different nut butter or even mix in some nuts for added crunch. Customizing is a breeze!
Handmade Goodness: Forget fast food—these homemade bars offer a comforting, satisfying alternative that lets you indulge guilt-free. For a taste of breakfast bliss, don’t forget to check out my delicious Maple Donut Bars!
Salt River Bars Ingredients
For the Crust
• Club Crackers – These provide a crunchy base layer; if unavailable, buttery or plain crackers work too.
For the Caramel Layer
• Caramel – Adds sweetness and chewy texture; homemade caramel is recommended for the best results.
For the Topping
• Chocolate Chips – This main chocolate component completes the dessert; dark chocolate chips can offer a richer taste.
• Butterscotch Chips – They enhance the sweet and buttery flavor; you can substitute with more chocolate chips if desired.
• Peanut Butter – Brings creaminess and depth to the topping.
• Maldon Sea Salt – This unique flaky salt elevates the flavors and is essential for finishing touches, making your Salt River Bars irresistible!
Step‑by‑Step Instructions for Salt River Bars
Step 1: Prepare Your Pan
Start by preheating your oven to 350°F (175°C). Line a 9×13 inch baking pan with parchment paper, allowing some overhang for easy removal later. This will help achieve a perfect edge on your Salt River Bars. Once lined, set the pan aside; we’ll build the layers shortly.
Step 2: Assemble the Base Layer
Take your Club Crackers and arrange a single layer on the bottom of the prepared baking pan. Ensure the crackers cover the entire base without any gaps, as they will form a crunchy foundation. This step is essential, as it sets the tone for the delicious layers to come.
Step 3: Cook the Caramel Mixture
In a saucepan over medium heat, combine your caramel ingredients, stirring continuously until the mixture bubbles and thickens—around 5-7 minutes. Watch for a smooth, creamy consistency that coats the back of a spoon. Once ready, carefully pour half of the caramel over the cracker layer, spreading it evenly for a luscious sweet foundation.
Step 4: Add Another Cracker Layer
Next, place another layer of Club Crackers on top of the caramel you just poured. Ensure that you cover the caramel completely with crackers, creating a sturdy second layer. This crunchy barrier will be crucial for holding the next layer of caramel.
Step 5: Pour Remaining Caramel
Now, take the remaining caramel mixture and pour it over the second layer of crackers. Spread it gently with a spatula to ensure even coverage. This caramel layer adds a sweet chewiness that perfectly complements the crunchy base, bringing your Salt River Bars closer to perfection.
Step 6: Final Cracker Layer
Top off your bars with a final layer of Club Crackers, ensuring all the caramel is fully enclosed. This completes the layering process, setting the stage for the creamy chocolate topping that will elevate the dessert to new heights.
Step 7: Melt the Topping Mixture
In a clean saucepan, combine your chocolate chips, butterscotch chips, and peanut butter over low heat. Stir constantly until the mixture is fully melted and smooth—about 3-5 minutes. Be cautious not to burn the chocolate; the goal is a velvety consistency that spreads easily on top.
Step 8: Spread and Season
Pour the melted chocolate mixture over the final cracker layer, using a spatula to spread it evenly. Once coated, sprinkle Maldon sea salt generously across the top. This flaky salt enhances the flavors beautifully, contributing to the sweet and salty balance that makes Salt River Bars so irresistible.
Step 9: Cool and Set
Transfer your baking pan to the refrigerator and allow the Salt River Bars to chill for at least 2 hours or until fully set. This resting time is crucial, as it helps the layers meld together and firm up for easy cutting.
Step 10: Slice and Serve
Once set, lift the Salt River Bars out of the pan using the parchment overhang. Place on a cutting board and slice into squares using a sharp knife. Serve chilled or at room temperature, and watch as everyone enjoys this delightful treat at your next gathering!

Make Ahead Options
These Salt River Bars are perfect for meal prep, allowing busy home cooks to enjoy an indulgent treat without the last-minute rush! You can prepare the entire layered dessert up to 24 hours in advance. Simply follow the instructions through to the cooling step, then cover the pan tightly with plastic wrap and refrigerate. To maintain the bars’ chewy and crunchy texture, avoid cutting them until you’re ready to serve—this keeps the layers intact. When you’re set to indulge in these delicious bars, simply remove them from the fridge, cut into squares, and enjoy the sweet and salty goodness that tastes just as fabulous as when freshly made!
Salt River Bars: Creative Twists Await!
Explore the delightful world of customization, where you can add your own personal touch to this beloved dessert!
-
Nut Swap: Replace peanut butter with almond butter for a nutty twist; the flavor difference will surprise you! Each buttery alternative adds a unique essence to the topping and allows your creativity to shine.
-
Toffee Bits: Instead of butterscotch chips, use toffee bits for an extra crunch and a unique sweet profile. The combination of chewy and crunchy creates an inviting texture that keeps everyone coming back for more.
-
Chopped Nuts: Toss some chopped nuts on top for a delightful crunch. Walnuts or pecans add an earthy flavor that complements the sweetness beautifully, elevating your bars to a gourmet level.
-
Chocolate Variety: Use a mix of milk chocolate and dark chocolate chips for a rich, balanced flavor. This variation plays delightfully with sweet and salty notes, enhancing your overall experience.
-
Spicy Kick: Add a pinch of cayenne pepper or chili powder to the chocolate mixture for a surprising heat. It’s a fun way to create a sweet and spicy contrast that your taste buds will love!
-
Coconut Flakes: Sprinkle toasted coconut flakes over the chocolate layer for an exotic flair. The tropical touch offers an irresistible hint of sweetness that will whisk you away on a flavor adventure.
-
Rice Crispy Layer: Incorporate a layer of crushed rice cereal for added crunch. This brings an interesting texture and a nostalgic aspect reminiscent of classic treats.
-
Drizzled Chocolate: For an elegant finish, drizzle white chocolate over the top after it sets. This not only adds visual appeal but also a creamy sweetness that harmonizes perfectly with the bars.
And if you’re feeling adventurous, check out my scrumptious Maple Donut Bars for another delightful twist that’s perfect for brunch gatherings!
What to Serve with Salt River Bars?
There’s something magical about pairing these delightful layered treats with complementary flavors that will elevate your dessert experience.
- Vanilla Ice Cream: This creamy scoop provides a perfect contrast to the chewy bars, adding a refreshing chill with each bite.
- Fresh Berries: The tartness of strawberries or raspberries cuts through the sweetness, offering a refreshing balance and color to your plate.
- Chocolate Milk: A classic choice that enhances the chocolate flavors in the bars, making for a nostalgic and satisfying pairing.
- Coffee: The rich, bold notes of a freshly brewed cup beautifully offset the sweetness, creating a delightful end to any meal.
- Whipped Cream: A fluffy cloud of cream adds lusciousness and lightens the overall bite, making each square feel extra indulgent.
- Caramel Sauce: A drizzle on top not only intensifies the sweetness but adds a beautiful sheen, making your bars even more tempting to indulge in.
Embrace these pairings, and your Salt River Bars will shine even brighter at the dessert table!
How to Store and Freeze Salt River Bars
Fridge: Store your Salt River Bars in an airtight container in the refrigerator for up to one week, ensuring they remain fresh and chewy.
Freezer: For longer storage, wrap individual bars in plastic wrap and place them in an airtight container or freezer bag. They can be frozen for up to 3 months.
Thawing: To enjoy frozen Salt River Bars, simply place them in the fridge overnight or at room temperature for about an hour before serving.
Reheating: If you prefer your bars warm, lightly heat them in the microwave for 10-15 seconds, but be careful not to overdo it, as this can affect the texture.
Expert Tips for Perfect Salt River Bars
-
Chill Before Cutting: Allow the bars to cool completely in the refrigerator before slicing. This ensures neat, clean cuts and helps retain the layers.
-
Avoid Overcooking Caramel: Keep an eye on your caramel mixture to prevent it from overcooking, which can lead to a bitter flavor. Aim for a smooth, bubbly texture.
-
Use Low Heat for Chocolate: When melting chocolate, keep the heat low and stir continuously to prevent burning. A gentle approach yields a luscious topping.
-
Experiment with Flavors: Don’t hesitate to customize! Swapping peanut butter for almond butter or adding different nuts can bring exciting variations to your Salt River Bars.
-
Store Properly: To keep your bars fresh, store them in an airtight container in the refrigerator. They’ll last up to a week, making them the perfect make-ahead treat!

Salt River Bars Recipe FAQs
What type of crackers should I use for Salt River Bars?
Absolutely! Club Crackers are ideal for the crunchy base layer of Salt River Bars. However, if you can’t find them, feel free to use any buttery or plain cracker as a substitute. Just make sure the crackers are sturdy enough to hold the layers together!
How should I store Salt River Bars for maximum freshness?
For best results, store your Salt River Bars in an airtight container in the refrigerator. They’ll stay fresh for up to one week, making them ready for that late-night craving or as a sweet surprise for guests. If you want to keep them longer, consider freezing them for up to 3 months!
Can I freeze Salt River Bars? What’s the best way to do it?
Certainly! To freeze your Salt River Bars, first wrap each bar individually in plastic wrap, ensuring they’re well-sealed. Next, place the wrapped bars in an airtight container or a freezer bag to prevent freezer burn. When you’re ready to enjoy, just thaw them overnight in the fridge or at room temperature for about an hour before serving.
What’s the best way to reheat Salt River Bars?
If you prefer warm Salt River Bars, you can reheat them in the microwave. Just pop a bar in for about 10-15 seconds; be careful not to overdo it, as excessive heat can affect the chewy texture you love! Always check the temperature before biting in.
Can these bars be made nut-free?
Absolutely! If you have nut allergies or want a nut-free version, simply skip the peanut butter in the topping. You can replace it with a seed butter like sunbutter for a similar creamy texture. Enjoy experimenting with different flavors while keeping it safe for everyone!
Is there a specific ripeness for the ingredients I should look for?
When it comes to Salt River Bars, the only key ingredient to emphasize is the caramel. If you’re making homemade caramel, ensure your sugar is properly cooked to a golden color without any burnt bits. In terms of chocolate chips, opt for fresh ones without any clumps, as they’ll melt better for that smooth topping.

Irresistible Salt River Bars: Sweet-Salty Bliss in Every Bite
Ingredients
Equipment
Method
- Preheat your oven to 350°F (175°C) and line a 9x13 inch baking pan with parchment paper.
- Arrange a layer of Club Crackers on the bottom of the prepared baking pan.
- Combine caramel ingredients in a saucepan over medium heat, stirring continuously for 5-7 minutes until thickened.
- Pour half of the caramel over the cracker layer and spread evenly.
- Add another layer of Club Crackers over the caramel.
- Pour the remaining caramel over the second layer of crackers.
- Top with a final layer of Club Crackers.
- Melt chocolate chips, butterscotch chips, and peanut butter over low heat and stir until smooth.
- Spread the melted chocolate mixture over the final cracker layer and sprinkle with Maldon sea salt.
- Refrigerate for at least 2 hours to set.
- Lift the bars out using parchment overhang, slice, and serve.

Leave a Reply