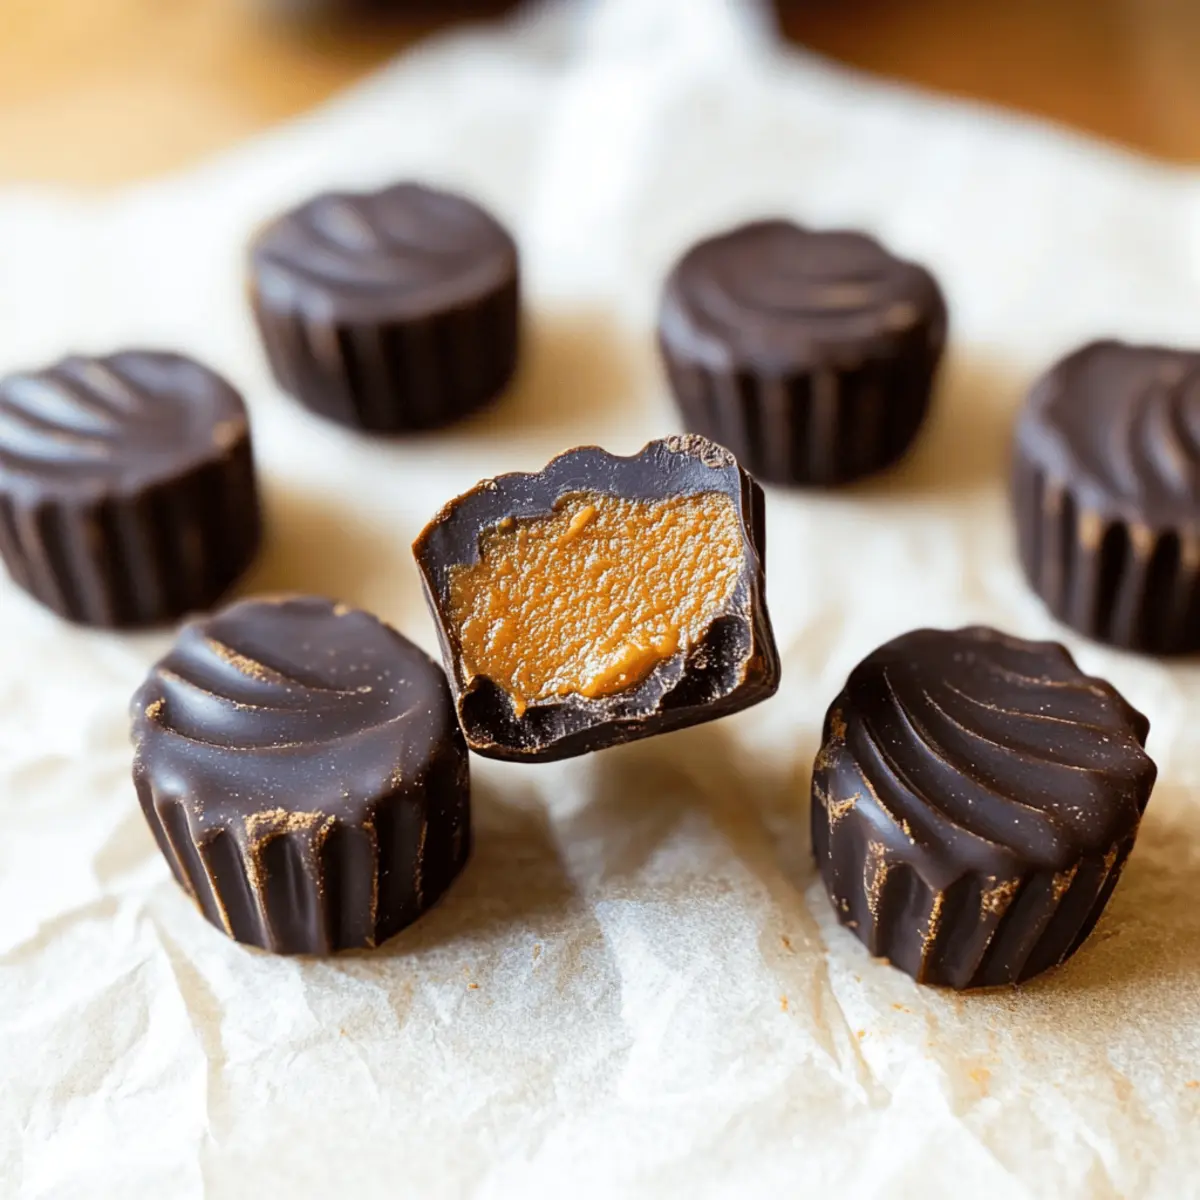
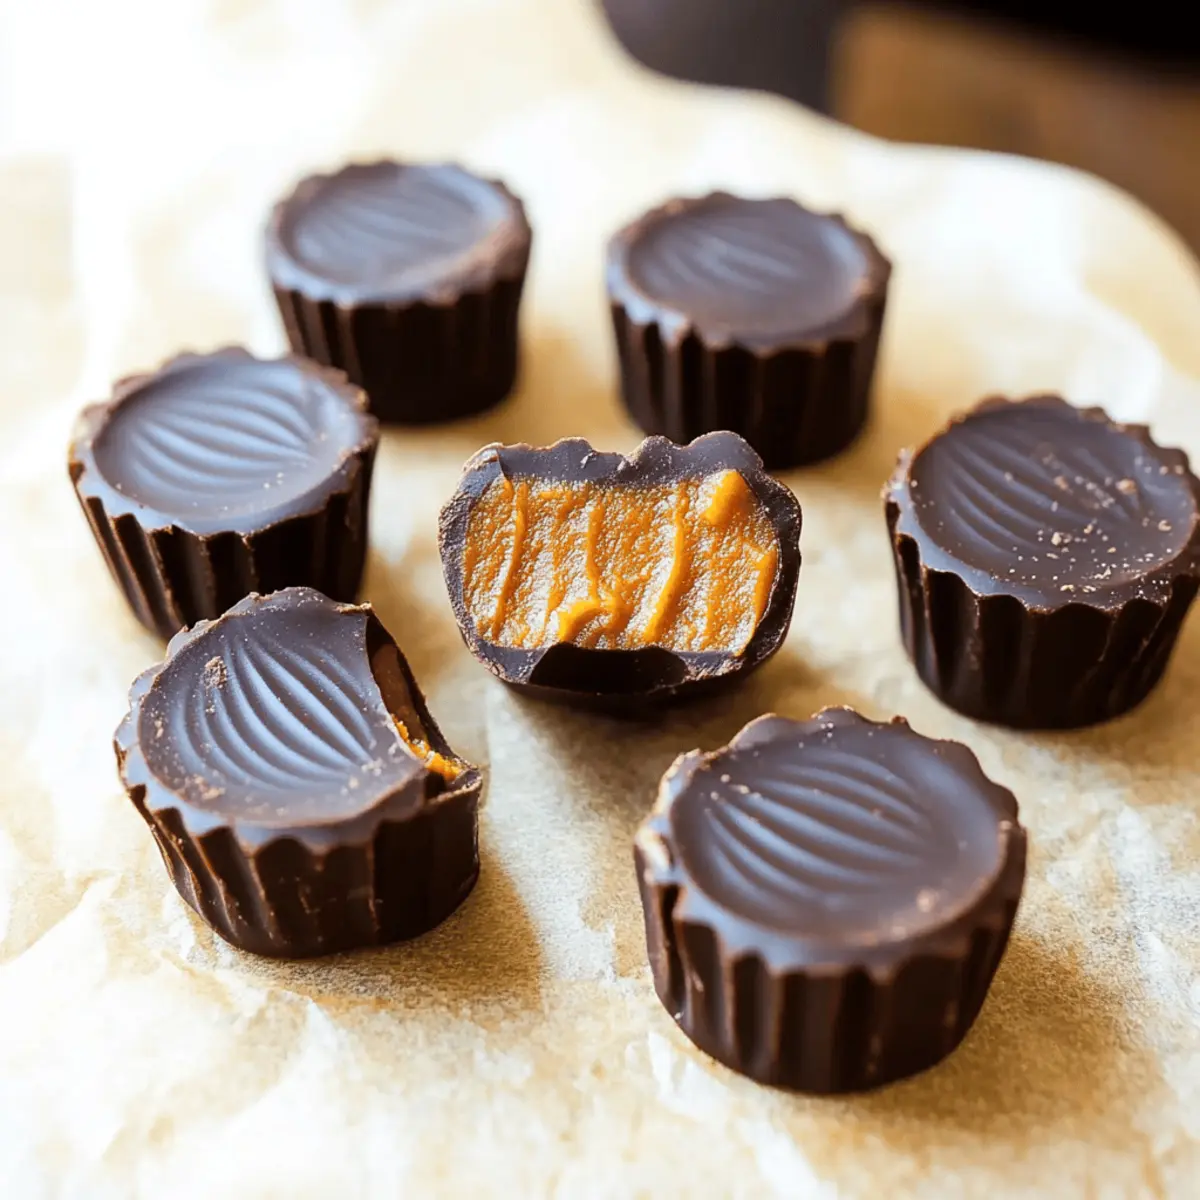
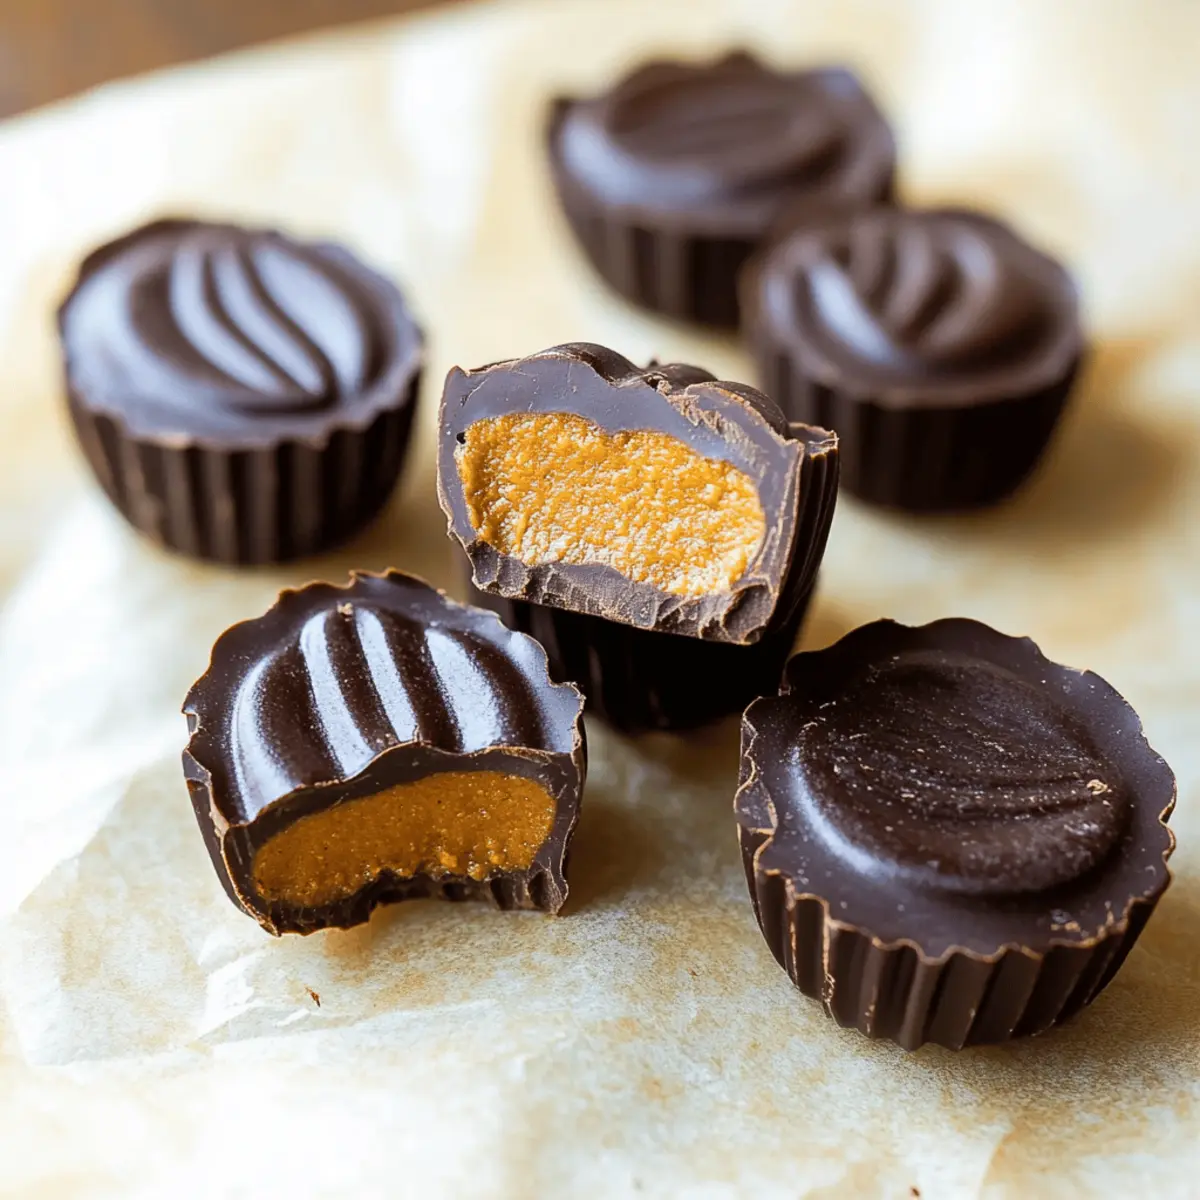
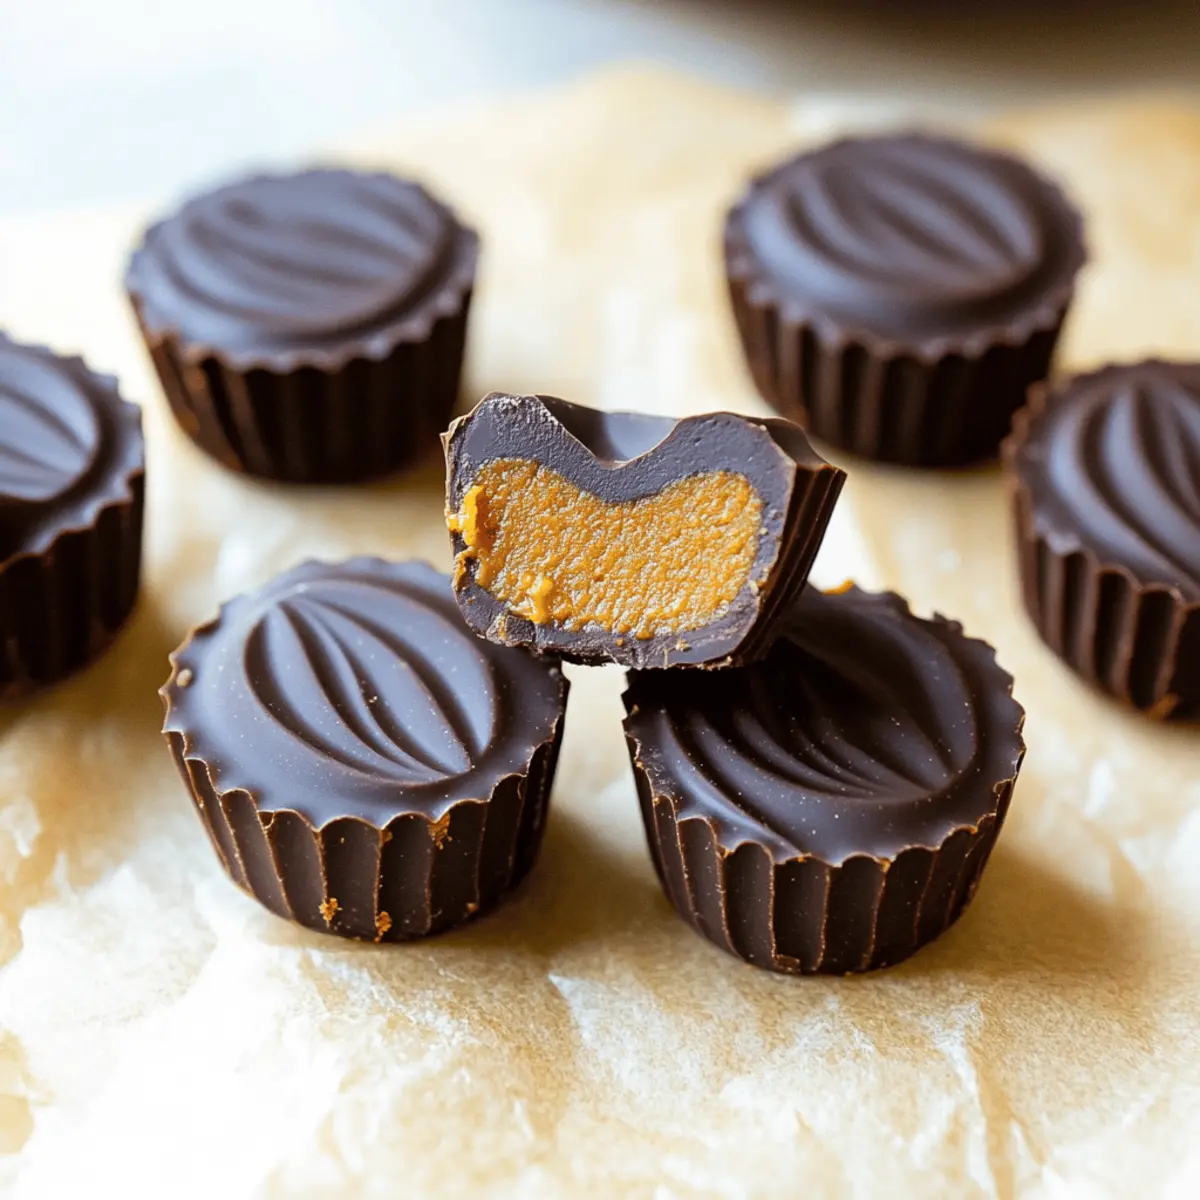
As I stood in my kitchen, the unmistakable aroma of pumpkin spice wafted through the air, instantly igniting memories of crisp autumn days. It’s the perfect time to indulge in something special, and these Chocolate Pumpkin Butter Cups deliver just that! Combining a creamy, spiced pumpkin filling with a rich dark chocolate layer, they’re a delightful treat that’s simple to make at home. Best of all, this recipe is guilt-free—made with just six wholesome ingredients, it’s dairy-free and lower in sugar than your average candy. As the holidays approach, these adorable little cups are perfect for sharing with family and friends or enjoying cozy evenings on your own. Curious how to create these festive delights? Let’s dive into the recipe!

Why Make Chocolate Pumpkin Butter Cups?
Deliciously Healthy: These Chocolate Pumpkin Butter Cups are a guilt-free indulgence, made with wholesome ingredients that satisfy your sweet tooth without the excessive sugar.
No-Bake Convenience: With a no-bake approach, you’ll save time without sacrificing flavor, making them the perfect treat to whip up in a hurry.
Fall Flavor Fest: Infused with pumpkin spice, they embody the warmth and coziness of autumn, making them perfect for seasonal gatherings or a comforting snack at home.
Customizable Goodness: Feel free to swap almond butter for peanut butter or mix in your favorite nuts for added crunch, catering to your personal taste.
Easy-to-Follow Steps: The simplified process means even novice bakers can shine, impressing friends and family without breaking a sweat.
Perfect Pairing: Enjoy these treats alongside a cup of coffee or warm tea, or even consider pairing them with Pumpkin Cornbread Butter for an even more festive experience!
Chocolate Pumpkin Butter Cups Ingredients
For the Filling
- Pumpkin Puree – Adds moisture and a flavorful, creamy texture; you can substitute it with homemade puree or canned pumpkin.
- Almond Butter – Provides a rich creaminess and nutty flavor; any nut butter or Sunbutter can serve as an alternative for nut-free options.
- Honey – Acts as a natural sweetener for the filling; feel free to swap it out with maple syrup for a vegan-friendly version.
- Pumpkin Spice – Infuses the mixture with that warm, seasonal flavor; cinnamon or a mix of nutmeg and ginger can work in a pinch.
For the Chocolate Layer
- Chocolate Chips – Essential for forming the rich outer layer; be sure to use dairy-free chocolate chips for the perfect dairy-free treat.
- Coconut Oil – Helps with melting and gives the chocolate a smooth finish; don’t replace it with butter to keep this treat dairy-free.
Step‑by‑Step Instructions for Chocolate Pumpkin Butter Cups
Step 1: Soften the Almond Butter
Begin by microwaving the almond butter for 30 seconds in a microwave-safe bowl. This softening process makes it easier to mix later. Check that it’s warm and easily stirrable, helping to create a creamy texture in your filling.
Step 2: Mix the Filling
In a separate mixing bowl, combine the pumpkin puree, softened almond butter, honey, and pumpkin spice. Stir until you achieve a smooth and consistent mixture, ensuring all ingredients are well incorporated. Set this flavorful filling aside to prepare for the chocolate layers.
Step 3: Melt the Chocolate
In a glass bowl, combine the chocolate chips and coconut oil. Microwave the mixture in 20-second intervals, stirring gently after each session to prevent burning. Continue until the chocolate is fully melted and silky, creating a shiny coating for your Chocolate Pumpkin Butter Cups.
Step 4: Prepare the Molds
Pour a thin layer of melted chocolate into silicone molds, using enough to create a base but not overflow. Gently tilt the molds to ensure even coverage. Place them in the freezer for 10 minutes to set, forming a delicious foundation for the filling.
Step 5: Add the Pumpkin Filling
Once the chocolate bases are set, take the molds out of the freezer. Use a piping bag or a plastic baggie with a corner snipped off to pipe the creamy pumpkin filling into each mold. Be generous, but leave a little space for the final chocolate layer on top.
Step 6: Freeze Again
Return the filled molds to the freezer and let them chill for another 5-10 minutes. This allows the pumpkin filling to firm up slightly, making it easier to add the final chocolate layer without mixing the two.
Step 7: Finish with Chocolate
Once the filling is set, pour another layer of melted chocolate over the pumpkin mixture in each mold. Ensure that you cover the filling completely to seal it in. Place the molds back in the freezer for 1-2 hours until the chocolate is firm and fully set.
Step 8: Unmold and Enjoy
Carefully remove the Chocolate Pumpkin Butter Cups from the molds. If using silicone molds, gently push from the bottom to pop them out. Enjoy these decadent treats immediately or store them in an airtight container in the freezer for a delightful snack whenever you crave something sweet!

How to Store and Freeze Chocolate Pumpkin Butter Cups
Fridge: Store leftovers in an airtight container in the refrigerator for up to 3 days for a soft and easy-to-enjoy treat.
Freezer: For longer storage, keep the Chocolate Pumpkin Butter Cups in an airtight container in the freezer for up to 2 months. This preserves their delightful texture.
Reheating: When ready to enjoy, let them sit at room temperature for about 10-15 minutes to soften, or microwave for 5-10 seconds if you prefer a warm treat.
Wrapping: If stacking in the container, place parchment paper between layers to avoid sticking, ensuring they stay as perfect as when they first came out of the mold.
What to Serve With Chocolate Pumpkin Butter Cups?
Indulging in these delightful cups opens the door to a world of flavors, perfect for enhancing your cozy culinary experience.
-
Creamy Coconut Whipped Cream: This fluffy topping adds a tropical twist, balancing the rich chocolate with lightness in every bite.
-
Classic Herbal Tea: A soothing cup of chamomile or peppermint tea provides warmth and complements the spiced pumpkin flavors beautifully.
-
Crunchy Kale Chips: The salty crunch of kale chips offers a delightful contrast, elevating the sweet experience of the chocolate cups.
-
Spiced Apple Cider: A warm mug of spiced apple cider resonates with autumnal flavors, making every bite of the dessert even more festive.
-
Roasted Nuts Medley: A mix of roasted almonds, pecans, and walnuts adds appealing crunch and savory notes alongside the sweet treats.
-
Vanilla Almond Milk: This creamy, nutty drink is a wholesome match that complements the chocolate and pumpkin filling wonderfully.
-
Dark Chocolate Dipped Strawberries: Keep the chocolate theme alive! Juicy strawberries dipped in dark chocolate are a sweet and refreshing palette cleanser.
-
Pumpkin Spice Latte: Pair your cups with a cozy pumpkin spice latte for a seasonal experience that warms the heart and soul.
-
Velvety Hot Chocolate: Completing the chocolate experience with a luxurious cup of hot cocoa creates a truly indulgent dessert moment.
Make Ahead Options
These Chocolate Pumpkin Butter Cups are a fantastic choice for meal prep, helping you save time on busy days! You can prepare the pumpkin filling up to 24 hours in advance; simply mix the pumpkin puree, almond butter, honey, and pumpkin spice, then refrigerate it in an airtight container to keep it fresh and flavorful. You can also melt the chocolate and coconut oil and store them separately for up to 3 days, ensuring they’re ready for assembly. When you’re ready to enjoy your treats, simply follow the final assembly steps by layering the chocolate and filling in the molds before freezing for 1-2 hours. This way, you’ll have delicious, no-bake treats ready to enjoy with minimal effort!
Chocolate Pumpkin Butter Cups Variations
Feel free to get creative with these variations, making the recipe your own while keeping all the delightful flavors intact!
-
Nut Butter Swap: Substitute almond butter with peanut butter or cashew butter for a distinct taste. Each nut brings its unique flavor, making your cups even more delicious!
-
Vegan Sweetener: Use maple syrup instead of honey for a vegan-friendly version. This swap keeps the sweetness while aligning with your dietary preferences.
-
Spice It Up: If pumpkin spice isn’t available, try using ground cinnamon or even a touch of nutmeg and ginger for that autumnal warmth.
-
Texture Boost: Add chopped nuts or seeds into the pumpkin filling for an extra crunchy texture. This adds not only flavor but also a delightful contrast to the creamy filling.
-
Sugar-Free Option: Consider using a sugar-free sweetener if you’re aiming for a completely sugar-free treat. Enjoy the same great taste with fewer carbs!
-
Flavored Chocolate: For a twist, use flavored chocolate chips, like mint or cherry, to create a delightful surprise in your bites. Chocolate-covered peppermint or cherry pumpkin cups anyone?
-
Mini Versions: Make mini Chocolate Pumpkin Butter Cups for bite-sized treats perfect for parties or gifts. Just adjust the filling quantity in your molds!
-
Fruity Addition: Try mixing in a little fruit puree, like banana or apple, into your pumpkin filling for a sweet, natural flavor boost. It’ll make the cups even more unique and delicious!
For more sweet ideas, check out Peanut Butter Cheerio Bars and indulge in flavorful treats that complement every craving!
Expert Tips for Chocolate Pumpkin Butter Cups
-
Use Quality Chocolate: Choose high-quality dairy-free chocolate chips for the best flavor and texture; it truly elevates these Chocolate Pumpkin Butter Cups.
-
Piping Made Easy: For a smooth filling application, warm the piping bag in your hands for a few moments, allowing the pumpkin filling to flow easily into the molds.
-
Layer Wisely: Avoid overfilling the molds with pumpkin filling; leave enough space for the top chocolate layer to prevent overflow and ensure a nice seal.
-
Freezing Method: Ensure that both chocolate layers are set properly in the freezer; this prevents the layers from mixing and maintains the integrity of the cups.
-
Keep Firm: Store your finished Chocolate Pumpkin Butter Cups in the freezer to keep them firm, as they may soften at room temperature, compromising their delightful texture.

Chocolate Pumpkin Butter Cups Recipe FAQs
How do I select the best pumpkin puree for the recipe?
Absolutely! Look for pumpkin puree that is bright orange in color and has a smooth texture. Avoid any cans with dark spots or leaks. If you’re using fresh pumpkin, select a small, sugar pumpkin for its sweetness, and cook it until soft before puréeing.
What is the best way to store leftover Chocolate Pumpkin Butter Cups?
For sure! Store your Chocolate Pumpkin Butter Cups in an airtight container in the refrigerator for up to 3 days. If you want to enjoy them longer, move them to the freezer, where they’ll remain tasty for up to 2 months.
Can I freeze Chocolate Pumpkin Butter Cups for later?
Yes, indeed! To freeze, place your Chocolate Pumpkin Butter Cups in a single layer in an airtight container, separated by parchment paper if needed. This keeps them from sticking together. They can be frozen for up to 2 months. When you’re ready to indulge, allow them to sit at room temperature for 10-15 minutes to soften, or microwave them for 5-10 seconds.
What should I do if my chocolate layer is cracking?
Very! If you’re encountering cracks in your chocolate layer, it might be due to overheating the chocolate or a rapid temperature change. To fix this, ensure you melt your chocolate in 20-second intervals and stir gently each time. Also, let the chocolate cool slightly before pouring it over the filling to avoid temperature shock.
Are there any allergens I should consider with this recipe?
Great question! While the recipe is dairy-free, those with nut allergies should use a seed butter like sunflower seed butter instead of almond butter. Additionally, if you’re using commercially prepared pumpkin puree, check labels for any potential allergens. These cups are a versatile treat suitable for various dietary needs, with easy substitutions for nut-free and vegan options.
Can I use sweeteners other than honey?
Absolutely! If you want to replace honey, maple syrup works wonderfully and adds a nice flavor. You can also try agave syrup or a sugar-free sweetener if you’re looking to reduce sugar intake. Just keep in mind that the consistency might change slightly, so adjust your other ingredients accordingly.

Indulge in Guilt-Free Chocolate Pumpkin Butter Cups
Ingredients
Equipment
Method
- Soften the almond butter by microwaving it for 30 seconds in a microwave-safe bowl.
- In a separate mixing bowl, combine the pumpkin puree, softened almond butter, honey, and pumpkin spice. Stir until smooth.
- In a glass bowl, combine the chocolate chips and coconut oil. Microwave in 20-second intervals until melted.
- Pour a thin layer of melted chocolate into silicone molds and freeze for 10 minutes.
- Pipe the pumpkin filling into each mold after the chocolate bases are set.
- Freeze the filled molds again for another 5-10 minutes.
- Pour another layer of melted chocolate over the pumpkin mixture in each mold.
- Return the molds to the freezer for 1-2 hours until the chocolate is firm.
- Carefully remove the cups from the molds and enjoy.

Leave a Reply