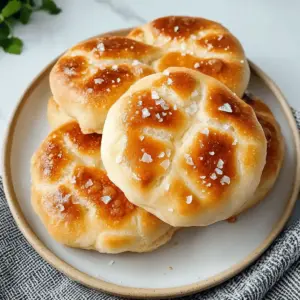
As I pulled the warm mini focaccia from the oven, the intoxicating scent of freshly baked bread wrapped around me like a cozy blanket. This recipe for Easy Mini Focaccia is a delightful solution for anyone craving a taste of Italy without the hours of prep. With its light, airy texture and those perfect crispy edges, it’s the ideal snack or a versatile side for any meal. Plus, the best part? It’s quick and easy to whip up, making it perfect for busy weeknights or unexpected guests. Whether you enjoy it with olive oil for dipping or alongside a bowl of soup, these mini focaccia are sure to charm your taste buds. Ready to indulge in this comforting homemade treat? Let’s get started!
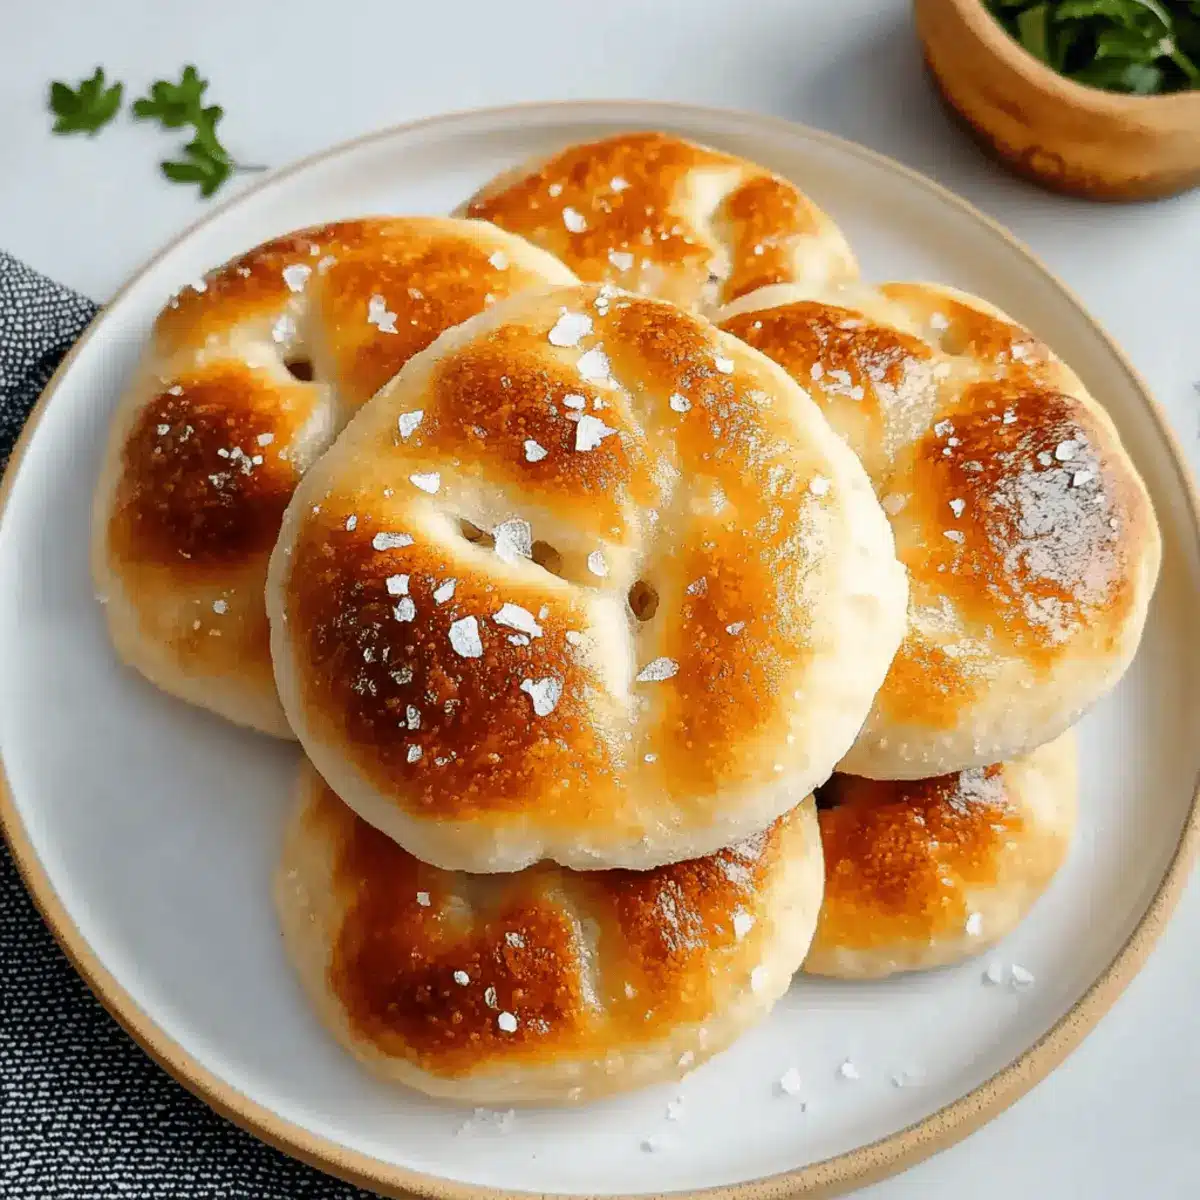
Why is Mini Focaccia so special?
Simplicity at Its Best: With minimal ingredients, you can create a delightful bread that seems fancy without requiring culinary expertise.
Quick and Easy: These mini focaccia come together in no time, making them perfect for last-minute gatherings or busy weeknights.
Flavorful Variations: Dress them up with toppings like herbs, cheese, or olives to match your mood or meal.
Crowd-Pleasing Appeal: Everyone loves warm bread, and these mini focaccia are sure to impress your family and friends.
Perfect Side Dish: Pair them with soup or a salad, just like with Garlic Parmesan Focaccia, and enjoy their comforting bite. Enjoy the experience of crafting your own delicious focaccia today!
Mini Focaccia Ingredients
• Note: Get ready to bake some delightful mini focaccia that will fill your kitchen with a mouthwatering aroma!
For the Dough
- Bread Flour – Provides structure and chewiness; all-purpose flour can be used, but may yield a softer texture.
- Instant Yeast – Essential for dough rising; no need for proofing. If unavailable, substitute with active dry yeast, allowing for proofing time.
- Warm Water – Activates the yeast; use water around 100-110°F to ensure proper rising.
- Granulated Sugar – Helps feed the yeast and enhances browning; optional if you prefer less sweetness.
- Kosher Salt – Provides flavor; use Morton kosher salt for the best results.
- Olive Oil – Adds moisture and flavor, crucial for a crispy bottom; feel free to use more for topping and greasing.
For the Topping
- Flaky Sea Salt – Sprinkle on top for enhanced flavor and a delightful texture; regular salt can be substituted if needed.
Step‑by‑Step Instructions for Mini Focaccia
Step 1: Mix the Dough
In a large mixing bowl, combine the bread flour, instant yeast, granulated sugar, kosher salt, and warm water (around 100-110°F) with 1 tablespoon of olive oil. Stir the mixture vigorously until a shaggy dough forms, ensuring all ingredients are well incorporated. This process takes about 2-3 minutes. You’ll know it’s ready when the dough pulls away from the sides of the bowl.
Step 2: Initial Rest
Cover the bowl with a clean kitchen towel and let the dough rest for 30 minutes. This resting period is crucial for gluten development, which gives your mini focaccia that desirable chewy texture. After this time, the dough should feel slightly puffy, indicating the yeast is starting to activate.
Step 3: Stretch and Fold
After the resting period, perform a stretch and fold technique to develop the dough further. Wet your hands slightly to prevent sticking, grab one edge of the dough, stretch it upwards, and fold it over itself. Repeat this action on all four sides of the dough, then cover it and let it rest for another 30 minutes. This step can be repeated two more times, ensuring the dough becomes airy and elastic.
Step 4: Prepare the Rings
While the dough is rising, prepare your baking equipment by greasing six English muffin rings with a mix of butter and olive oil. Place these rings on a baking sheet lined with parchment paper. This preparation is essential to prevent sticking and to shape your mini focaccia perfectly as they rise.
Step 5: Divide the Dough
Once the dough has doubled in size, turn it out onto a lightly floured surface. Divide it evenly into six parts. Gently shape each piece into a ball and place them inside the prepared muffin rings on the baking sheet. Let them rise again for 30 to 40 minutes until they’ve visibly puffed up.
Step 6: Preheat the Oven
While the mini focaccia are doing their final rise, preheat your oven to 425°F. This ensures that when you place the dough in, it bakes evenly and achieves that golden, crispy exterior. Make sure to keep an eye on the dough so it doesn’t rise too much while waiting.
Step 7: Dimple and Bake
As the oven reaches temperature, gently use your fingertips to dimple the tops of each mini focaccia, creating little wells. Drizzle each with olive oil and sprinkle flaky sea salt generously on top. Bake in the preheated oven for about 22 minutes, or until they are golden brown and a toothpick inserted in the center comes out clean.
Step 8: Cool the Focaccia
Once baked, remove the mini focaccia from the oven and let them cool in the rings for at least 20 minutes. This cooling time allows the bread to set properly. After cooling, gently remove them from the rings, and they’ll be ready to serve!
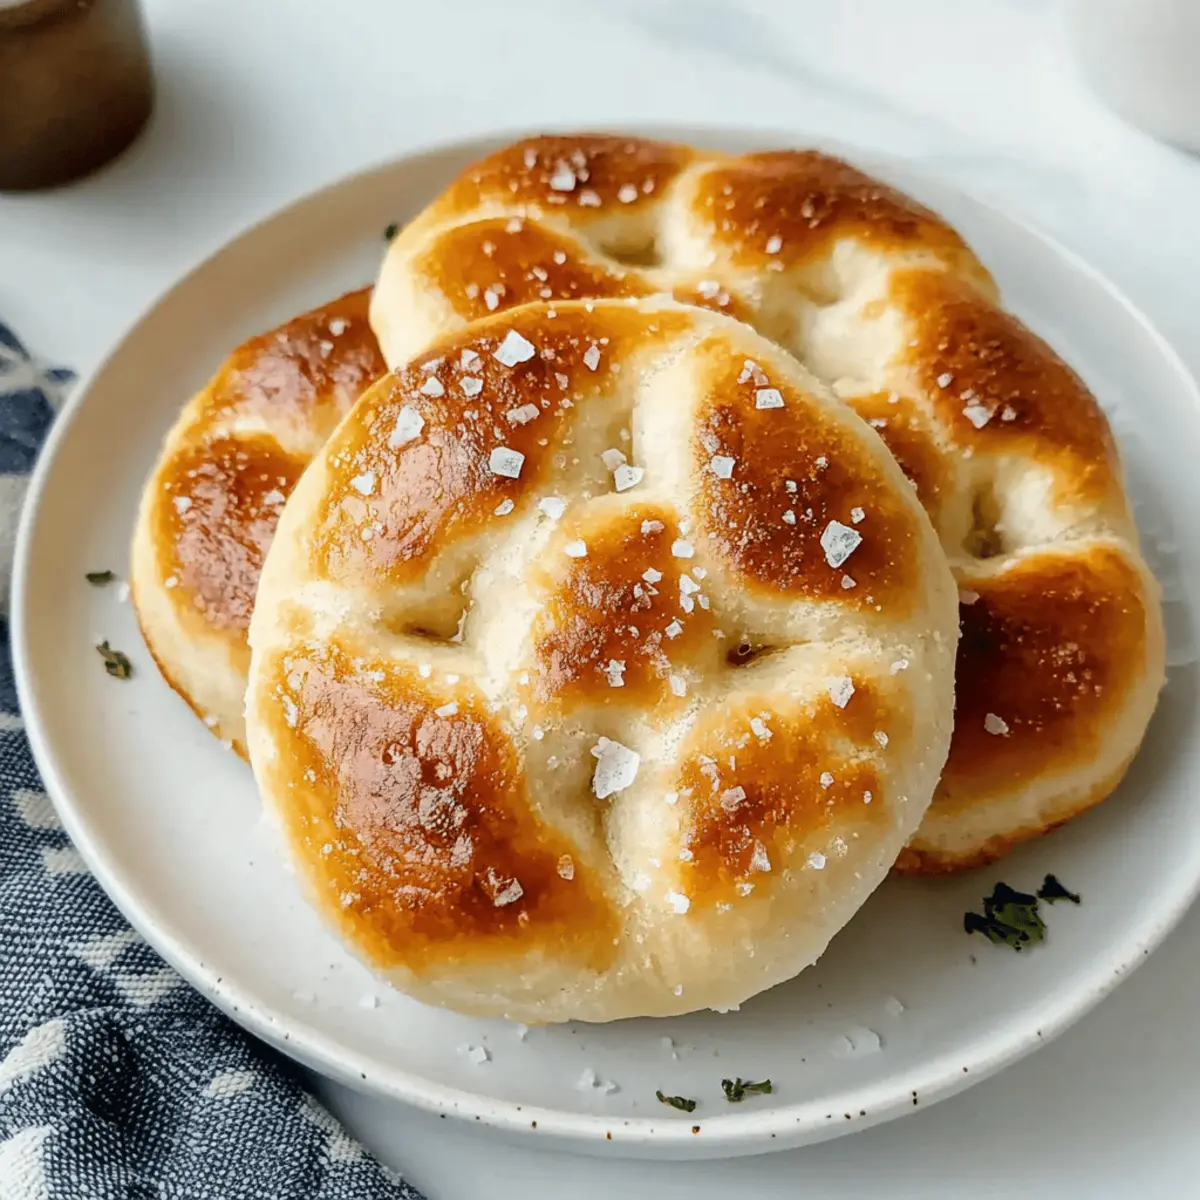
What to Serve with Easy Mini Focaccia
The delightful aroma of mini focaccia can elevate any meal, turning a simple dinner into a special occasion.
-
Olive Oil Dip: A classic pairing, the rich olive oil enhances the flavors of the focaccia while inviting you to savor every bite. Drizzle in balsamic vinegar for a zesty twist!
-
Hearty Tomato Soup: The warm, rich flavors of tomato soup create a comforting combo, perfect for dipping those crispy focaccia edges. Together, they offer a satisfying and cozy meal.
-
Greek Salad: Cradled on the side, a refreshing Greek salad filled with crunchy cucumbers, tangy feta, and ripe tomatoes balances the bread’s richness, providing a burst of color and freshness.
-
Italian Antipasto Platter: Layer your serving table with cured meats, olives, and cheeses. The variety of flavors and textures makes your mini focaccia an exciting addition to this Italian feast.
-
Grilled Veggies: Pair your focaccia with smoky, grilled vegetables for a delightful contrast. The charred edges blend beautifully with the bread’s airy texture, creating a wholesome dining experience.
-
Sparkling Water: Elevate your meal with a refreshing beverage. Sparkling water with a splash of lemon or lime cleanses the palate and complements the flavors of your mini focaccia.
-
Dessert – Tiramisu: End your meal with a sweet note. The coffee and cocoa flavors of tiramisu contrast perfectly with the savory focaccia, leaving you with a satisfying finish to your Italian-inspired dinner.
Make Ahead Options
These Easy Mini Focaccia are perfect for meal prep, saving you time on busy weeknights! You can prepare the dough and store it in the refrigerator for up to 24 hours. To do this, mix and let it rise as directed, then cover it tightly with plastic wrap before placing it in the fridge. When you’re ready to bake, simply remove the dough, let it come to room temperature for about 30 minutes, and proceed with dividing it into portions and placing them in the rings. For optimal quality, ensure they are well-covered to prevent drying out. With this prep method, you’ll enjoy fresh, warm mini focaccia at a moment’s notice!
How to Store and Freeze Mini Focaccia
Airtight Storage: Store your mini focaccia in an airtight container at room temperature for up to 3 days to keep them fresh and prevent drying out.
Freezing Tips: Wrap each mini focaccia in plastic wrap, then place them in a resealable freezer bag. They can be frozen for up to 3 months.
Reheating Instructions: To enjoy frozen mini focaccia, remove from the freezer and unwrap. Rewarm in foil at 350°F for 10-15 minutes until heated through.
Serving Freshness: For the best taste, enjoy your mini focaccia fresh, but freezing is a great option if you want to savor them later without losing their delightful texture.
Mini Focaccia: Delicious Customization Awaits
Let your creativity shine as you explore delightful twists on these mini focaccia, bringing your flavor dreams to life!
-
Herbed Delight: Add fresh rosemary or thyme to the dough for an aromatic flavor that will transport you straight to Italy.
-
Cheesy Goodness: Top your focaccia with a sprinkle of mozzarella or feta cheese before baking for a mouthwatering cheesy crust that will have you coming back for more.
-
Zesty Lemon: Incorporate lemon zest into the dough or drizzle fresh lemon juice after baking for a bright, refreshing kick that’s perfect for summer gatherings.
-
Spicy Kick: For heat lovers, mix in red pepper flakes or a dash of your favorite hot sauce to the dough, adding warmth that complements the soft, airy bread.
-
Sweet Twist: Transform these savory bites into a sweet treat by adding a touch of honey or a sprinkle of cinnamon sugar before baking. Pair them with a cup of tea for a delightful afternoon snack.
-
Vegetable Medley: Top with sliced bell peppers, cherry tomatoes, or olives for a colorful presentation and a burst of flavor. This veggie variety not only adds taste but also looks amazing!
-
Sandwich Style: Use the mini focaccia as sandwich bread! Slice them horizontally and fill with your favorite deli meats and cheeses, creating a delicious handheld meal, much like the delightful Garlic Parmesan Focaccia you’ve come to love.
-
Substitutions: If you’re looking for a gluten-free option, swap in your favorite gluten-free flour blend and adapt the rising times accordingly. This way, everyone can enjoy your mini focaccia!
Expert Tips for Mini Focaccia
-
Accurate Measurements: Ensure you measure your flour correctly. Spoon it into the measuring cup and level it off to prevent dense mini focaccia.
-
Don’t Rush Rising: Allow each resting and rising period to be fully utilized. Insufficient rising can lead to heavy, dense bread.
-
Warm Water Check: Use a kitchen thermometer or test the water on your wrist to ensure it’s between 100-110°F for optimal yeast activation.
-
Use Quality Olive Oil: For the best flavor and crispy texture, opt for extra virgin olive oil throughout the process.
-
Experiment with Toppings: Have fun by adding fresh herbs, cheese, or olives on top before baking for delicious and personalized mini focaccia!
-
Storage Tips: Store your mini focaccia in an airtight container at room temperature to keep them fresh for up to 3 days.
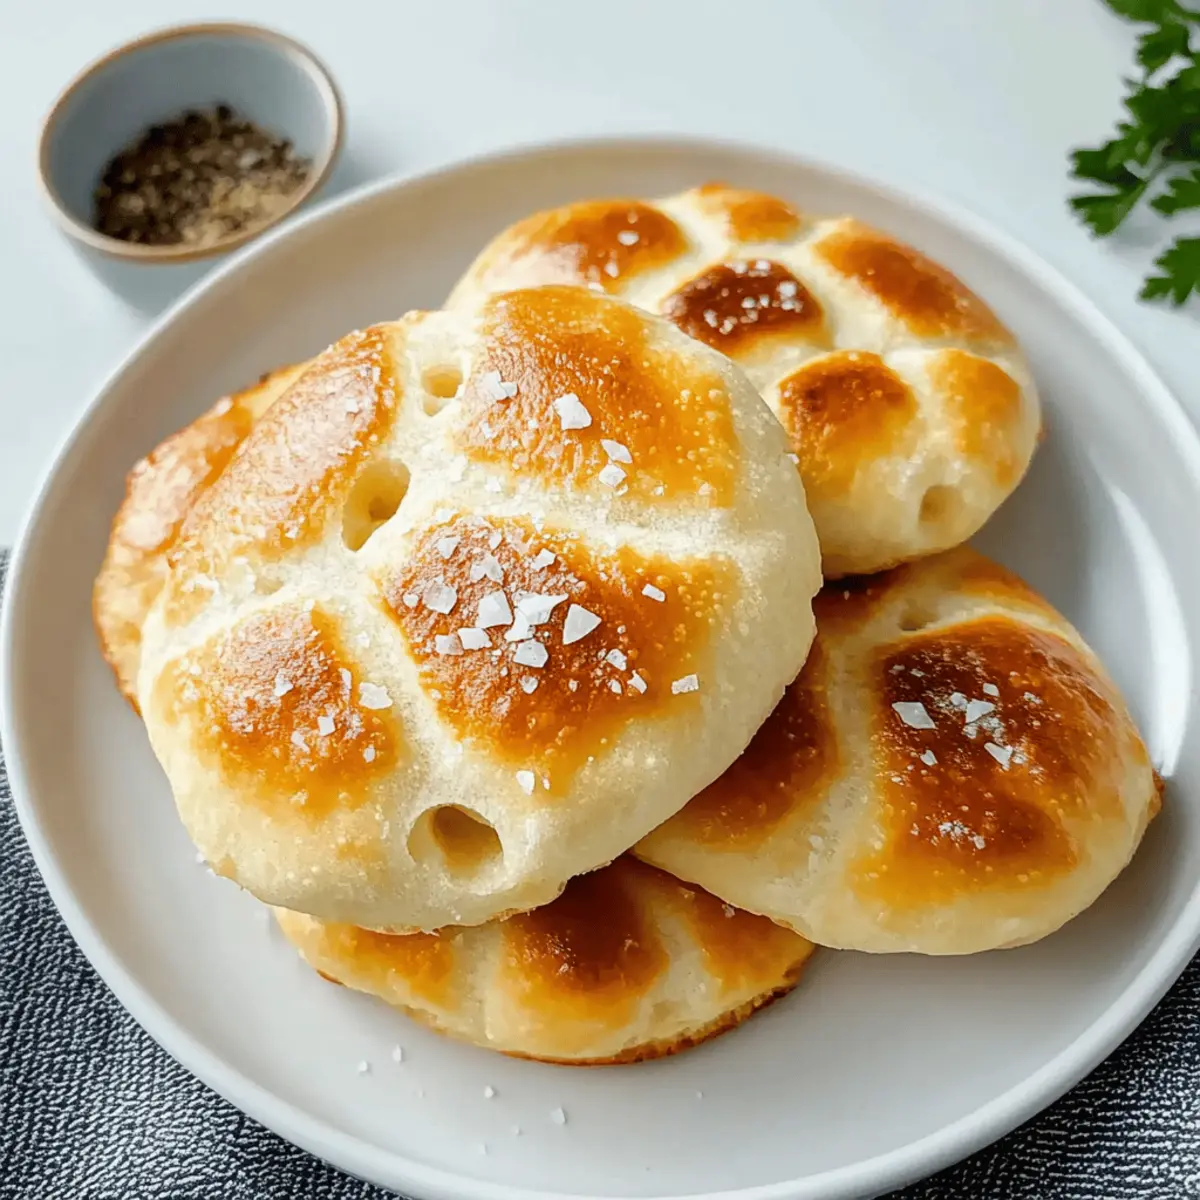
Mini Focaccia Recipe FAQs
How do I select the right bread flour for mini focaccia?
Choosing high-quality bread flour is key for achieving the desired chewy texture. Look for brands labeled specifically as “bread flour” which typically contain higher protein content than all-purpose flour. I recommend checking the ingredients for just wheat flour, without additives or preservatives, to ensure the best results.
What’s the best way to store leftover mini focaccia?
Store your mini focaccia in an airtight container at room temperature for up to 3 days. It’s essential to place a paper towel underneath the lid to absorb any moisture, preventing them from becoming soggy while retaining a delightful texture. Wrap individual pieces in plastic wrap if you wish to keep them fresher for longer.
Can I freeze mini focaccia, and how do I do it?
Absolutely! To freeze your mini focaccia, first wrap each piece tightly in plastic wrap, ensuring no air pockets remain inside. Then, place them in a resealable freezer bag. They can be frozen for up to 3 months. When you’re ready to enjoy them, unwrap and reheat in foil at 350°F for 10-15 minutes for that fresh-out-of-the-oven taste.
What should I do if my focaccia dough doesn’t rise properly?
If your dough isn’t rising, it could be due to inactive yeast. Check the expiration date on your yeast or make sure your warm water is between 100-110°F. If it’s too hot, it can kill the yeast; too cold may not activate it. Always make sure to give the dough adequate time to rest and rise for the best results!
Are mini focaccia suitable for those with gluten sensitivities?
Mini focaccia is primarily made with wheat flour, so it’s not suitable for those with gluten sensitivities or celiac disease. However, you can experiment with a gluten-free all-purpose flour blend designed for baking. Just keep in mind that the texture might differ from traditional mini focaccia, but it can still be delicious!
Can I use fresh herbs as toppings on my mini focaccia?
Very! Fresh herbs like rosemary or thyme can add a delightful flavor to your mini focaccia. Simply chop them finely and sprinkle them on top before baking. Just remember that a little goes a long way, so start with a small amount to avoid overpowering the bread. Enjoy your culinary creativity!
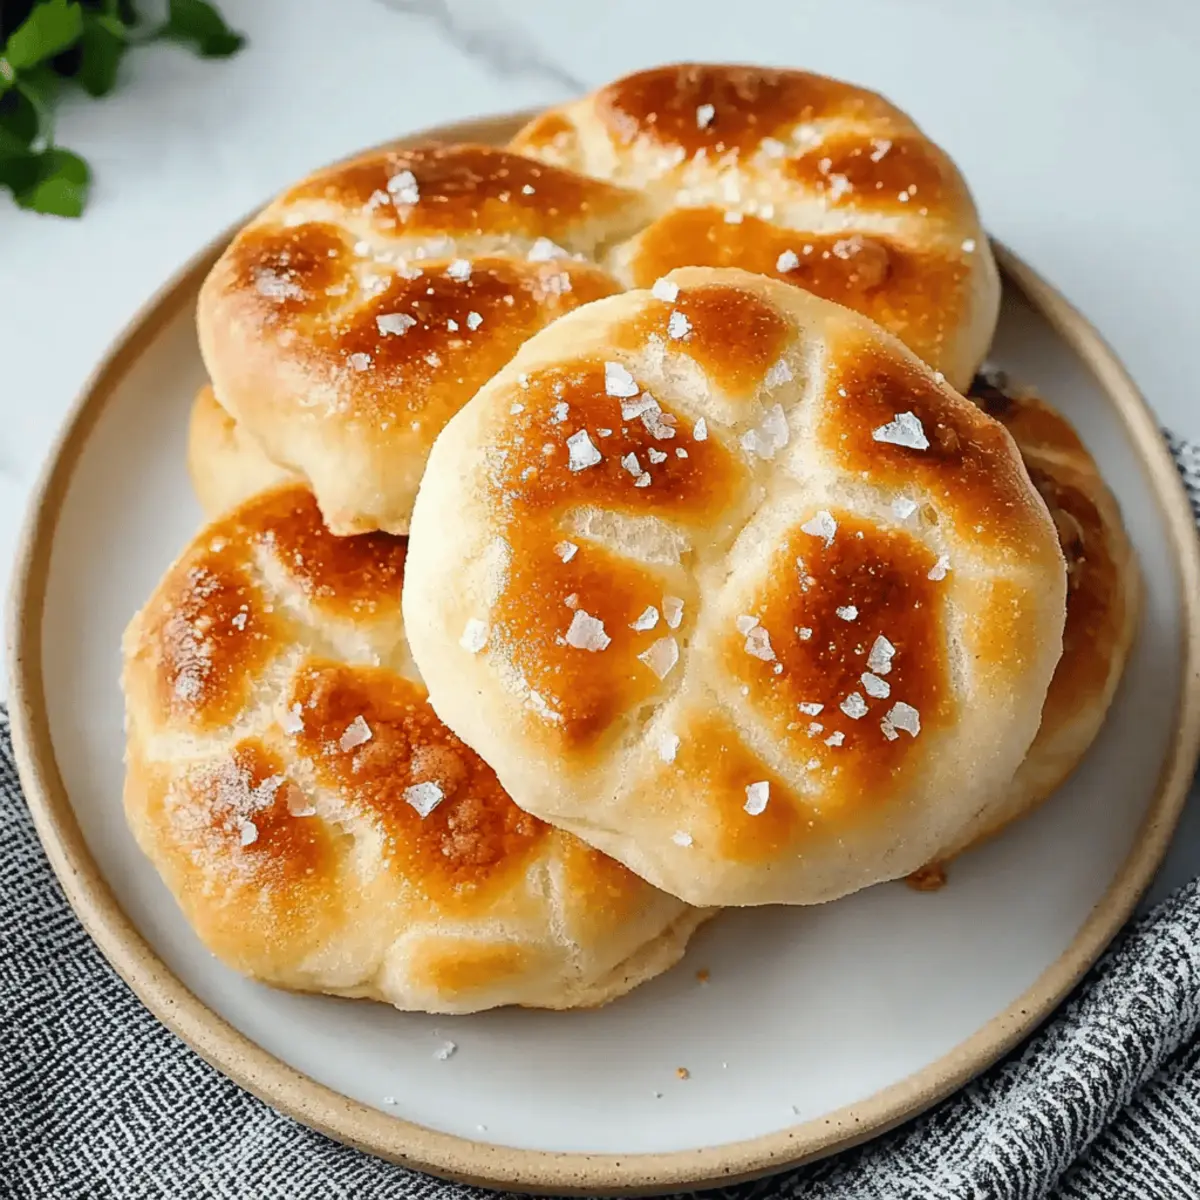
Mini Focaccia: Soft, Flavorful Bites for Every Meal
Ingredients
Equipment
Method
- In a large mixing bowl, combine the bread flour, instant yeast, granulated sugar, kosher salt, and warm water (around 100-110°F) with 1 tablespoon of olive oil. Stir until a shaggy dough forms.
- Cover the bowl with a kitchen towel and let the dough rest for 30 minutes.

- Perform a stretch and fold technique to develop the dough. Cover and let it rest for another 30 minutes. Repeat this step two more times.

- Grease six English muffin rings with butter and olive oil and place on a baking sheet lined with parchment paper.

- Once the dough has doubled, turn it out, divide it into six parts, shape into balls, and place them in the prepared rings. Let them rise for 30 to 40 minutes.

- Preheat your oven to 425°F.

- Dimple the tops of each mini focaccia, drizzle with olive oil, and sprinkle flaky sea salt. Bake for about 22 minutes.

- Remove from the oven and let them cool in the rings for at least 20 minutes.


Leave a Reply